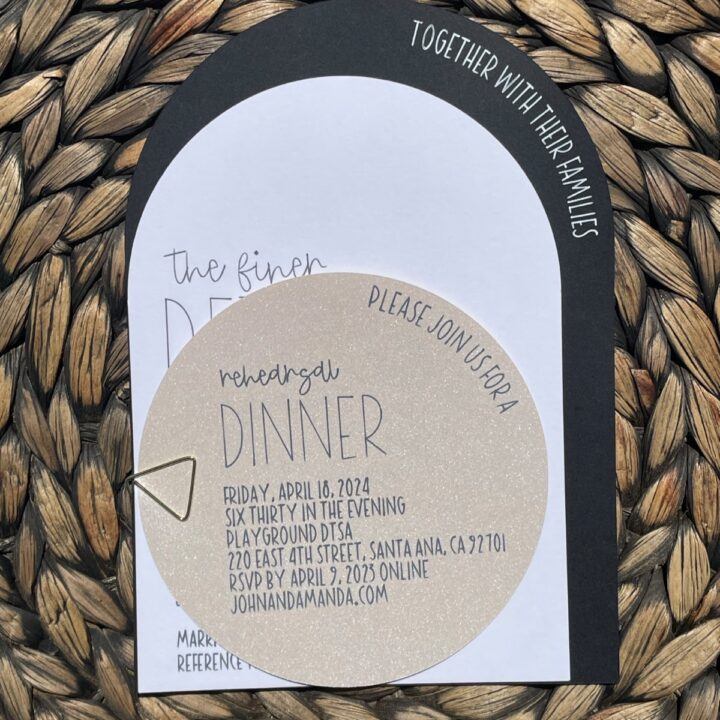
Create Arch Wedding Invitations With a Cricut

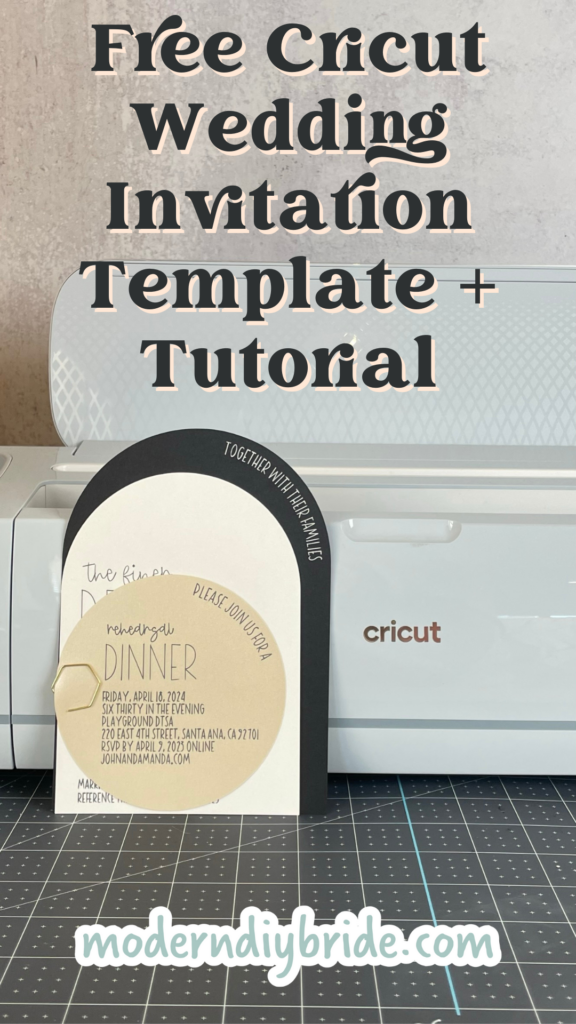
Creating arch wedding invitations with a Cricut has never been easier. In this post, I will show you exactly how to create this classic arch invitation suite using a Cricut Maker or Explore. Make sure to sign up for our design file library so that you can access this free arch wedding invitation template.
This post includes some affiliate links for your convenience. This means that if you make a purchase, I earn a small commission at no added cost to you. For more information check out my privacy policy and disclosure.
This project uses the pen tool to draw lettering onto the invitations. If you are new to using the pen tool, please read our article on Single Line Fonts to avoid some common issues.
Materials and Supplies:
- Cardstock - I used 80 lb cardstock.
- Pens - I prefer using Sakura Gelly Roll pens when drawing with my Cricut.
- Pen adapter, like this one, if you are using a non-Cricut brand pen.
- Decorative paperclips.
- Cricut Maker or Explore (any edition)
- LightGrip Cutting Mat
- Fine Point Blade

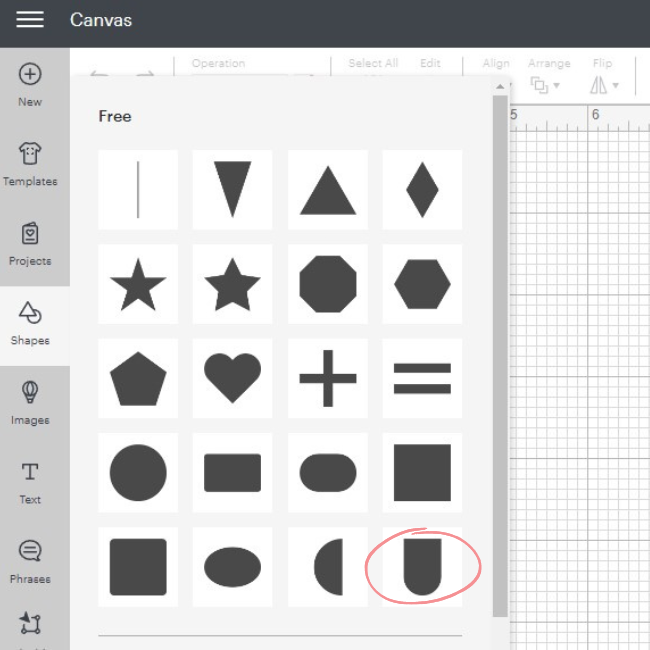
How to create an arch shape in Cricut Design Space
Creating an arch shape in Cricut Design Space is very easy. All you need to do is navigate to the left tool bar, select shapes, and choose the arch shape under the free shape options. You do not need to be a member of Cricut Access to use this shape.

How to Make an Arch Wedding Invitation Suite With a Cricut
Use our free template to make these wedding invitations with your Cricut.
Materials
- Cardstock
- Sakura Gelly Roll Pens
- Decorative Paper Clips
Instructions
- Open the design template in Cricut Design Space. You can gain access to the template by signing up for our free wedding design library here. If you don't want to use our template, you'll need to create a 5" x 7" and 4.5" x 6.3" arch and a 4.25" x 4.25" circle. From there you'll need to design the text part of your invitation. If you're using our template, you'll need to download the fonts used (DTC Bikini Babe and BFC Christmas Stocking).
- Edit the text to match your wedding details. Be sure that the text operation type is set to pen and the font style is set to writing.
- Once you've updated the invitations with your wedding details, attach each shape with the corresponding text. Then select Make It.
- Follow the prompts in Cricut Design Space to send your project to your Cricut machine.
- Place your cardstock on a LightGrip cutting mat and load clamp A with your pen and clamp B with a fine-point blade.
- Check the quality of your invitations. Make any adjustments that need to be made and proceed with creating the rest of your invitations.
Notes
Cricut fonts used:
- DTC Bikini Babe
- BFC Christmas Stocking
Once you've mastered the art of making wedding invitations with your Cricut addressing envelopes with your Cricut will be a breeze!
Click here for more Cricut wedding invitation ideas.