Stunning Cricut Wedding Invitations

Are you planning your dream wedding and looking for the perfect way to save money on your wedding invitations? Look no further than the magical world of Cricut-made wedding invitations! With their versatility, elegance, and endless customization options, Cricut machines have become a go-to tool for DIY couples. In this blog post, we have curated a list of our favorite wedding invitation designs that you can create using your Cricut machine. From romantic floral motifs to modern geometric patterns, these invitations are sure to impress your guests and add a touch of personalized charm to your wedding preparations. So, let's dive in and get inspired to make your wedding invitations truly unforgettable!
Jump to:
This post includes some affiliate links for your convenience. This means that if you make a purchase, I earn a small commission at no added cost to you. For more information check out my privacy policy and disclosure.
What is the best Cricut machine for making wedding invitations?
That all depends on the operation type you plan to use to create your invitations. There are four main operation types to use to create invitations with your Cricut and not every Cricut machine can perform all four operation types. Let's take a look at the five ways to make invitations with a Cricut and explore the compatible machines. The table below shows at-a-glance which Cricut machine can perform each of the operation types to create wedding invitations.
Print-then-cut. The print-then-cut operation type is the most common way to make wedding invitations with a Cricut machine. You can use Canva to design your own invitation or customize one of the pre-designed templates then export the invitation image and upload it to Cricut Design Space. Both the Explore and Maker model machines are compatible with the print-then-cut type. Keep in mind that you'll need access to an inkjet printer.
Foil Transfer Kit. Another popular method for creating invitations with a Cricut is to use the foil transfer kit. Foil adds a touch of elegance to invitations. All three Cricut machines are able to create this foil effect. Cricut makes two different foil transfer kits, one that is compatible with the Maker and Explore models and one that is compatible with the Joy.
Engrave Tool. For a unique look, some couples choose to engrave clear or mirrored acrylic for their wedding invites. The engraving tool is compatible with the Maker or Maker 3. If you're curious about how to use the engraving tool with the Maker, this article gives step-by-step instructions.

Pen Tool. Another common way to create invitations with a Cricut is by using the pen operation. This operation type is compatible with all three Cricut machines, including the Joy. There is a lot to consider when making invitations using the pen tool. To learn more about which fonts work best with this operation type, read our article on Single Line Fonts.
Laser Cut. Lastly, Cricut machines can be used to cut intricute designs similar to what can be achieved with a laser cutter. All three machines can achieve this look, however it is important to note the size limitations with a Cricut Joy.
| Cricut Joy | Cricut Explore | Cricut Maker | |
|---|---|---|---|
| Print Then Cut | No | Yes | Yes |
| Foil Transfer Kit | Yes | Yes | Yes |
| Engrave Tool | No | No | Yes |
| Pen Tool | Yes | Yes | Yes |
| Laser Cut | Yes | Yes | Yes |
For inspiration and support, be sure to join our free Facebook community: Cricut DIY Weddings.
13 Wedding Invitation Design Ideas Using a Cricut
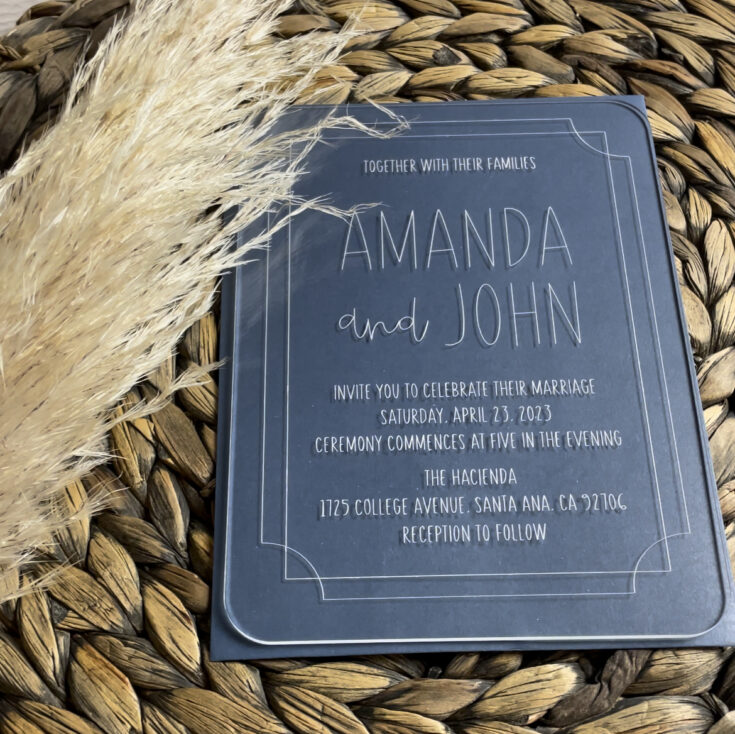
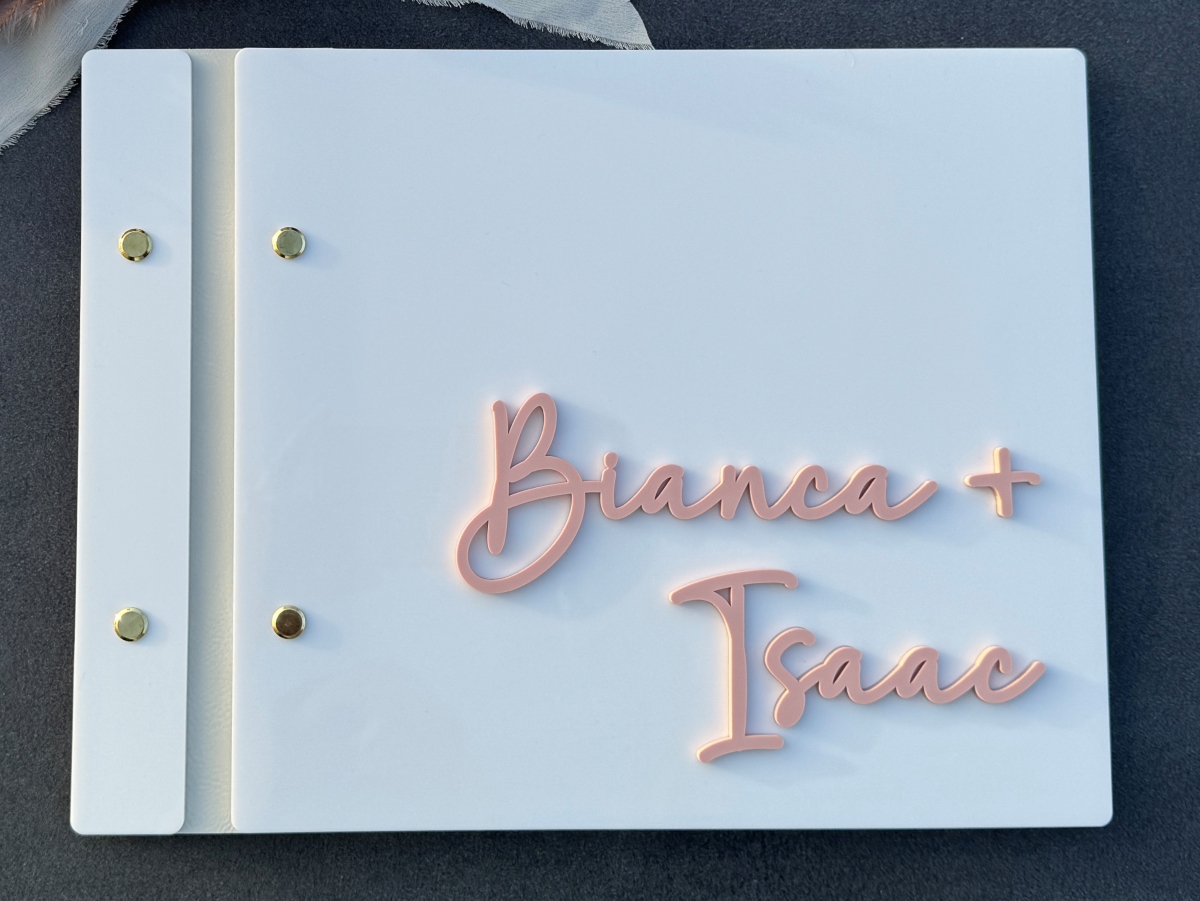
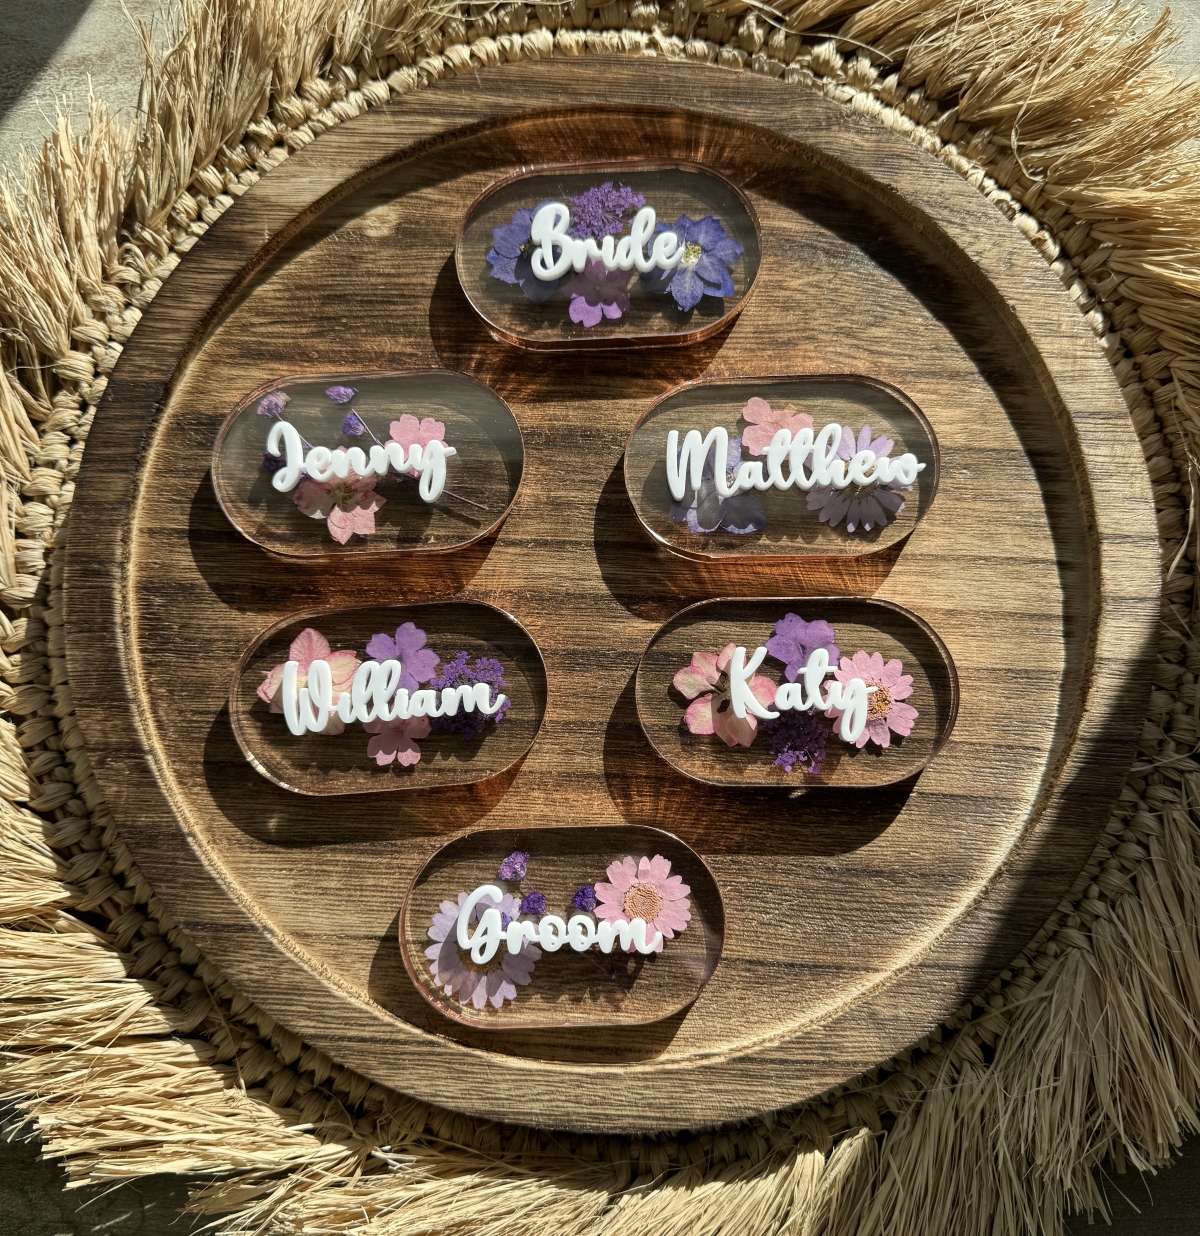
Acrylic Wedding Invitations Using a Cricut
Acrylic invitations are very popular right now. Did you know that you can engrave acrylic with a Cricut Maker to make your own invitations?

Stunning DIY Dusty Blue Wedding Invitations
These dusty blue invitations are created using handmade paper and a white gel pen.

Create Arch Wedding Invitations With a Cricut
Arch invitations are everywhere these days. Snag this free inviation template to create your own!

Filagree Invitation Set for Cricut
Jennifer Maker designed a beautiful filagree invitation set that you can download for free. Watch her video tutorial to learn how to assemble these yourself.

Mountain Wedding Invitation SVG Suite
A layered mountain wedding inviation suite with room for all your wedding day details.

Tropical Monstera Leaf Invitation Template
If you're going for an exotic vibe for your wedding invitations, this monstera leaf invitation template is perfect. It features a 5 x 7 inch invitation plus a 5 x 3.5 inch response card.

DIY Montana Mountain Wedding Invitation Suite
Calling all outdoorsy couples! This template is perfect for a rustic outdoor wedding.

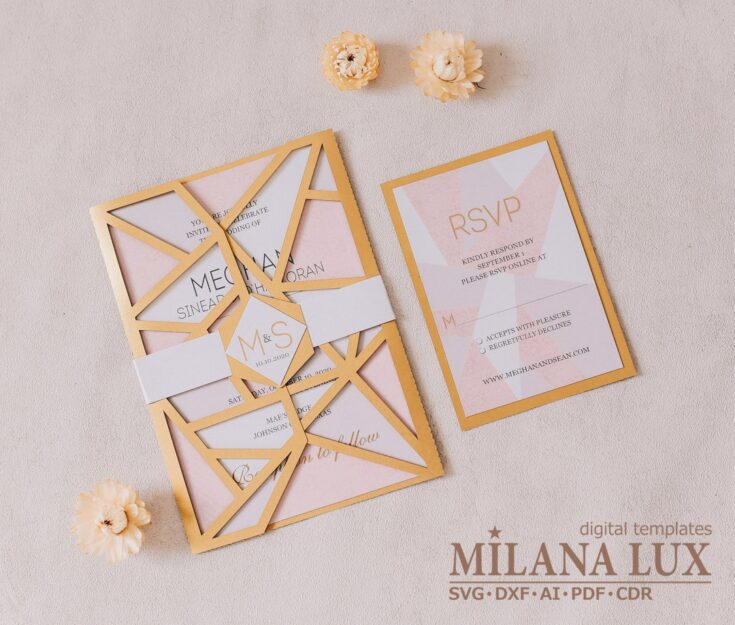
Delicate Rose Trifold Wedding Invitation Template
These delecate rose laser-cut trifolds would look amazing with a shimmering blush cardstock.

Sunflower Trifold Cricut SVG Invitation
If you are going for a brighter aesthetic, these sunflower trifolds are a great addition to your invitation suite.

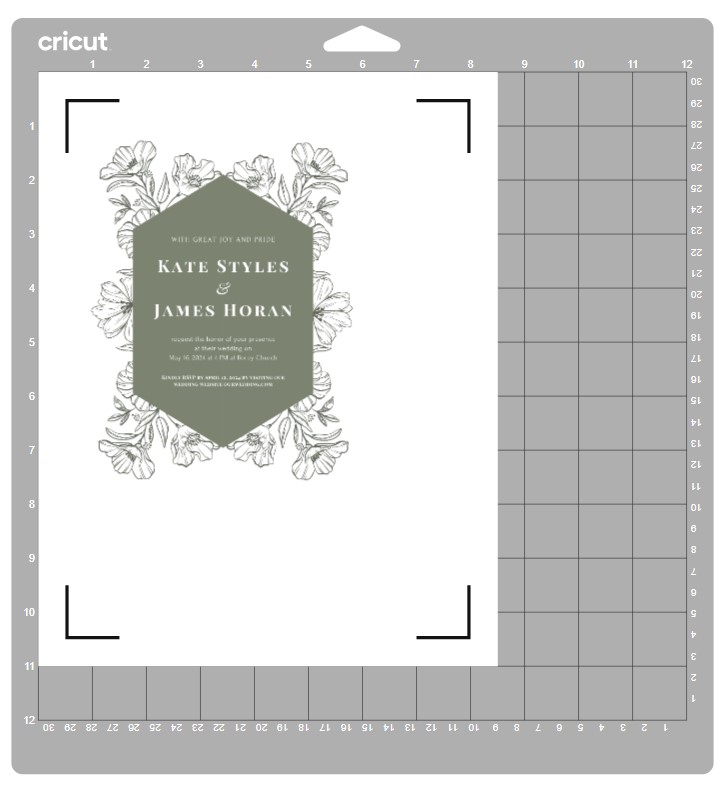
Vintage Wedding Invitation Template
This project makes one customizable invitation, RSVP card, and envelope. You'll need an inkjet printer as it uses the print-then-cut feature.

Watercolor Floral Invitation
This simple, yet elegant invitation is available in Cricut Design Space and uses the print-then-cut feature.

Art Deco Foil Wedding Invitation
This invitation template is giving all the Great Gatsby vibes!
How to make wedding invitations with a Cricut
Using a Cricut machine to create wedding invitations opens up a world of possibilities for customization and creativity. Here's a step-by-step guide on how you can use your Cricut to make stunning wedding invitations:
- Design the invitation
Start by designing your wedding invitation using design software like Adobe Illustrator or Cricut's Design Space. You can choose from a wide range of fonts, graphics, and templates or create your own unique design.
- Gather materials
Once you have your design ready, gather the materials you'll need for your invitations. This typically includes cardstock or specialty paper for the invitation itself, along with any additional elements like envelopes, ribbons, or embellishments.
- Prepare your Cricut machine
Set up your Cricut machine and make sure it's connected to your computer or mobile device. Load the appropriate cutting mat based on the materials you're using.
- Load the design and adjust settings
Import your invitation design into Cricut's Design Space. Adjust the settings to match the type of paper or cardstock you're using. This ensures the Cricut machine cuts accurately without damaging the material.
- Cut the invitations
Place the cardstock or paper onto the cutting mat and load it into the Cricut machine. Follow the prompts on the Design Space to start the cutting process. The Cricut machine will precisely cut out your invitation design, including intricate details and shapes.
- Add additional elements
Once the main invitation is cut, you can further enhance it with additional elements. This may include adding decorative layers, embossing, or using the Cricut machine to cut out accompanying pieces like RSVP cards, information inserts, or belly bands.
- Assemble the invitations
Carefully assemble all the components of your invitation, adhering them together using glue, double-sided tape, or other adhesives. This is where you can let your creativity shine by adding embellishments like ribbons, bows, or gemstones.
- Quality check
Before finalizing your wedding invitations, give them a thorough quality check. Ensure that all the elements are securely attached, the design is aligned properly, and there are no visible flaws or imperfections.
- Repeat for multiple invitations
If you're creating multiple invitations, repeat the process for each one. The Cricut machine makes it easy to achieve consistent results for a cohesive look across all your wedding invitations.
- Send out the love
Once your invitations are ready, it's time to send them out to your guests! Prepare the envelopes, address them, and add any final touches before mailing them or handing them out in person.
By using your Cricut machine, you can unleash your creativity and make wedding invitations that truly reflect your style and vision. From intricate laser-cut designs to personalized monograms, the possibilities are endless when you combine the power of your imagination with the precision of a Cricut machine. Let your wedding invitations be a beautiful prelude to the magical day that awaits you and your loved ones.


One Comment
Comments are closed.