How to Cut Chipboard with the Cricut Maker | DIY Wedding Chair Back Signs
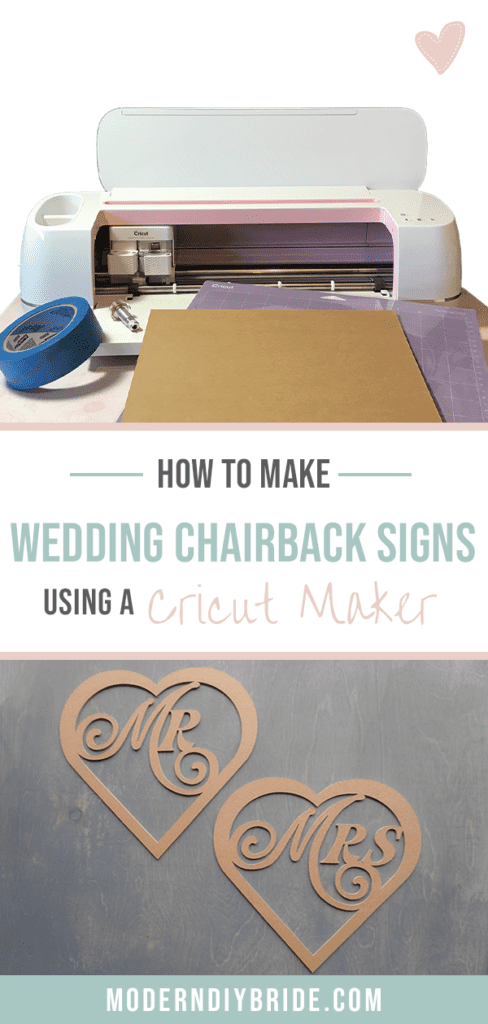

In this tutorial, I am going to demonstrate how to cut chipboard with a Cricut Maker to make beautiful Mr. and Mrs. chair back signs.
You can decorate the chipboard with paint or glitter, the options are only limited by your imagination. I will be using Mod Podge and fine glitter, but please connect with is on Facebook or Instagram to share your finished project!
Get Access To Our Free Design File Library
This post includes some affiliate links for your convenience. This means that if you make a purchase, I earn a small commission at no added cost to you. For more information check out my privacy policy and disclosure.
For inspiration and support, be sure to join our free Facebook community: Cricut DIY Weddings.

How to Cut Chipboard with the Cricut Maker | DIY Wedding Chair Back Signs
Create intricate Mr. and Mrs. wedding chairback signs with your Cricut Maker using our free design files!
Instructions
- Prepare Your Design in Cricut Design Space
First, open Cricut Design Space and select new project. Next, select upload from the left toolbar. Then select upload image. Navigate to the design file saved on your computer. Choose moderately complex for the image type and save the file as a cut image.
Remember to download the free design files for this project. Click here if you still need a password to our design file library.
Now select the file that you've imported and select insert image on the lower right corner of your screen.
The file will be much too large. Dimensions for Cricut chipboard are 11 inches by 11 inches so you'll need to scale down the image to be smaller than those dimensions. I found that sizing my design 10 inches wide allowed plenty of space for the masking tape in step 2.
Once you have resized your design to the desired dimensions, select make it from the top right corner of your screen.
Now you will be prompted to choose the dimensions of your material. Cricut Design Space defaults to 12 inches by 12 inches, so you will want to make the adjustment to 11 inches by 11 inches.
Pay close attention to the thin red lines on the screen. You will want to drag your design to the center of the cutting area, ensuring it is within those red lines.
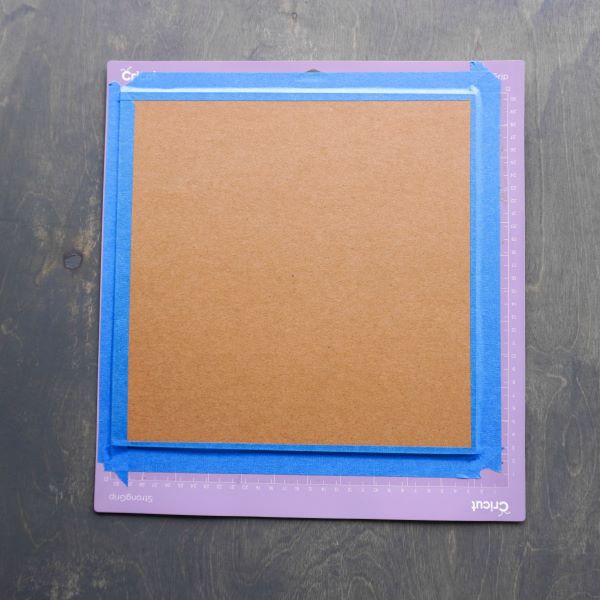
Select the green continue button on the lower right side of your screen. You'll need to set your material for Heavy Chipboard - 2mm. Don't forget to load the knife blade into Clamp B of your Cricut Maker. - Prepare Your Strong Grip Cutting Mat
Use masking tape or painter's tape to secure the chipboard on all sides of the cutting mat. The strong grip mat does stick well to the chipboard, but keep in mind the knife blade will take several passes over the material. Adding the masking tape ensures that your material stays securely in place.
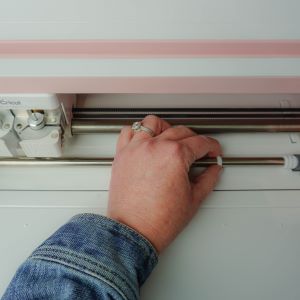
- Slide the Star Wheels Over When Cutting Chipboard
An important step to remember: when you cut chipboard with your Cricut Maker you need to slide the star wheels all the way to the right of your machine.
You are doing this because the chipboard is 2mm thick. Moving them to the side allows your material to fit under the metal bar. - Load Your Mat and Watch Your Cricut Maker Cut the Chipboard
Once you have prepared the cutting mat and the star wheels are out of the way load the strong grip mat in the machine and press Go. Here is where the amazing Cricut Maker works it's magic. The knife blade will take several passes over the chipboard. The more detailed the design, the longer it takes to cut.
For the Mrs sign, it took about an hour and a half to finish. The Mr sign took a little less than an hour. During this process, make sure that your computer doesn't go into sleep mode or your machine will stop cutting.
Grab a cup of coffee or a glass of wine and start on another project that doesn't require Cricut Design Space.
One thing to keep in mind when cutting chipboard with your Cricut maker is that there will be loose ends that you'll need clean off as it nears the end of the cutting process. - Carefully Remove the Chipboard from the Mat
Once your machine has finished cutting your design, unload the strong grip mat. Use caution as you remove the chipboard from the mat. This design has several sharp twists and corners so you will need to gently remove chipboard from the negative space.


Repeat steps 1 - 5 for the second sign.
Adding Glitter to Chipboard
Step 1: Prepare Your Work Space
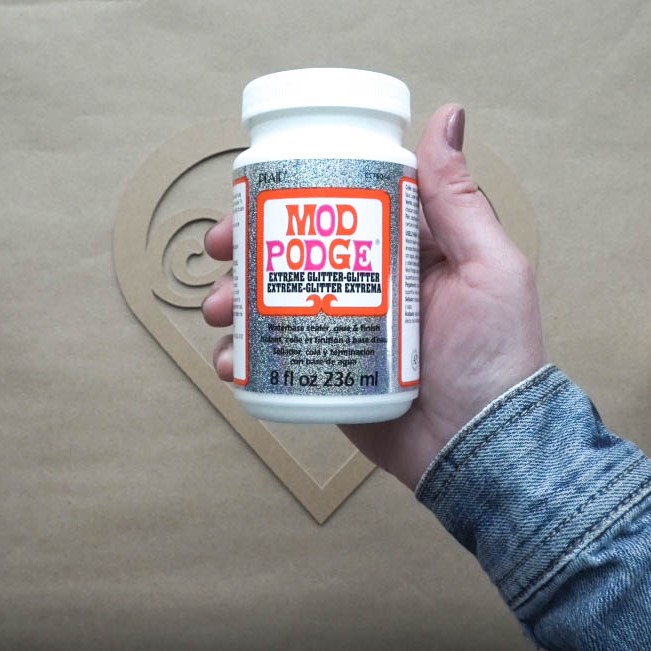
I love Mod Podge! For this project, you can use the regular matte Mod Podge or the Extreme Glitter. I'll use any excuse I can to add glitter to something, so of course that is what I chose to use.
Cover your work space to minimize the mess from this project. Either way by the time you are finished your hands are going to be covered in glitter!
Step 2: Evenly Spread Mod Podge Over the Sign

Using a paint brush, evenly spread the Mod Podge over the front of the sign. You'll need to work somewhat quickly to prevent the glue from absorbing into the chipboard.
Try not to let too much gather in the corners. This will cause the glitter to clump in that area. Don't stress too much over this, you can always come back to that area with a toothpick and remove the excess glitter and glue.
Step 3: Add a Little Sparkle
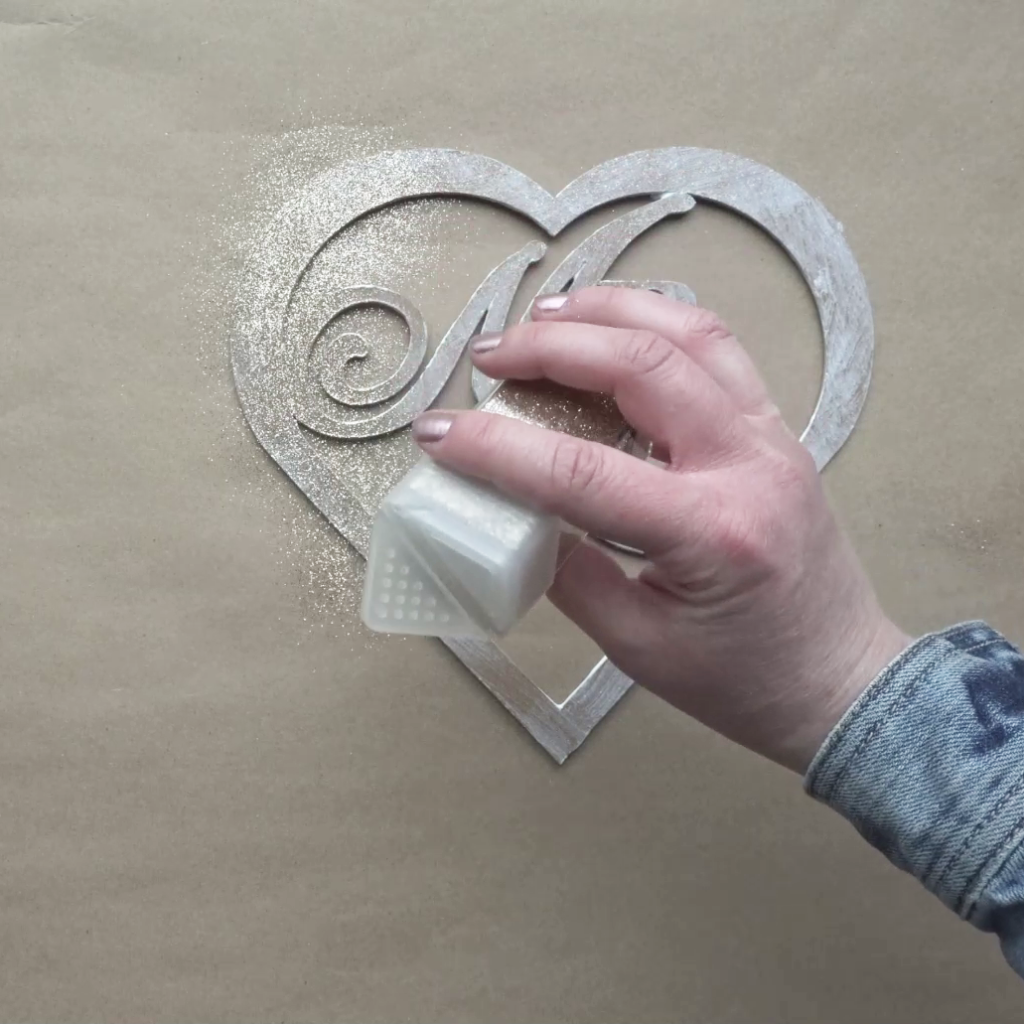
Once you have an even layer of Mod Podge on your sign lightly sprinkle the fine glitter.
Carefully pick up the sign and gently shake off the excess glitter. If you see areas that need additional glitter add more and shake off the excess.
Once you have finished the front of the sign, give it a few moments to dry and then repeat steps two and three for the back.
Step 5: Let it Dry

At this point, the front of your sign should be almost dry. Look closely at your sign for any areas where glue and glitter has clumped together. If you find some areas (they tend to be in the sharp corners) use a toothpick to remove the excess material.
Set your sign front side down on your drying rack. Once the sign is completely dry, you can add ribbon to both signs to complete the project.
Store your signs somewhere that they will be protected. The Mod Podge will do a great job of securing the glitter, but you will lose some glitter if the sign is not protected.