3 Amazing Ways to DIY Acrylic Wedding Signs
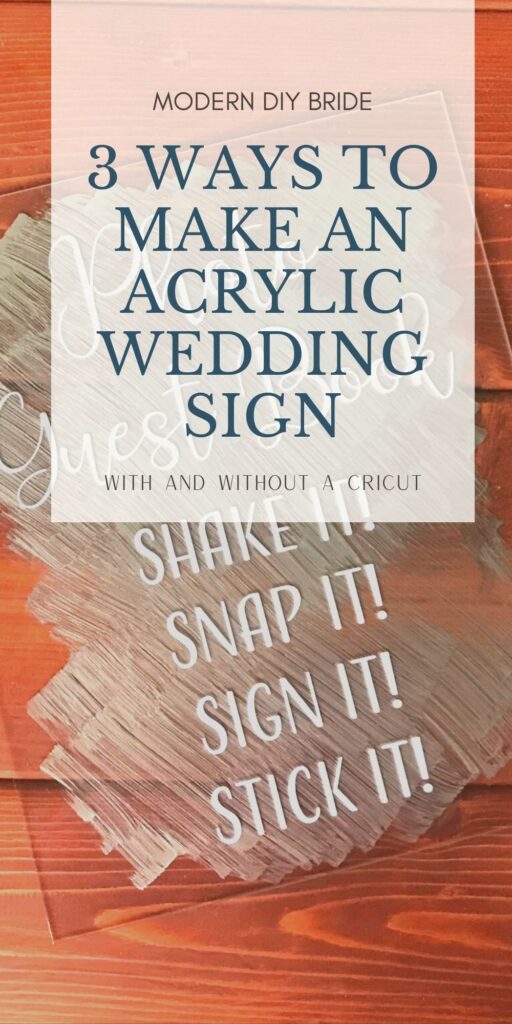
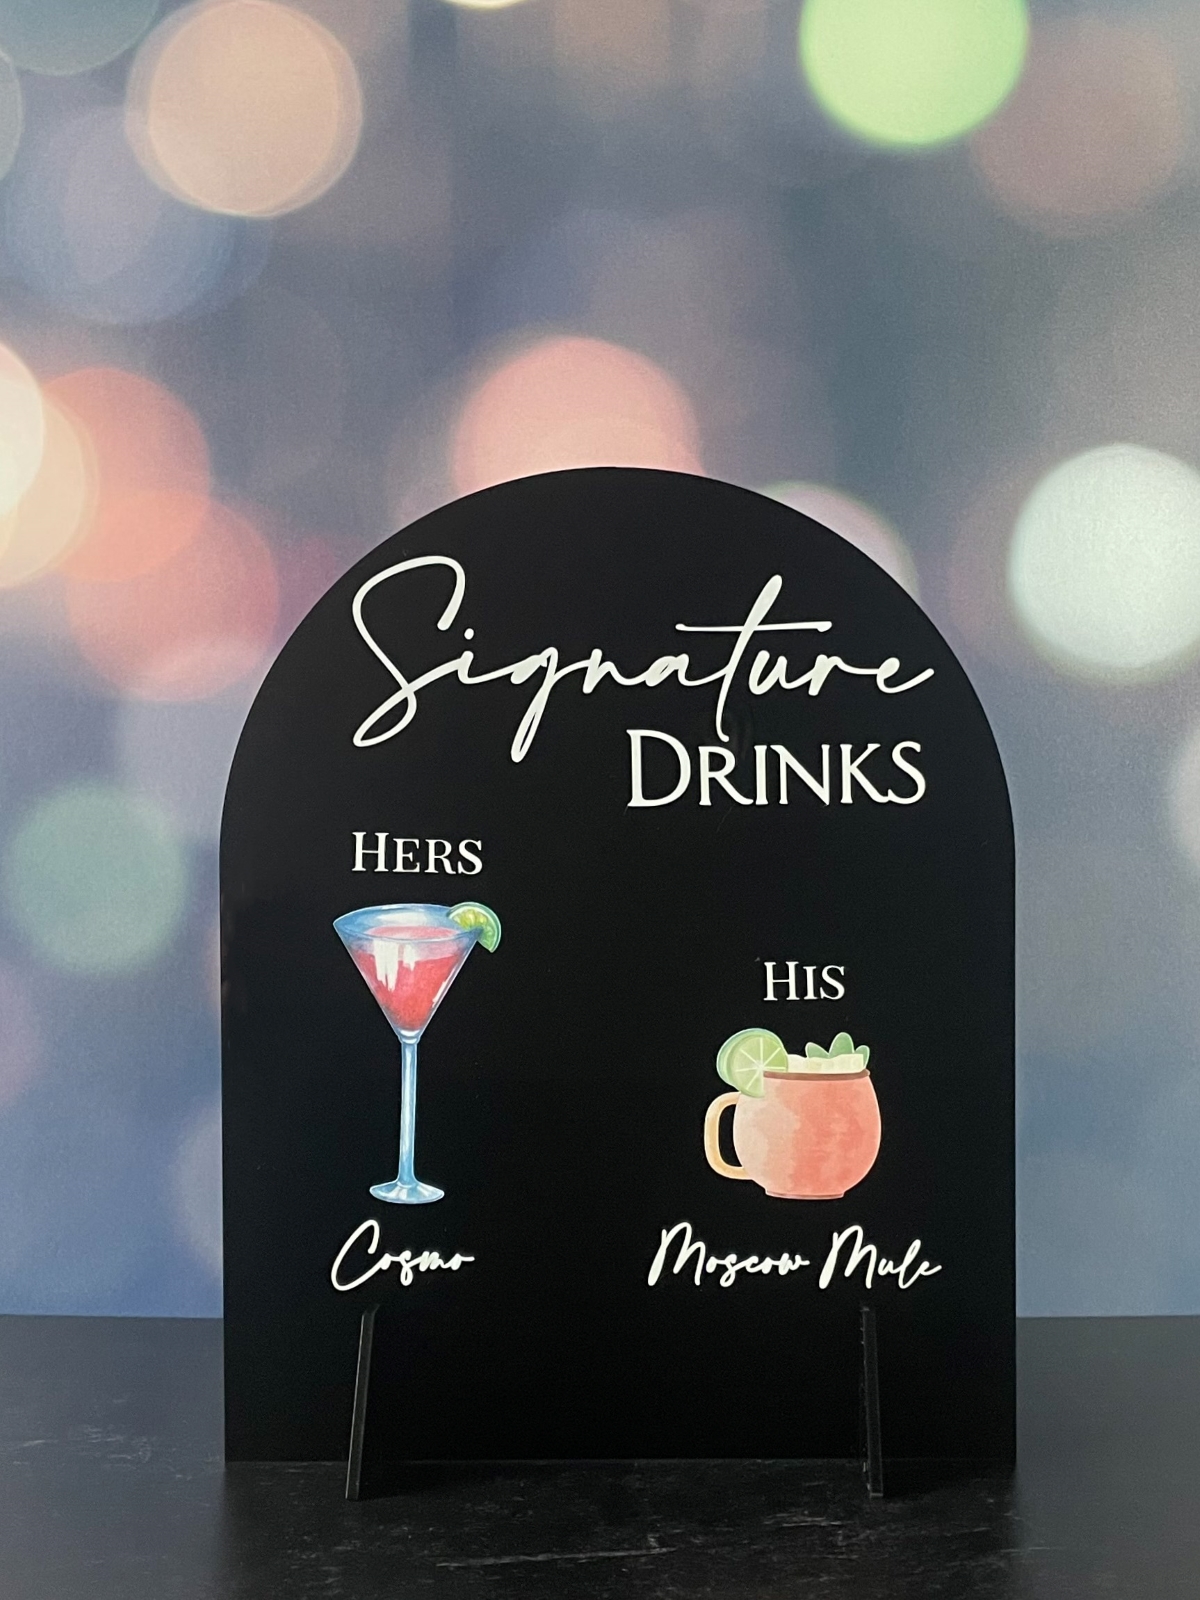
Using acrylic sheets for wedding signs is a trend that has been around for a couple of years. This tutorial will outline three solid ways to DIY acrylic wedding signs - both with and without a cutting machine!
If you are anything like me, the first time you saw an acrylic wedding welcome sign or acrylic escort cards, you probably wondered how those Etsy artisans made them! I've been playing around with different techniques over the past several months. In fact, my husband probably thinks I am a little crazy. I've gone through a lot of acrylic trying to master my favorite technique.
To get started you'll need a few materials. I'll outline specific materials in each method below, but no matter what method you choose, you'll need acrylic sheets.
Where can you buy acrylic sheets for DIY wedding signs?
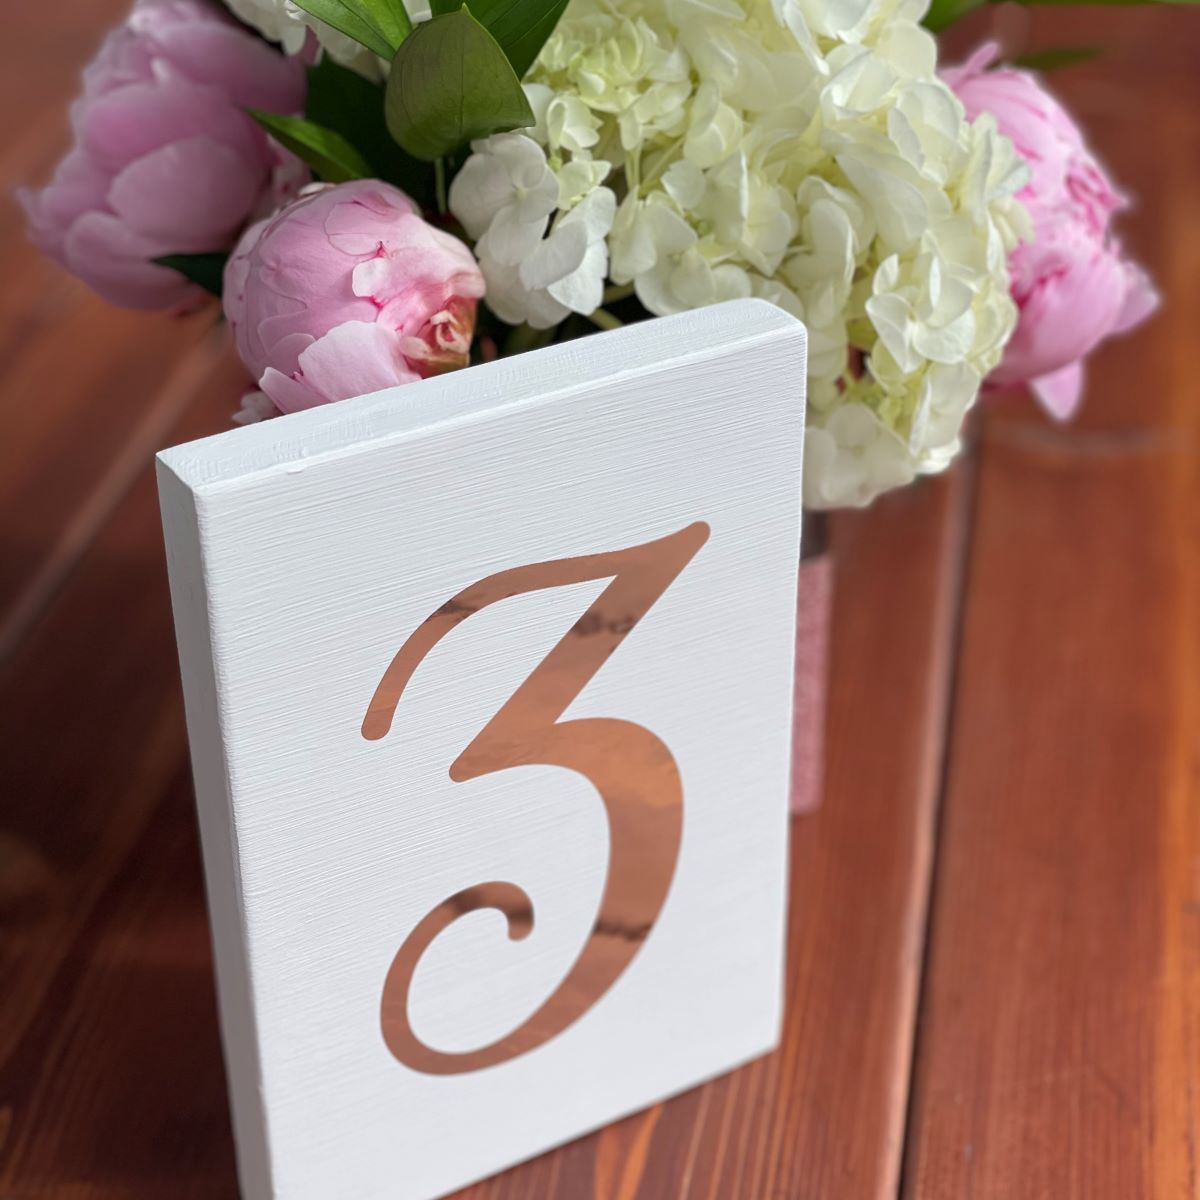
There are a couple of options for purchasing the acrylic sheets for your DIY project. For smaller projects, like escort cards or table numbers, visit our Etsy shop. We offer wide variety of shapes and colors.
Large acrylic sheets can be found in the Plexiglass section of the hardware store. I've found that Home Depot has a great selection of sizes. The sheets come in different thicknesses. As you can imagine, the thicker the acrylic, the more expensive it is. One thing to keep in mind is that not all acrylic sheets are created equally. Because of this, I recommend going in person to your local hardware store the first time you pick out acrylic sheets. Especially if you are making a large sign.
If you are looking for colored acrylic sheets or shapes other than a rectangle, Custom Made Better has a great variety.
1. DIY Acrylic Wedding Sign Using the Trace Method

The first method for creating an acrylic sign is the trace method. For this method, you'll need the following materials:
- Acrylic sheet
- Home printer
- Paint marker
- Tape
Step One: Prepare the Acrylic Sheet
Acrylic sheets come with protective backing on both sides of the sheet. Remove Acrylic sheets come with protective backing on both sides of the sheet. Remove the backing from one side of the acrylic sheet.
Step Two: Print and Trim the Design
Using your home computer, print the design you want on your sign. Trim the excess paper from your design.

Step Three: Adhere the Design to the Back of the Acrylic Sheet
Using tape, attach the design to the back of the acrylic sheet. Take care to ensure it is aligned properly.
Step Four: Trace the Design with a Paint Marker
Prep your paint marker and begin by outlining the design. After you've outlined the entire design, go back and fill in the design space.


Using a paint marker on acrylic can be a little tricky. It is important to use a paint marker with a thicker paint consistency. I've tried several different oil-based paint markers and for acrylic signs the Uni POSCA brand is my favorite.
Step Five: Remove the Acrylic Sheet Backing
After the paint has dried, remove the design and the backing from the acrylic sheet. At this point, your project is finished. You can also add paint to the back of the acrylic sheet to make the design pop in the front!
Trace Method Pros: Using the trace method for making an acrylic wedding sign doesn't require a cutting machine. Anyone with a home printer can do it!
Trace Method Cons: This technique takes a steady hand and a lot of patience.
To create matching place cards, view our acrylic escort card tutorial.
2. The Stencil Method
Did you know you can use extra vinyl as a stencil? Vinyl makes an excellent stencil material because it adheres to whatever you're painting. It is also relatively easy to remove. Normally, when I use vinyl as a stencil, I apply Mod Podge to the stencil before using the paint to prevent the paint from bleeding through the stencil. For acrylic signs this isn't necessary since the acrylic sheet is nice and smooth with no space for paint to bleed.
For this method, you'll need the following materials:
- Acrylic sheet
- Cutting machine
- Vinyl
- Transfer tape
- Vinyl scraper
- Weeding tool
- Acrylic paint
- Stencil paint brush
- Masking tape
Step One: Cut the Design Using an Electronic Cutting Machine
Using your preferred cutting machine (I used my Cricut Maker) cut your design.
Step Two: Weed the Vinyl
For this step, instead of weeding the space around the design, weed the letters. In my design, I am removing the vinyl letters which will leave a stencil of my design.

Step Three: Add Transfer Tape to the Vinyl
Carefully apply transfer tape to the top of the vinyl stencil. Use the vinyl scraper tool to secure the transfer tape to the top of the vinyl. Then turn it over and scrape the back of the vinyl design. Trim the excess transfer tape.

Step Four: Apply the Vinyl to the Acrylic Sheet Using the Hinge Method
Using the hinge method, apply the stencil to the acrylic sheet. Remove the transfer tape.
For inspiration and support, be sure to join our free Facebook community: Cricut DIY Weddings.
What is the hinge method?
The hinge method is a vinyl application technique that ensures vinyl is applied straight and perfect to your project every time!
- Once your project is weeded, apply transfer tape to the vinyl.
- Before removing the vinyl backing, place the vinyl on your project.
- Align the vinyl on your material and place a strip of masking tape vertically adhering the vinyl to the project.
- Pull back one side and remove the vinyl backing.
- Then, use your vinyl scraper starting from the middle and adhere the vinyl to the project.
- Remove the masking tape and the remaining vinyl backing.
- Using the vinyl scraper, starting from the middle, adhere the remaining vinyl to your project.

Step Five: Paint the Stencil
This is the fun part! Use acrylic paint and a stencil paint brush to paint the acrylic sheet.

Step Six: Remove the Stencil from the Acrylic Sheet
After the paint has dried, carefully remove the vinyl stencil from the acrylic sheet. Use the weeding tool to remove any small vinyl pieces.


Step Seven: Remove the Acrylic Sheet Backing
Stencil Method Pros: With the stencil method, there is no worry of mess ups from an unsteady hand. Also, the paint has a smoother look and feel.
Stencil Method Cons: This method requires more steps, tools, and materials. This method isn't an option for those who don't have access to a cutting machine. Also, unlike wood, paint on acrylic is very easy to scratch off.
3. The Vinyl Method
The third method for making an acrylic wedding sign is using vinyl letters. For this method, you'll need the following materials:
- Acrylic sheet
- Cutting machine
- Vinyl
- Transfer tape
- Vinyl scraper
- Weeding tool
- Masking tape
Step One: Cut the Design Using an Electronic Cutting Machine
Using your preferred cutting machine (I used my Cricut Maker) cut your design.
Step Two: Weed the Vinyl
Using the weeding tool, remove the excess vinyl leaving only your design.
Step Three: Add Transfer Tape to the Vinyl
Carefully apply transfer tape to the top of the vinyl stencil. Use the vinyl scraper tool to secure the transfer tape to the top of the vinyl. Then turn it over and scrape the back of the vinyl design. Trim the excess transfer tape.
Step Four: Apply the Vinyl to the Acrylic Sheet Using the Hinge Method
Using the hinge method, apply the stencil to the acrylic sheet. Remove the transfer tape.


Step Five: Remove the Acrylic Sheet Backing

Vinyl Method Pros: With the vinyl method, there is no worry of mess ups from an unsteady hand. The vinyl letters provide a sharp, bold look to the sign. Also, with acrylic sheets it's really easy to smudge. It's easy to clean the acrylic with the vinyl design.
Vinyl Method Cons: This method requires more steps, tools, and materials. This method isn't an option for those who don't have access to a cutting machine.
Conclusion
Whatever method you choose, wedding signs made out of acrylic will add an elegant touch to your ceremony or reception. They can even be used after the event for home decor!
Make sure to share your wedding acrylic sign with us by tagging @moderndiybride on Instagram.

Have you ever considered using your Cricut to create wedding invitations? If so, check out our article on single line fonts for Cricut.