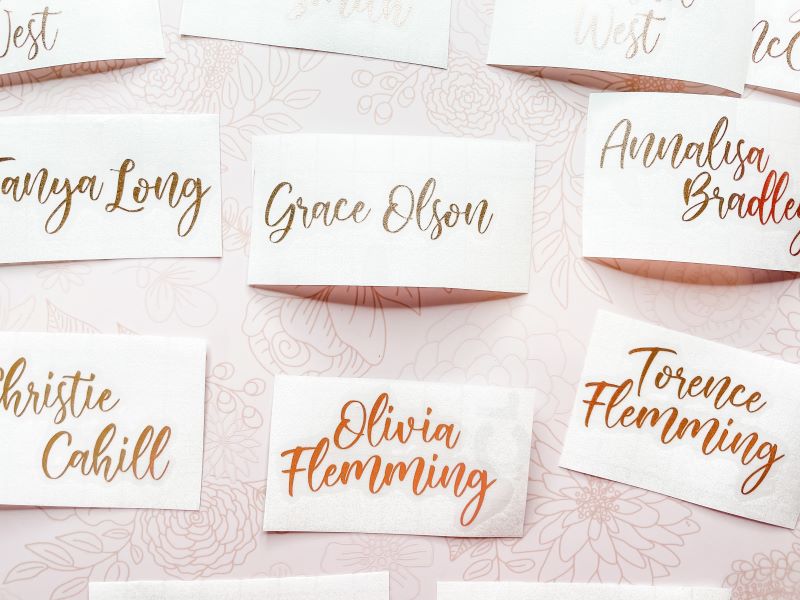
DIY Acrylic Place Cards for Weddings
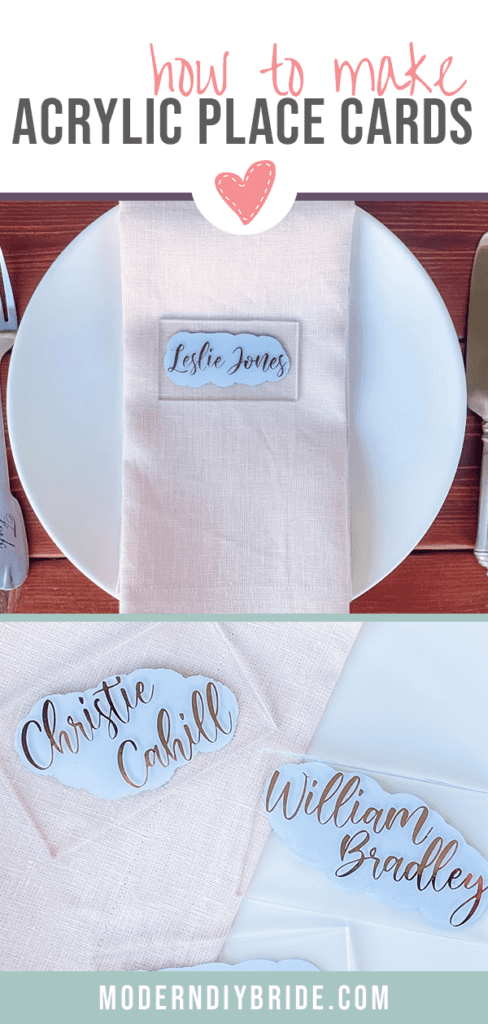
Long gone are the days of stark white place cards printed on cardstock. Couples are getting more and more creative with incorporating place cards into their overall wedding decor. Acrylic is one material that we have seen used in the last few years for wedding signage, including place cards. Using acrylic blanks to make wedding place cards is really easy using a Cricut cutting machine. We will show you how in this step-by-step tutorial. Don't have a Cricut or other cutting machine? That's no problem, we can show you how to make them using the trace method.
This post includes some affiliate links for your convenience. This means that if you make a purchase, I earn a small commission at no added cost to you. For more information check out my privacy policy and disclosure.
Materials Used in This Project
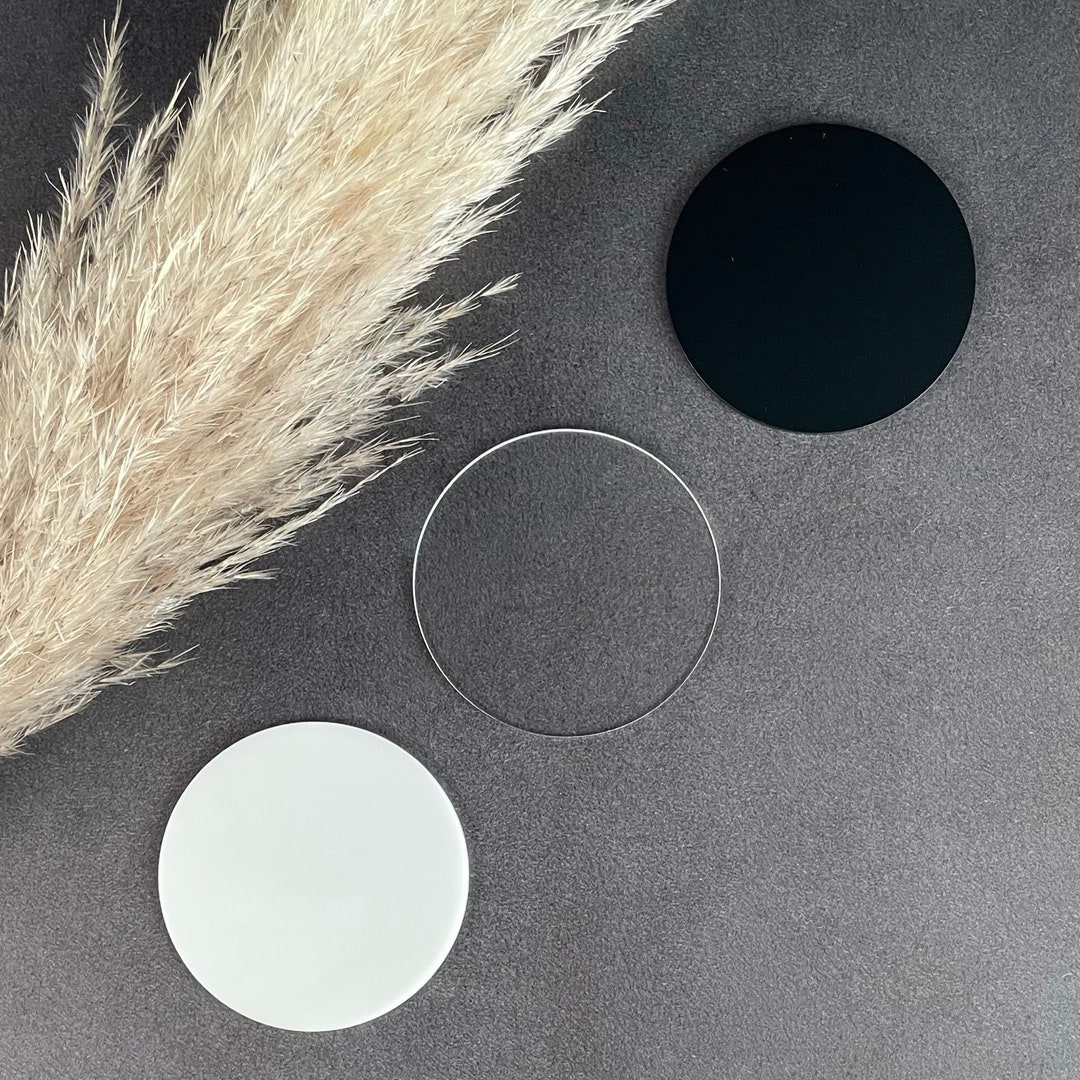
Where Do You Buy Blank Acrylic for Place Cards?
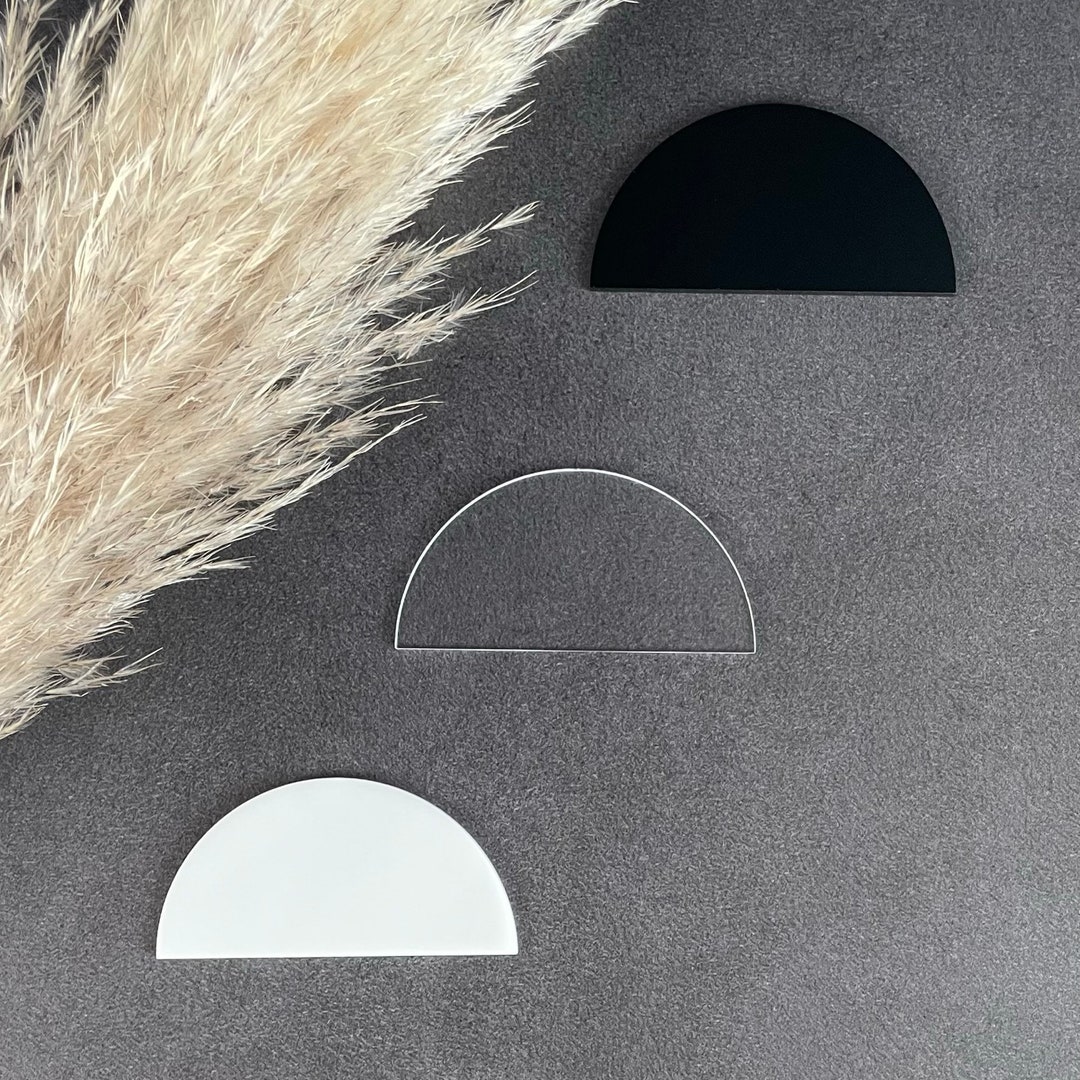
Our Etsy shop has a wide variety of acrylic place cards. We carry many shapes including hexagon, round, half moon, and arch. We can even make custom shapes to fit your wedding style.
What is the Best Vinyl to Use on Acrylic Blanks?
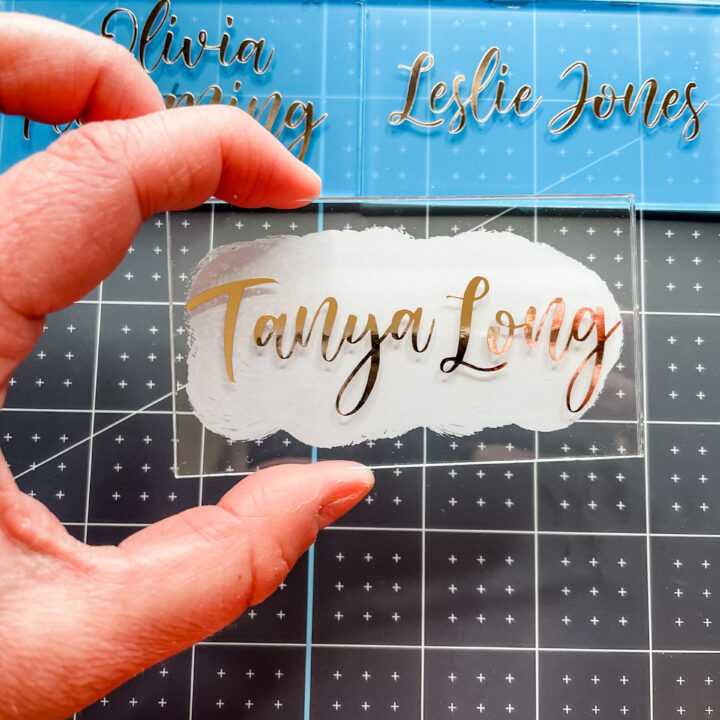
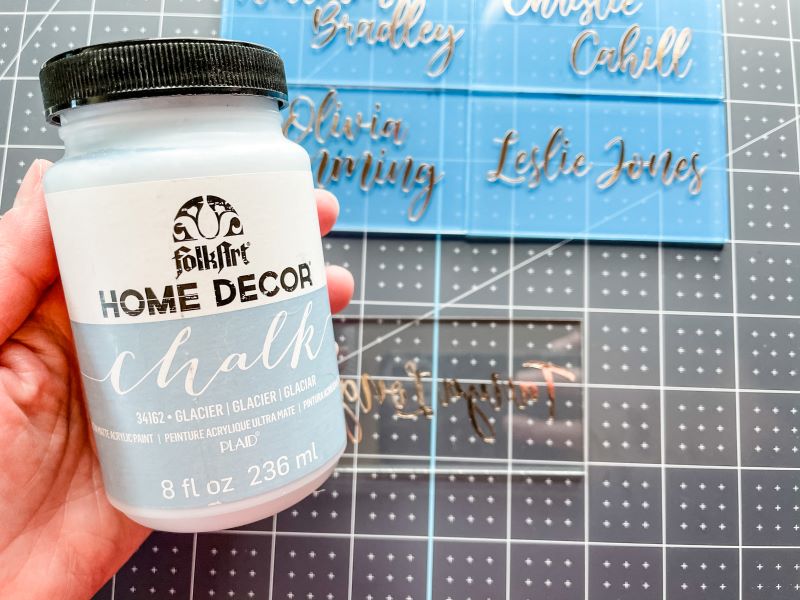
This depends on the look you are going for with the vinyl. If you want the vinyl to look similar to paint, I recommend a premium matte vinyl like Cricut or Oracal 651 permanent vinyl. For this tutorial, we used Cricut's adhesive foil. It gives the place cards the appearance of gold foiling and contrasts well with the dusty blue paint.
For inspiration and support, be sure to join our free Facebook community: Cricut DIY Weddings.
How to Make Acrylic Place Cards With a Cricut
How to Make Acrylic Place Cards With a Cricut
Using acrylic blanks to make wedding place cards is really easy using a Cricut cutting machine. We will show you how in this step-by-step tutorial.
Instructions
- Prepare Place Card Layout in Cricut Design Space
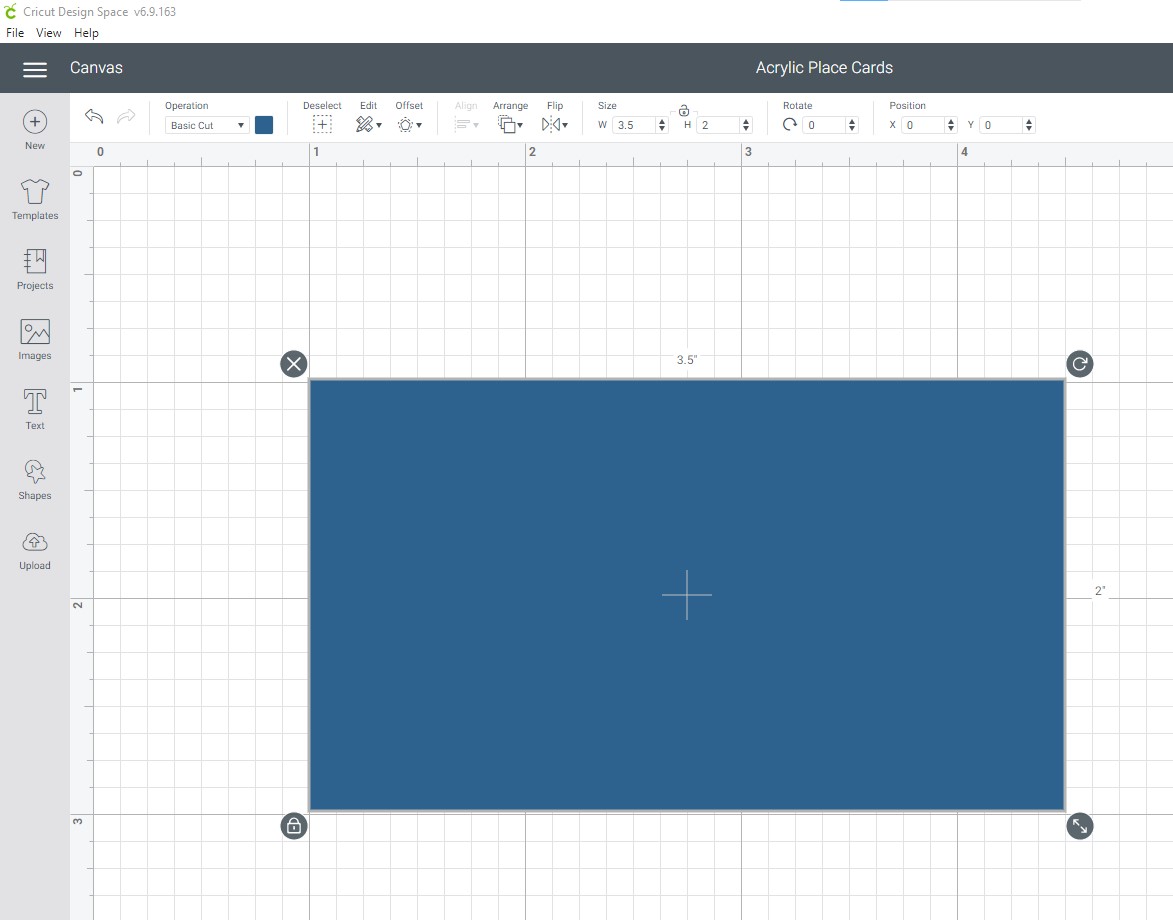
Open Cricut Design Space and use the shape tool to create rectangles to represent the acrylic place card blanks.
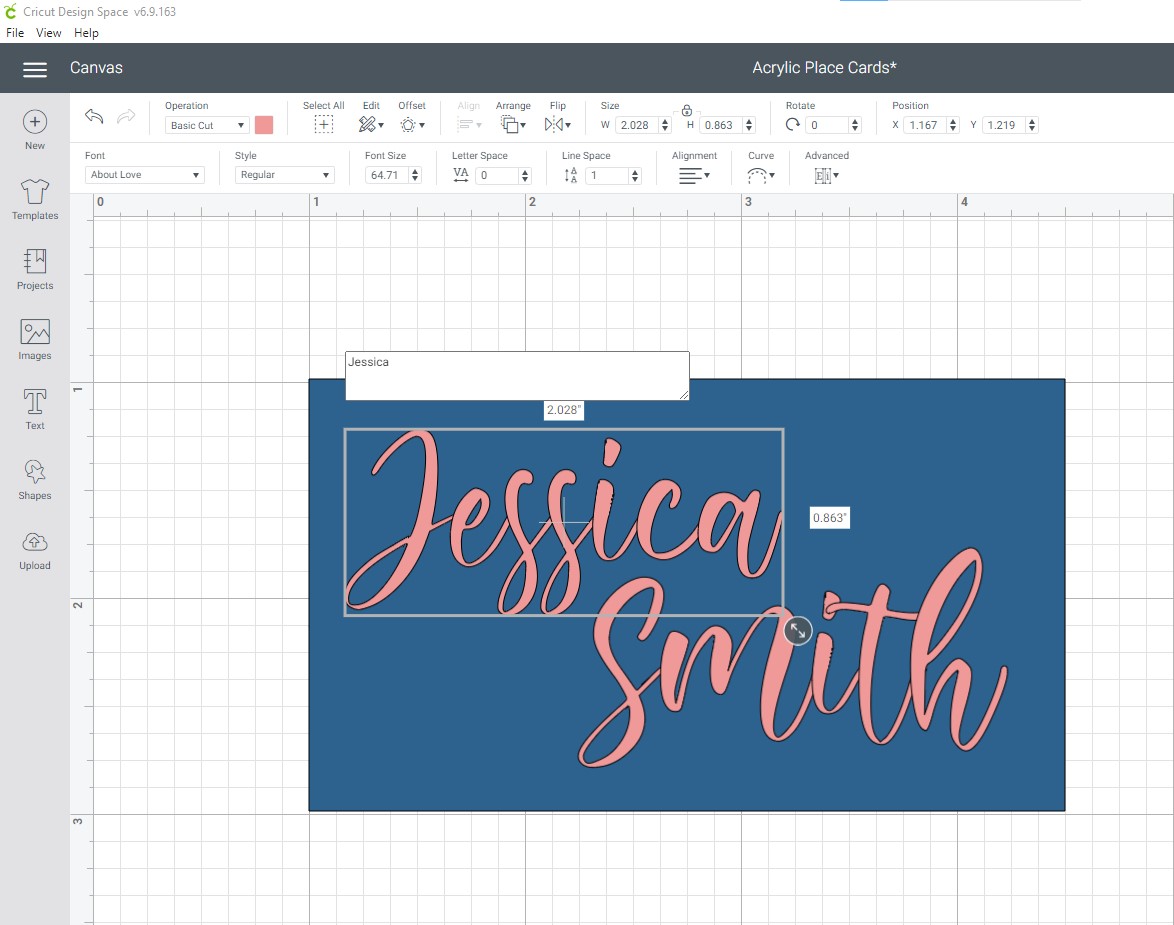
Select the text tool and type the names that will go on each place card. I chose to enter the first and last name in different text boxes so that I can adjust the names to fit on each place card. In this tutorial I am using the About Love font that I downloaded from Creative Fabrica.
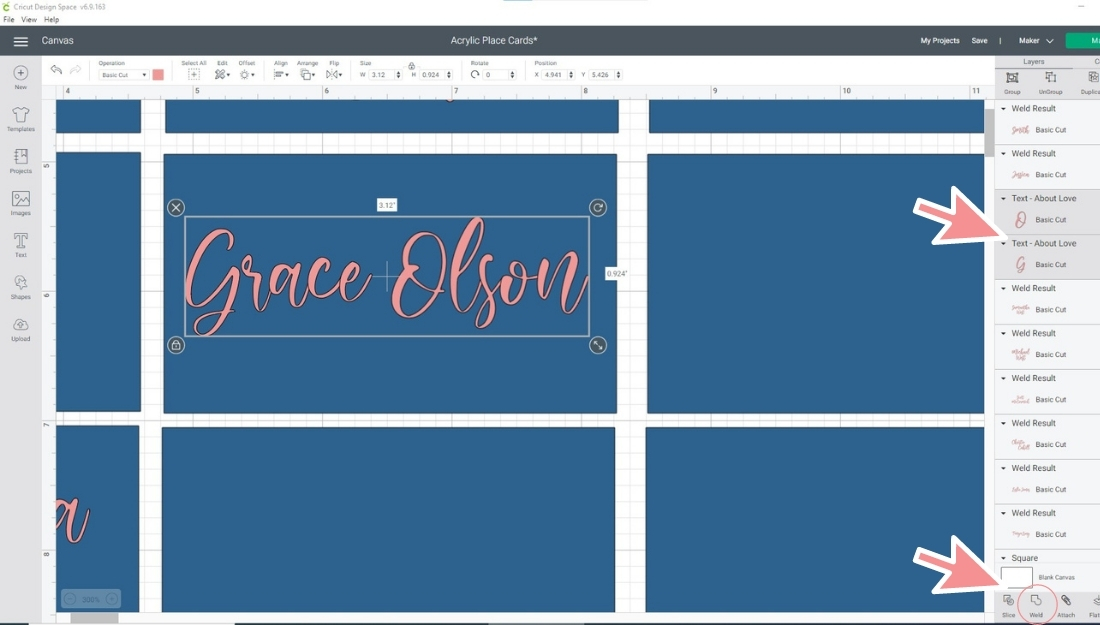
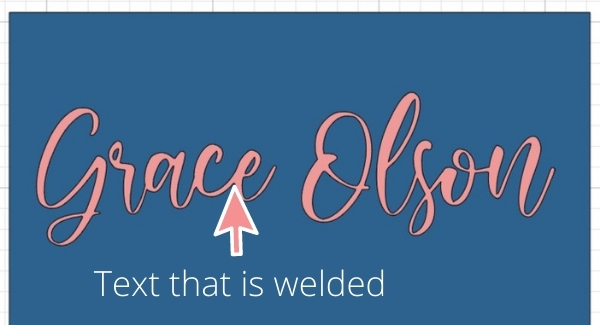
Adjust the layout of the first and last name how you'd like it to appear on the place card. Then select both the first and last name and then select weld.
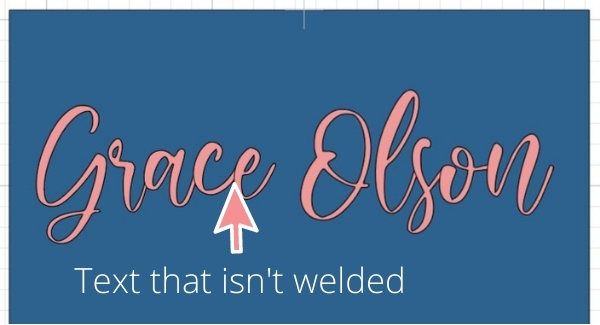
This does two things. First, it will ensure the vinyl doesn't cut the space between each letter. This is an important step when cutting cursive letters. Second, it will ensure the layout of the first and the last name is maintained when you send your project to your Cricut machine.
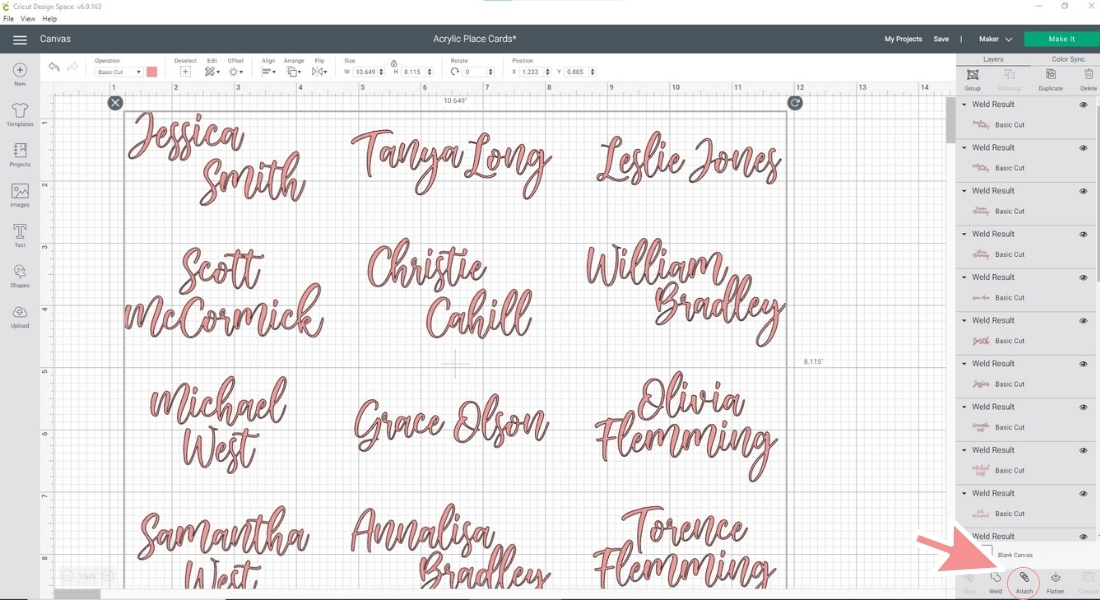
Repeat this process for each place card. If you are using a 12 x 12 cutting mat you can cut approximately 12 sets of place card names at a time. If you are using a longer cutting mat you can do more. Once you have all of the names entered and welded together you'll need to hide all of the rectangles you created. Otherwise, your Cricut machine will cut each rectangle.
After the rectangles have been hidden, select all of the names and attach them to the canvas. This will ensure you keep the current spacing between name sets. You don't have to do this, however I find it easier to have this spacing once I've removed the excess vinyl and added the transfer tape.
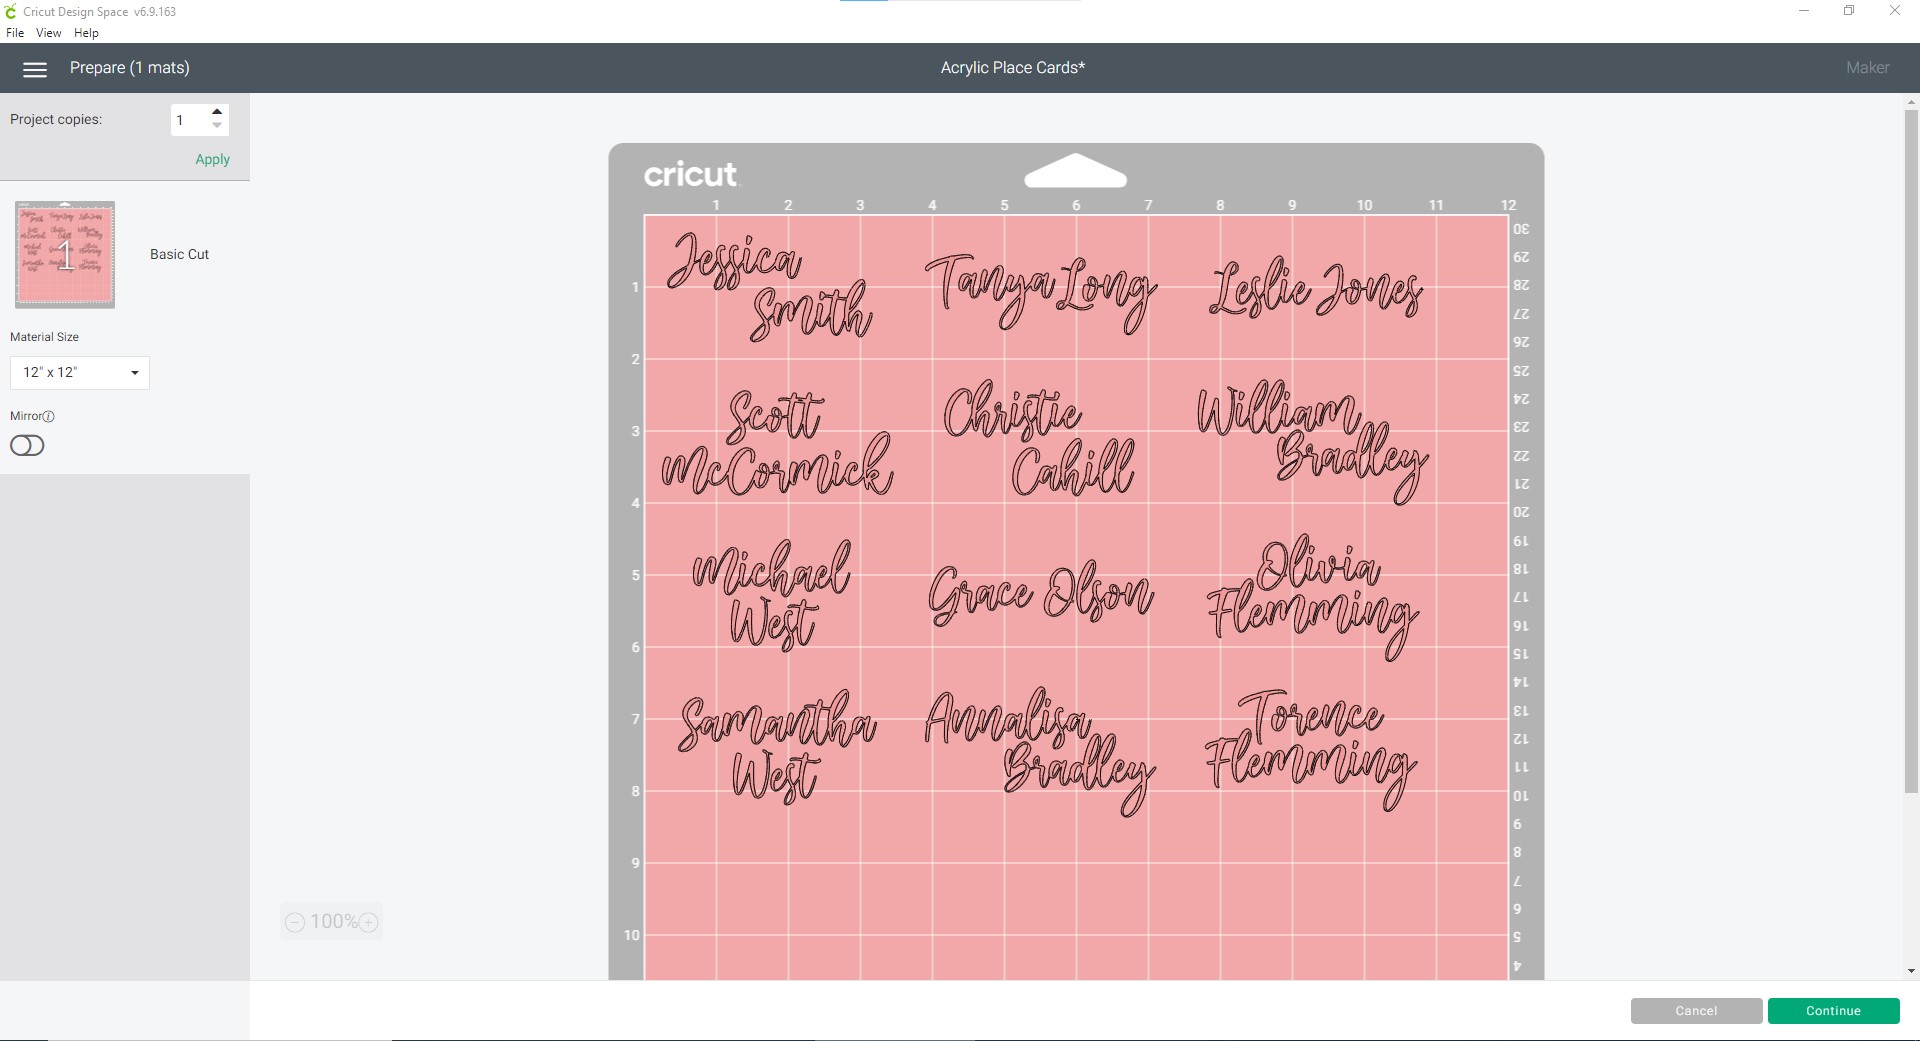
- Cut the Vinyl Using a Cricut Machine
Now that you've designed the lettering for the acrylic place cards, it is time to send the design to your Cricut machine to be cut.
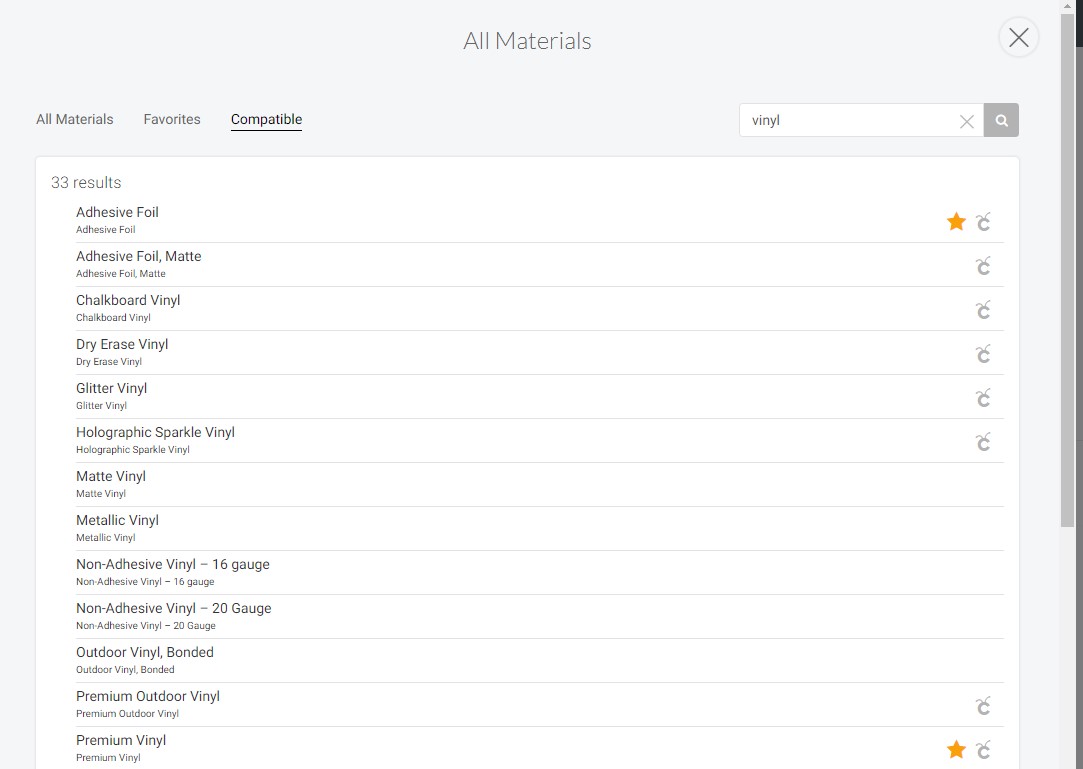
As you prepare your machine, you'll need to select the material you plan to cut. For this project, I used Cricut's rose gold adhesive foil.
Place the vinyl you plan to cut on a standard grip cutting mat and load the cutting mat into the Cricut. Make sure you have the appropriate cutting tool loaded as well. Simply follow the prompts from Cricut Design Space. When the little Cricut bug is flashing press Go. - Remove Excess Vinyl Using a Weeding Tool
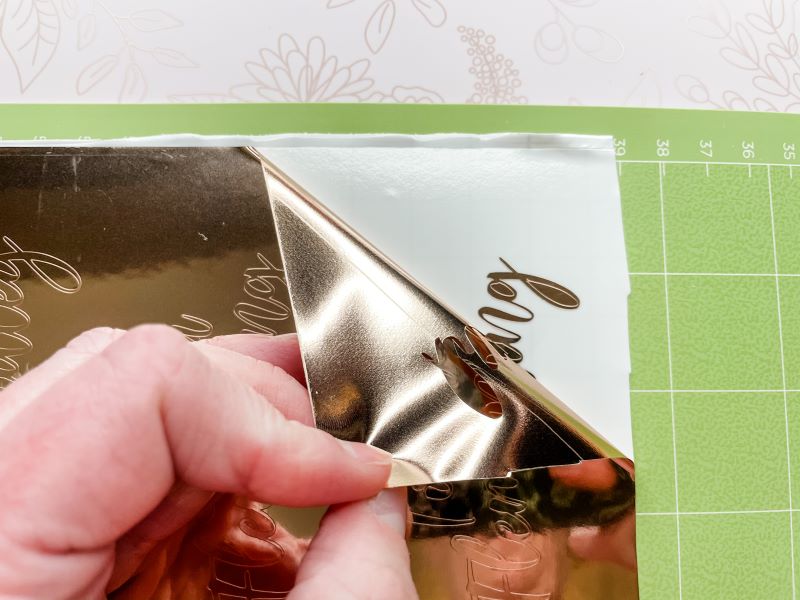
Once your machine has finished cutting the vinyl, it is time to remove the excess vinyl from the place card names. To do this, leave the vinyl on your cutting mat. Carefully remove the vinyl from the larger areas taking care not to lift the letters off the backing.
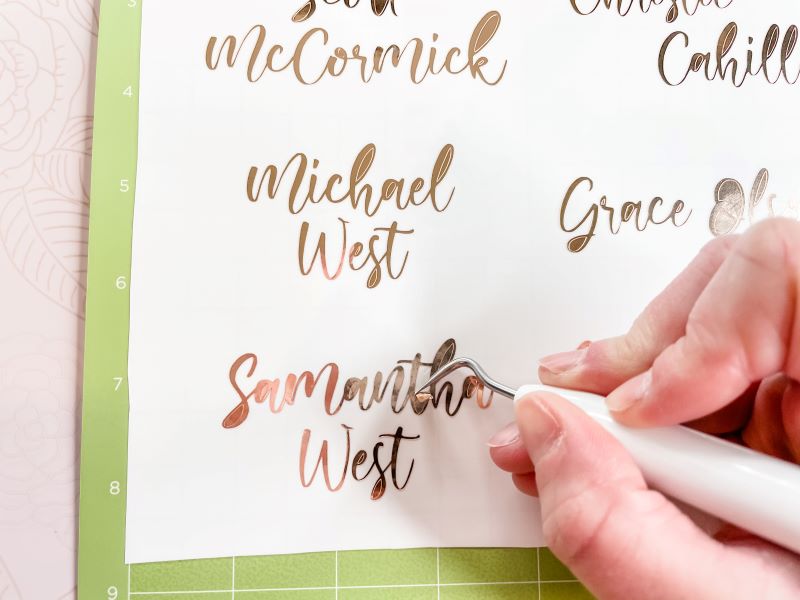
Then, use a weeding tool to remove the vinyl from inside the letters. - Place Transfer Tape Over Vinyl Letters
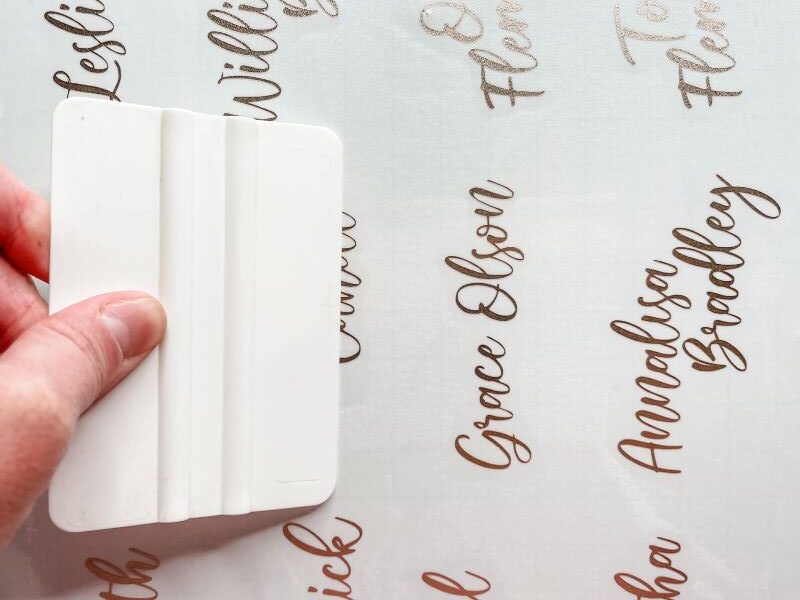
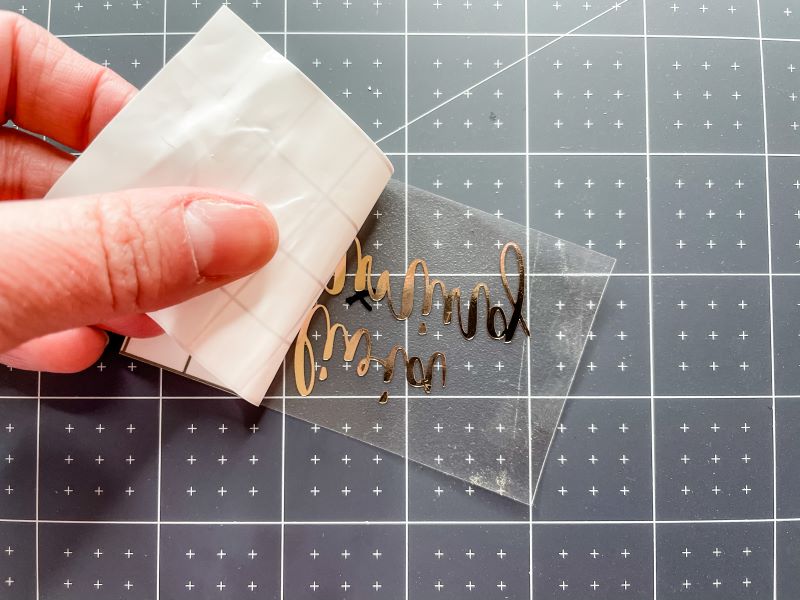
Once you've removed the excess vinyl from around the letters, you'll need to place transfer tape over the vinyl and burnish (rub) the transfer tape.
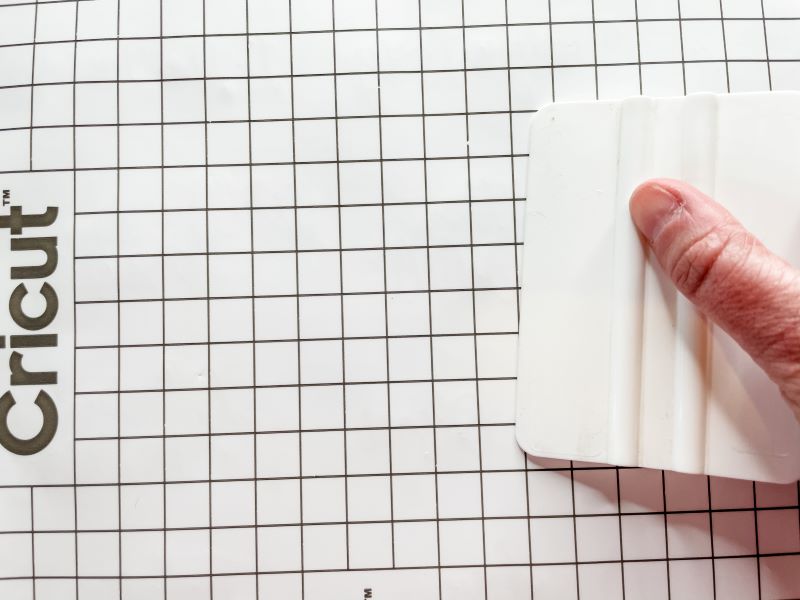
Then, flip the vinyl and transfer tape over and burnish the backing. - Trim Individual Names
Carefully trim out each name for the individual place cards. I like to mark the center of the vinyl by drawing with a pen or marker on the transfer tape. - Prepare the Acrylic Place Card Blanks
Your acrylic blanks will likely come with a protective backing on both sides. Use a measuring tape and a pen to mark the center of the acrylic place card. Flip the place card over and remove the front side protective backing.
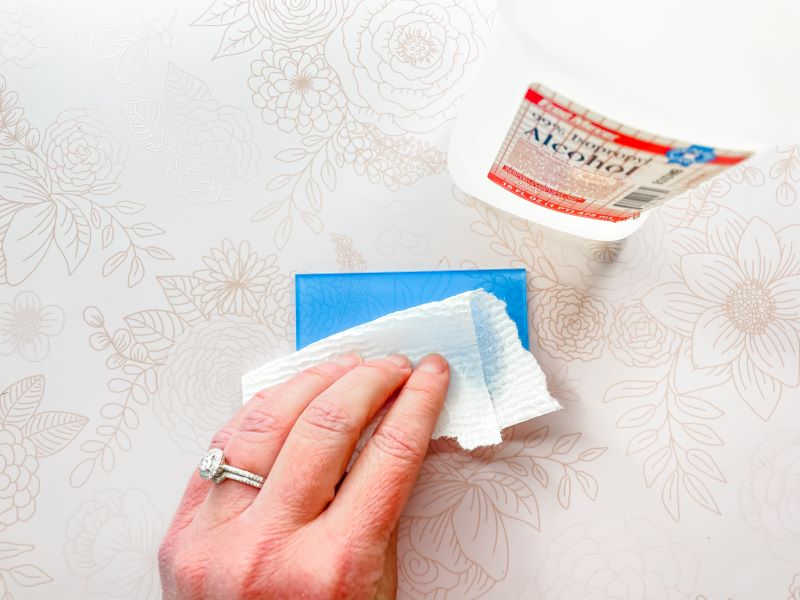
Clean the front of the acrylic using a paper towel and rubbing alcohol. Let the acrylic dry. - Remove Backing from Vinyl Names and Place Acrylic Place Card Blanks
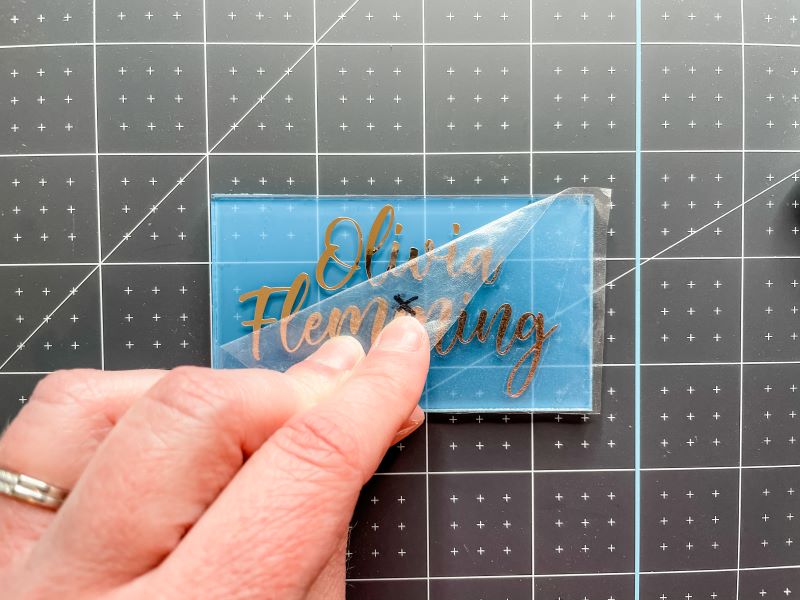
Once the front of the acrylic place card is dry, remove the backing from the vinyl letters. Align the marks you made on the transfer tape and the protective backing to ensure the letters are centered on the place card. - Remove Transfer Tape
Next, burnish the vinyl letters and remove the transfer tape from the acrylic. - Remove Protective Backing From the Acrylic
Once you've placed the vinyl letters on the front of the place card you can remove the protective backing from the back of the acrylic place card. If you are painting the back, be sure to clean the back with rubbing alcohol just as you did with the front side. - Paint the Back of the Acrylic Place Cards (Optional)
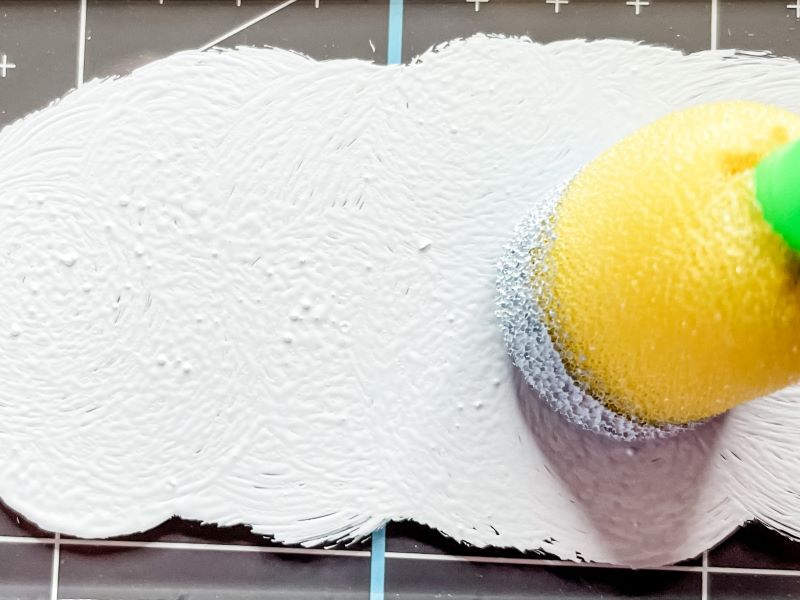
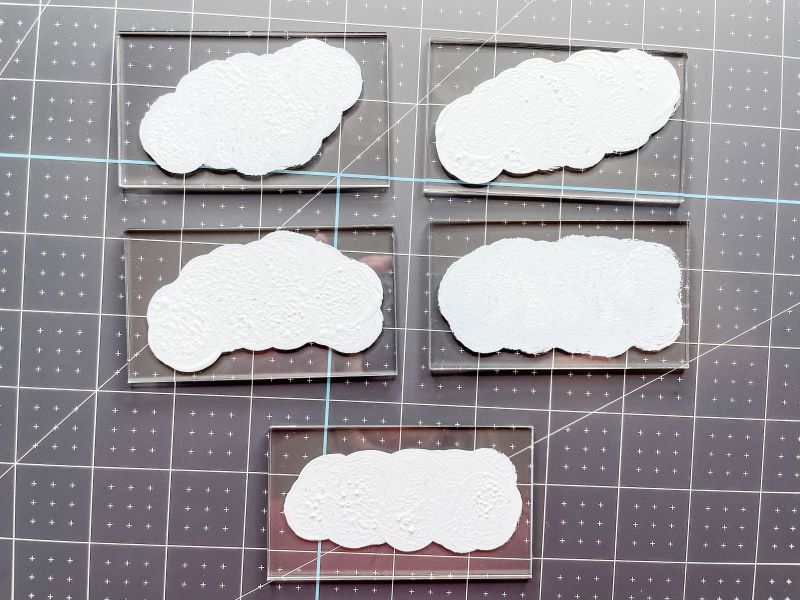
Using a sponge paintbrush, lightly dab acrylic paint on the back of the acrylic place card blank.
Once you've reached the desired appearance of paint, let the place cards dry for at least 12 hours.

Recommended Products
This post includes affiliate links. This means I earn from qualifying purchases at no additional expense to you.

How Can I Make Acrylic Place Cards Without a Cricut?
If you'd like to make these place cards for your wedding, but don't have a cutting machine like a Cricut, you can still make beautiful place cards using the trace method. I detail how to paint on acrylic using the trace method on this tutorial. Essentially, you would use a Google Docs, Microsoft Word, or Canva to layout the name for each place card. Print the names on regular printer paper. Then place the acrylic blank over the name and trace the names using a paint pen!
Whether you choose to use a Cricut to make acrylic place cards for your wedding or you choose to use the trace method, they will surely add a touch of elegance to your reception table decor. Please share pictures of your wedding reception place cards with us on Instagram.
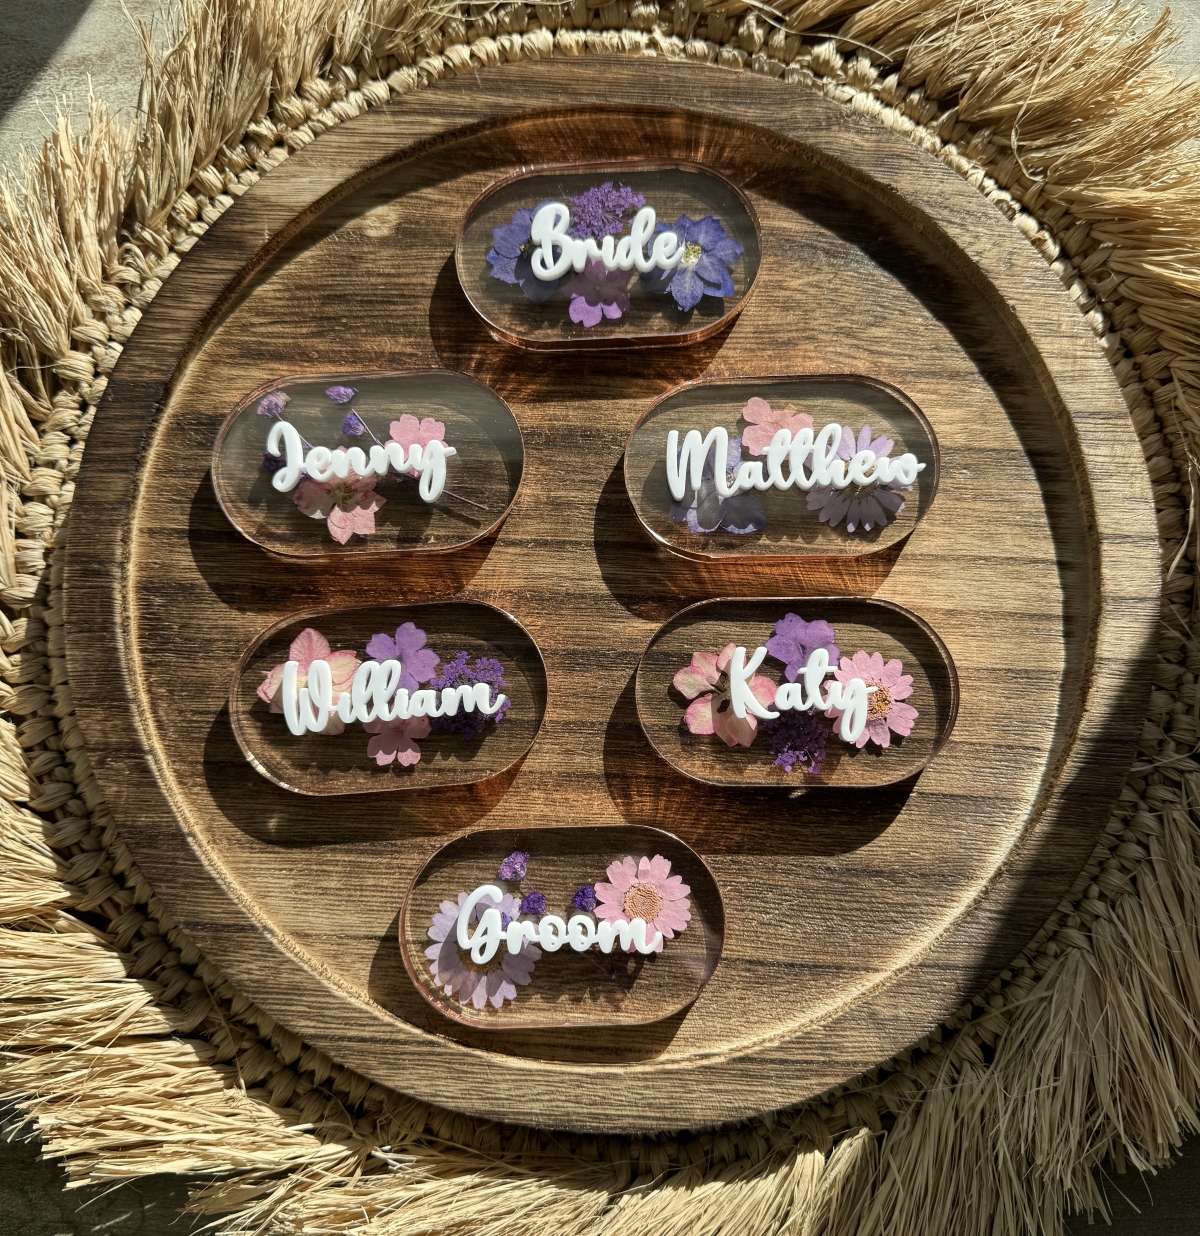
For a more elegant look, try making these pressed flower place cards.
If you're considering using your Cricut to create wedding invitations, be sure to check out our article on single line fonts for Cricut.