A DIY Guide to Making an Acrylic Guest Book for Your Wedding
Acrylic guest books have modernized the traditional guest book style, adding a contemporary twist! In this blog post, we'll show you how to create an acrylic wedding guest book using a CO2 laser cutter.
Not only do these guest books enhance the visual appeal of your wedding, but they also serve as elegant decor for your home post-celebration. Placing the guest book on your coffee table allows you and your spouse to fondly reminisce as you flip through its pages.

What is an Acrylic Guest Book?
An acrylic guest book is a modern spin on a traditional guest book. Instead of the classic book binding, the front and back cover are made from high-quality acrylic sheets and bound together using leather or faux leather. The inside pages are made up of cardstock. Acrylic lettering on the cover add a three-dimensional element that really make the book pop.
These unique guest books provide couples with a unique way to capture well wishes, messages, and signatures from their wedding guests, while also serving as a stylish keepsake to cherish for years to come.
This post includes some affiliate links for your convenience. This means that if you make a purchase, I earn a small commission at no added cost to you. For more information check out my privacy policy and disclosure.
31 Creative Wedding Guest Book Ideas
Tools & Materials

- Acrylic guest book laser design file.
- Cast acrylic in the color of your choice.
- Chicago screws to bind the guest book.
- Laserable leatherette or leather.
- Linen cardstock (or your preferred paper).
- Screw driver to tighten the Chicago screws.
- Microfiber cloth to wipe away fingerprints from the acrylic.
- 3M double sided tape (or adhesive of your choice).
- CO2 Laser Cutter (we used an Xtool P2 55W Desktop CO2 Laser Cutter)

How To Make An Acrylic Guest Book
Materials
Tools
- Xtool P2 55W Desktop CO2 Laser Cutter
- Screwdriver
- Microfiber Cloth
Instructions
- Download the design file and upload it into xTool Creative Space (XCS).
- Prepare to cut the acrylic for the spine, front, and back cover using the acrylic color of your choice. Before cutting, drag the elements for the leather and cardstock out of the cut area on your screen. We used 3 mm white cast acrylic (Power: 75, Speed: 20)
- Prepare to cut the leatherette by dragging the cut elements into the cut area on your screen. Drag the acrylic cut elements out of the cut area in XCS. We used white laserable leatherette. Tip: if you have a Cricut die cutting machine, you can also cut the leatherette with a deep point blade. Leather and leatherette can offput a smelly odor when cut with the laser.
- Use a two hole punch or your laser to cut the holes for the cardstock. We used 20 pages of cardstock.
- Design and cut the lettering for the guest book cover. Tip: before cutting the front cover, duplicate the lettering for the guest book names, create a slight inset, and lightly score the lettering on the cover. This helps you when placing the lettering on the cover. Add double-sided 3M tape to the back of the acrylic sheet you are using for the lettering, mirror the lettering, and cut the acrylic tape side up.

- Remove the paper masking from the acrylic. Wipe any residue off the materials that were cut in the laser.
- Assemble the guest book. Use a screwdriver to tighten the Chicago screws.

- Place lettering on the cover.
- Wipe any fingerprints off the acrylic using a microfiber cloth.


Notes
Chicago screws come in different sizes. You'll need two different sizes of screws for this project. To determine the sizes needed you'll need to measure the depth of all layers of acrylic + leatherette + paper (you'll need two screws at this depth). Then measure the depth of one layer of acrylic and leatherette (you'll need four screws at this depth).
Font used for names: Fabulous Script (an Adobe font)
More Acrylic Wedding Project Ideas:
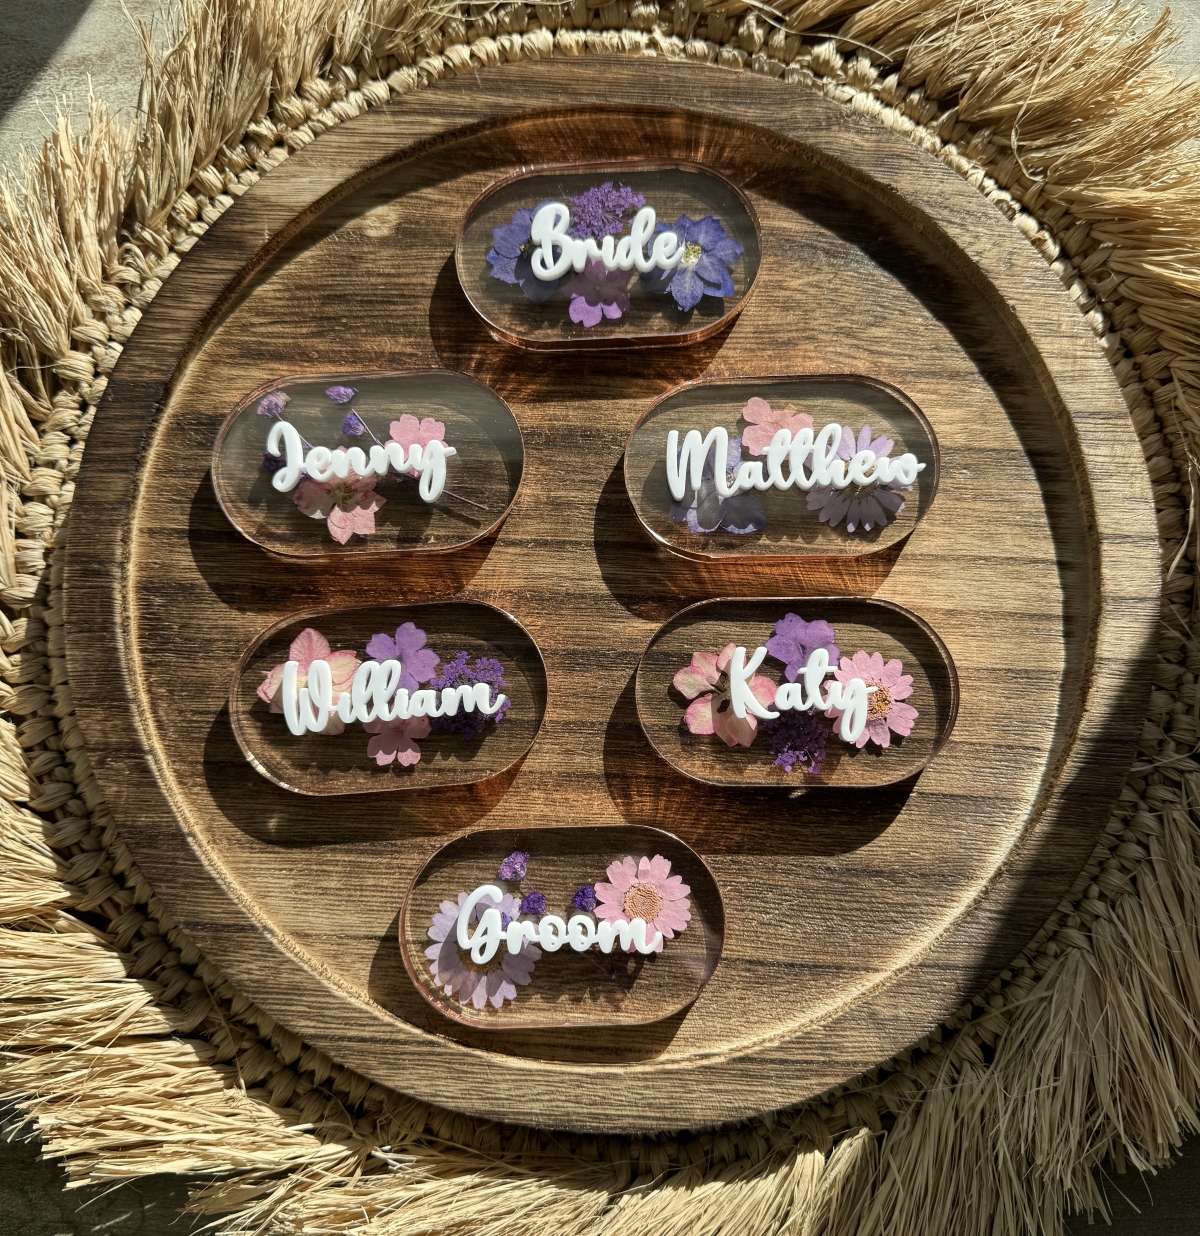
Acrylic Pressed Flower Placecards