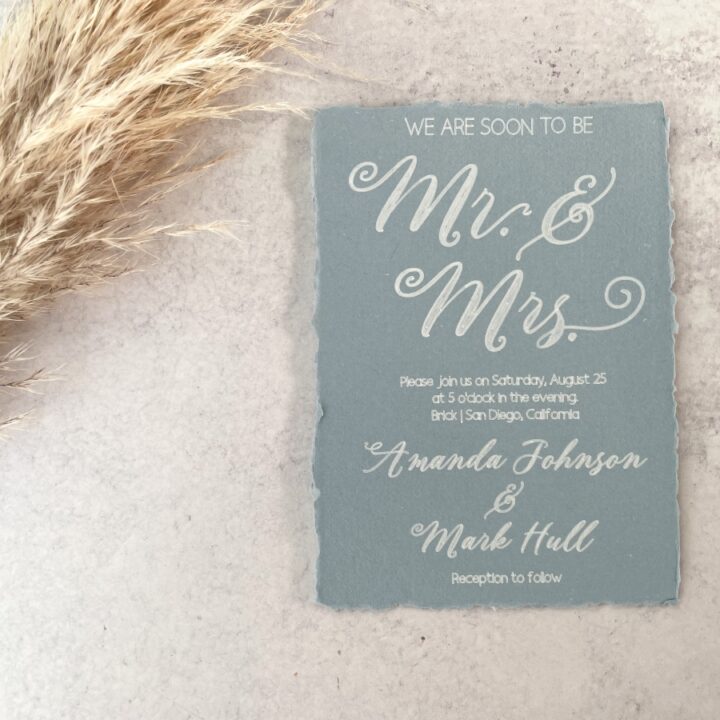
Stunning DIY Dusty Blue Wedding Invitations
Are you considering making your own dusty blue wedding invitations? If so, this post will show you how to create stunning dusty blue wedding invitations using a Cricut. Wedding invitations are the first impression your guests will get of your wedding, including the overall vibe and color scheme. So if you're planning a dusty blue wedding, these deckled edge invitations are a sure-fire way to impress your guests.
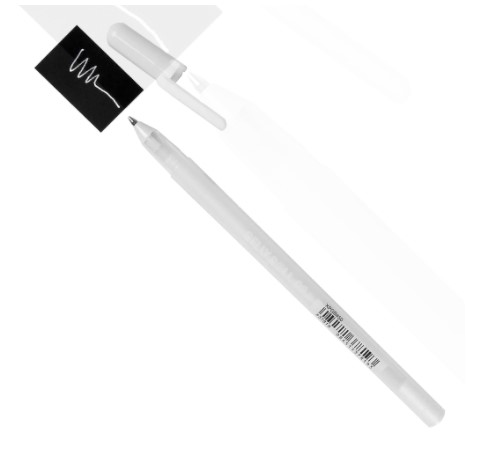
Added bonus - they will save you a ton of money on wedding stationery. This project uses handmade linen paper and a white gel pen to create the look of white ink printing.
This post includes some affiliate links for your convenience. This means that if you make a purchase, I earn a small commission at no added cost to you. For more information check out my privacy policy and disclosure.
Before we jump in, there are a few key details to get you prepared.
Etsy has a wide variety of shops that sell handmade paper with torn edges. In this project, we purchased our handmade linen paper from Fringe and Rose. Another option is to create the deckled edges yourself using a deckled edge ruler. 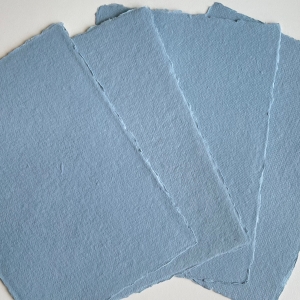
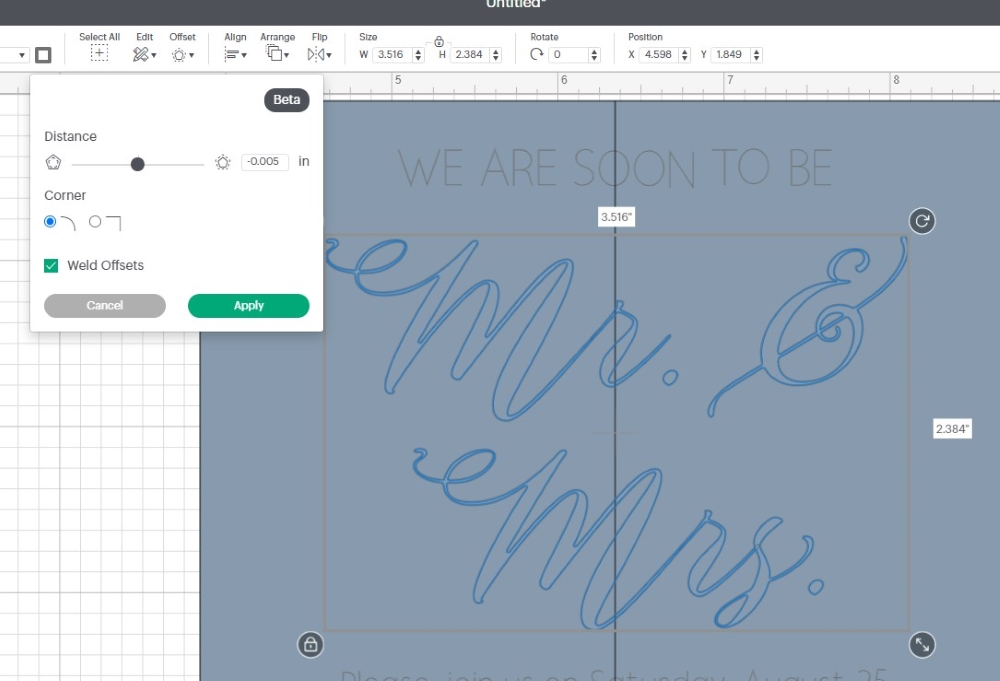
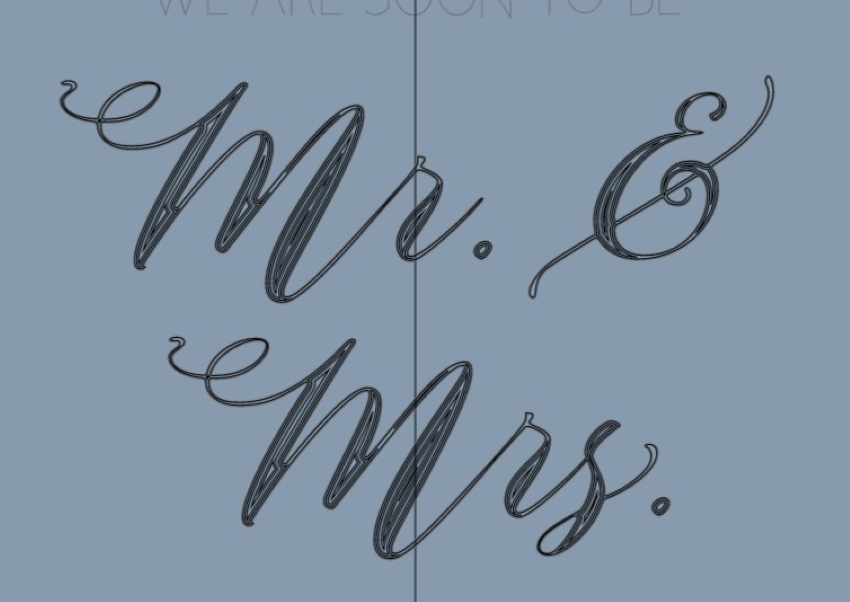
Unless you select a single-line font when using the Cricut pen tool, the pen tool will outline the font rather than fill it in. In most cases, this is not the desired outcome, especially for wedding invitations. For this project, I am using the offset tool to create additional paths for the pen tool to follow. The ultimate result is a bold script font that is completely filled in. Rather than adding an offset, I am simply creating an inset by adding a minus sign in the distance section of the offset tool.
You'll need an adapter to use non-Cricut brand pens with your Cricut machine. Remember that using an adapter will void your machine warranty with Cricut, so proceed with caution. I am using my Cricut Maker in this project, which I purchased over a year ago. So, it is already outside of the warranty timeline with Cricut. There are many options for Cricut pen adapters on Amazon.
Materials and Tools
- Cricut Maker or Explore
- LightGrip Cutting Mat
- Cricut Pen Adapter
- White Sakura Gelly Roll Pen
- Handmade Linen Paper
For inspiration and support, be sure to join our free Facebook community: Cricut DIY Weddings.
How to Make Dusty Blue Wedding Invitations With a Cricut
Create your own dusty blue wedding invitations with your Cricut machine, dusty blue cardstock, and a white gel pen!
Instructions
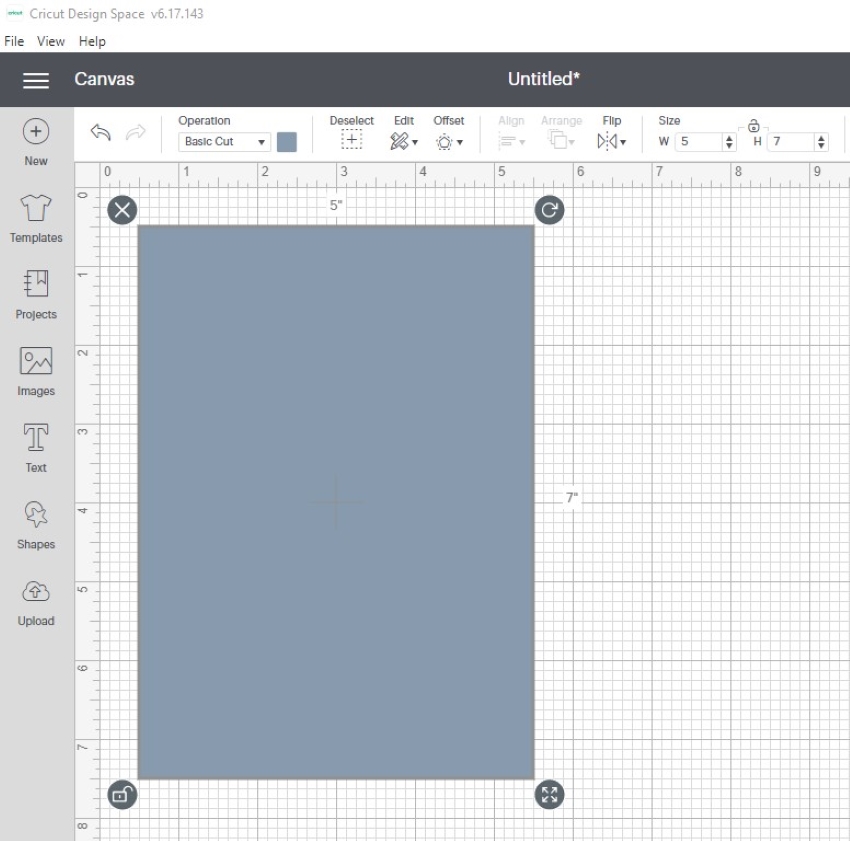
- Open Cricut Design Space and create a 5 by 7 inch rectangle.

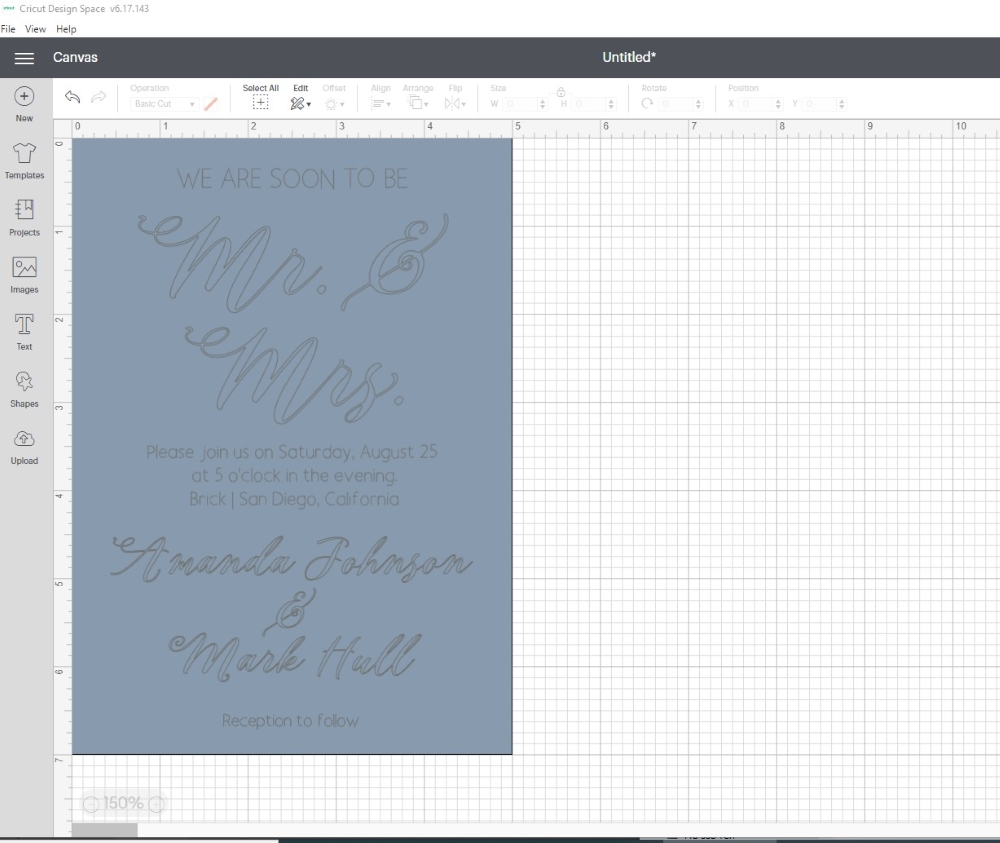
- Add the wedding invitation text with your chosen fonts using the text tool. I used Husna Script for the script font and Dear John for the Sans Serif font for this project.

- Design the layout of your wedding invitation text using the 5 by 7 inch rectangle you created in step one as a guide.
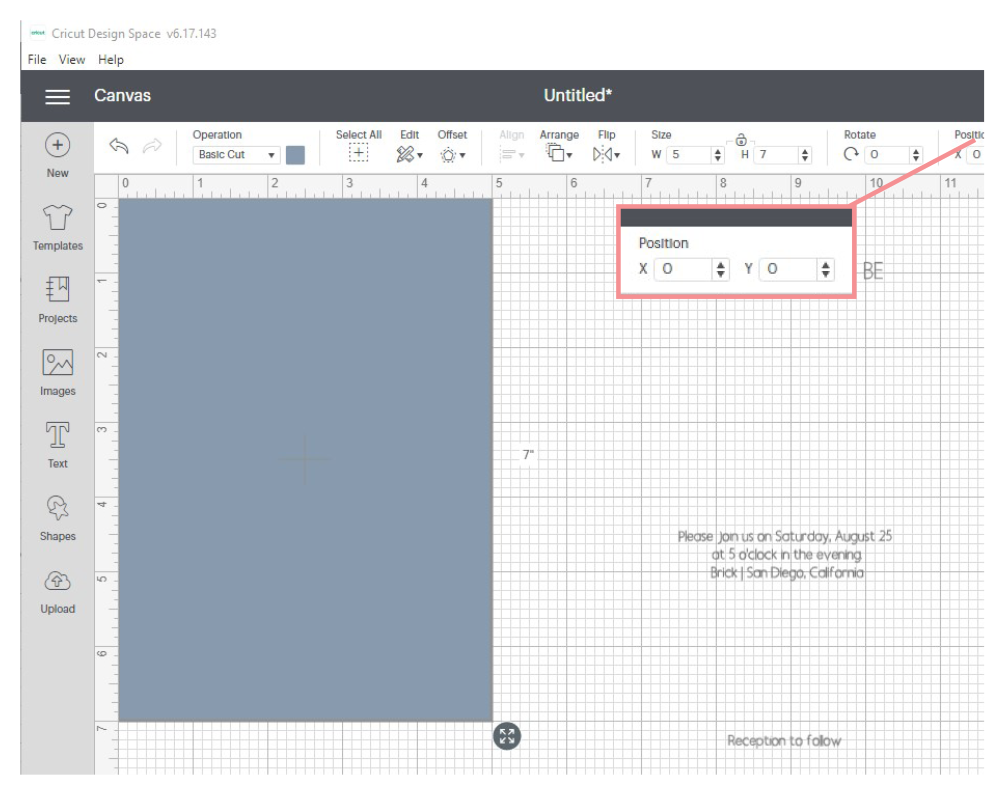
Pro tip: If you struggle with lining up text in Design Space for signs, invitations, or envelopes, try this tip. First, select the shape that the words will be placed on. Then, find the position or axis tool and enter zero for both the X and Y axis. Second, create a line and change the operation to cut or pen. The default is score. Find the axis tool again and change the position of your line to X: 2.5 Y: 0. Now when you put your invitation text inside the rectangle shape you can ensure that the letters are centered on the invitation by aligning the text crosshairs with the line. Just be sure to remove the line after designing the layout.

- Check to make sure each text element is set to pen for the operation.
- Create several insets with your script font. This will create additional paths and allow your pen tool to fill in the script text rather than outline the font. The number of times you need to inset the text depends on the font you use and the size you have the font set to.
Select the text, then select offset. Adjust the distance to -0.01 or -0.005. You will see a blue line appear inside the original text. Select apply. This will create a new pathway of welded text. This smaller pathway will still be selected after selecting apply. Now, select offset again. You may need to adjust the distance value depending on how the blue inset lines look on your screen. Repeat this process four to five times until it looks like your pen tool will have good coverage inside the original text. Next, select all newly created pathways and adjust the pen color to match the original text. Repeat this process for any other script font on your invitations.

Pro tip: test your insets with scrap cardstock before using the special paper you've purchased for your wedding invitations. This will allow you to make adjustments without wasting precious paper. - Now, hide the rectangle and the line you created earlier. Select all and attach. Then, select Make It. Adjust the text on your screen to where you've placed the 5 x 7 inch paper on your cutting mat.
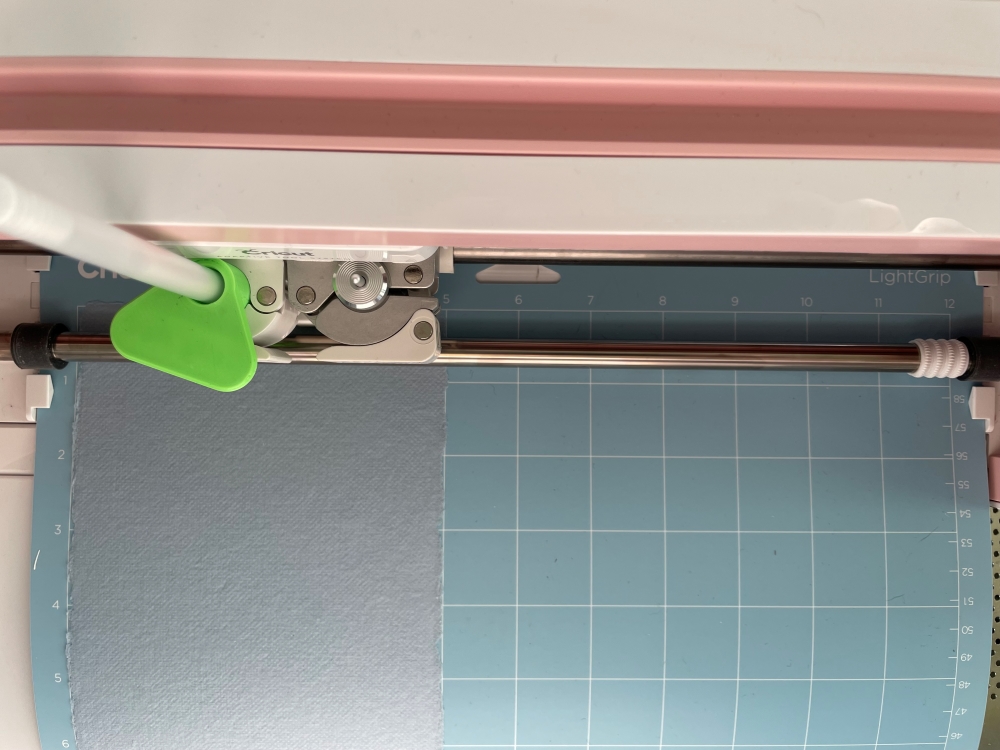
- Power on your Cricut machine. Gently remove the white pen holder from Clamp A. Insert the Cricut Pen Adapter for your Gelly Roll pen and insert your Gelly Roll pen. Close Clamp A. Slide the star wheels on your Cricut all the way to the right. This will help preserve the integrity of the handmade paper and prevent the gel pen from smearing.
Reminder: using a non-Cricut brand tool or attachment with your machine will void your warranty.

- Gently place your chosen paper on a light grip mat. Use a brayer to secure the paper to the mat. Load the mat in your Cricut and follow the prompts in Design Space.


Once your Cricut machine has finished writing with the pen tool you can unload the cutting mat. Flip the cutting mat over and bend the cutting mat back away from the invitation.
Notes
When using handmade paper it is best to use a well used light grip cutting mat. Newer mats are too sticky and will cause the paper to stick to the mat.
Recommended Products
This post includes affiliate links. This means I earn from qualifying purchases at no additional expense to you.
Read this article to learn how to address envelopes using your Cricut.
Click here for more Cricut wedding invitation ideas.