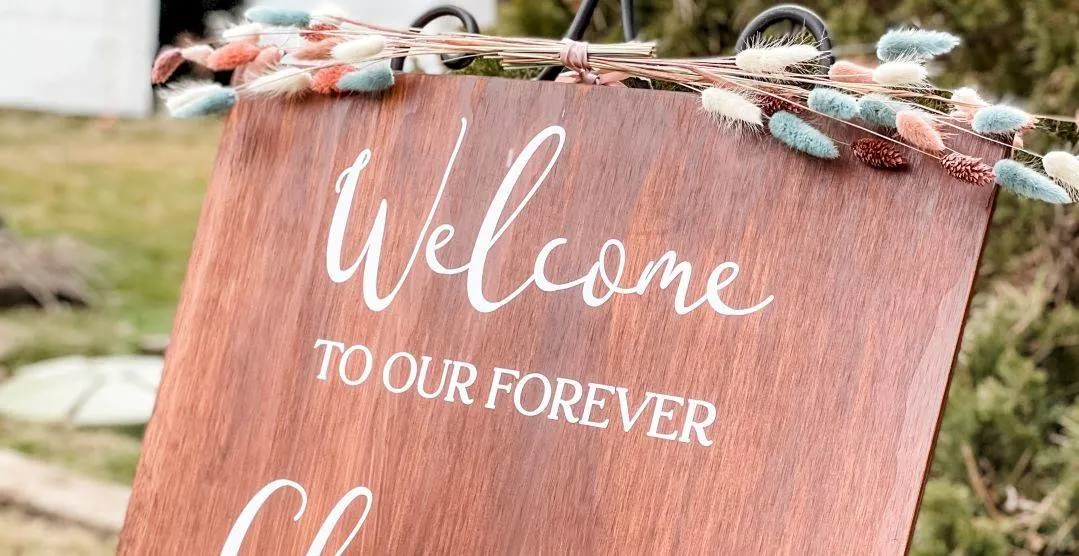
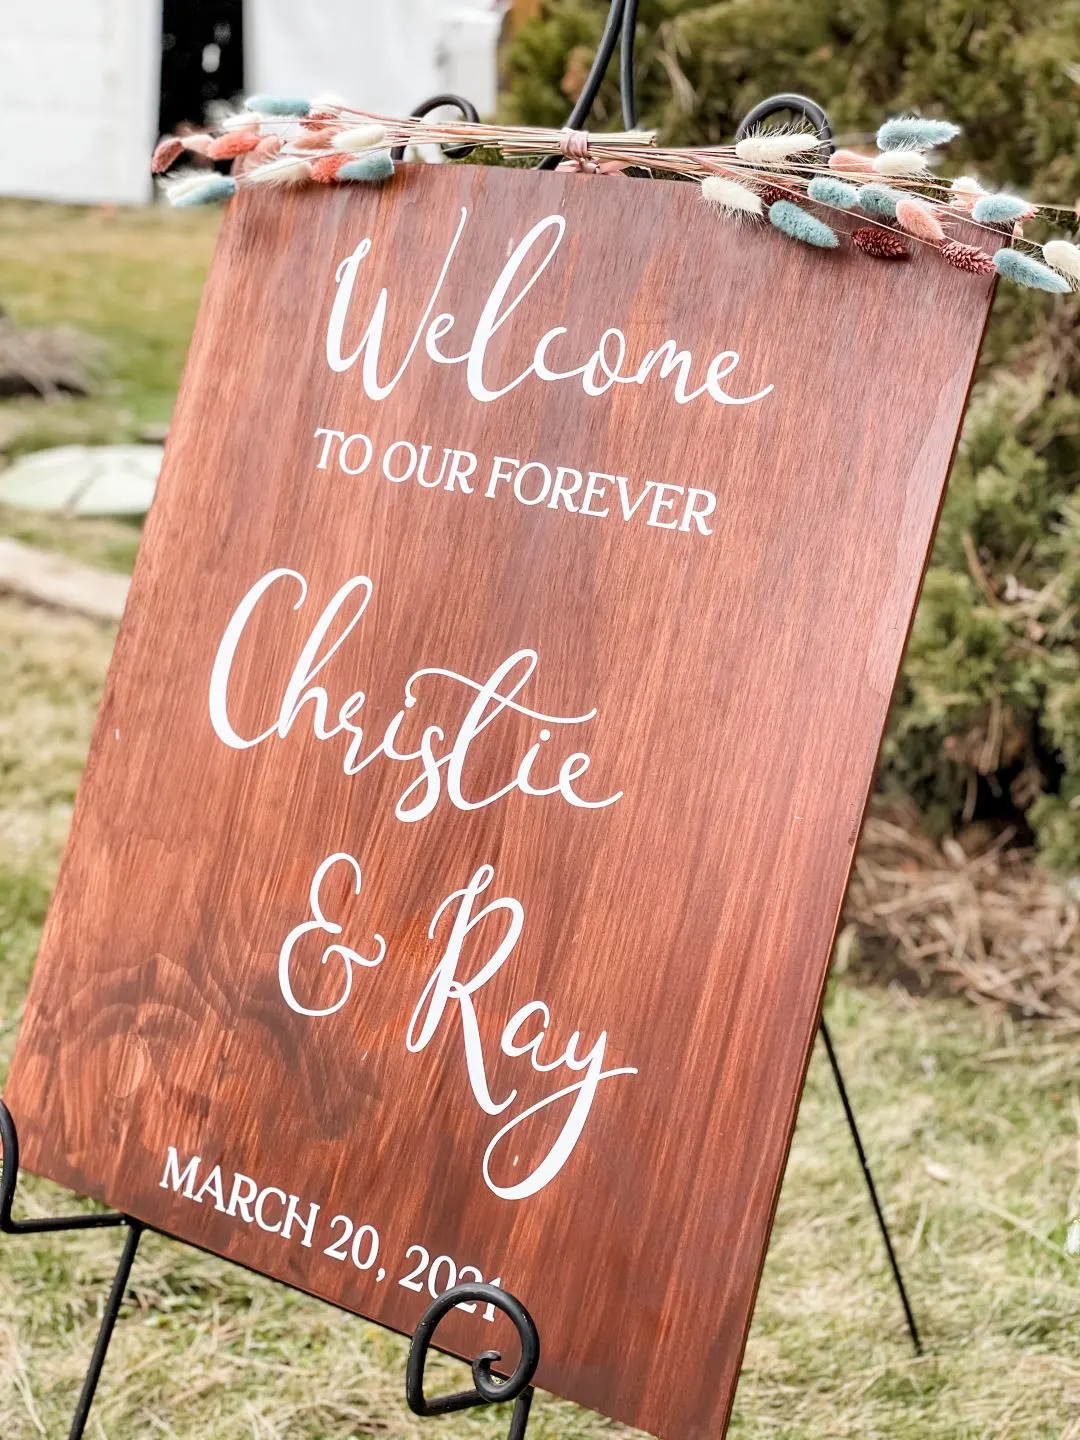
There are quite a few ways to create a wedding welcome sign. In this tutorial I will demonstrate how to create a wooden wedding welcome sign with just a few materials. Anyone with a cutting machine (Cricut, Silhoette, etc.) can easily create a sign like this.
This post includes some affiliate links for your convenience. This means that if you make a purchase, I earn a small commission at no added cost to you. For more information check out my privacy policy and disclosure.
Materials Used in This Project
Where do you buy materials for a DIY welcome wedding sign?
The base material for this project is a piece of thick 2 foot by 4 foot project plywood. This can be found at any hardware store, like Home Depot or Lowes. I cut my sign down 2 feet by 3 feet long. If you don’t have a way to cut plywood at home, just ask an employee at the hardwood store. They’ll be happy to cut your project board to the correct size for your sign.
If you are planning to add stain to your sign, you can get this at the hardware store when you pick up your project board. All other supplies can be found at your local craft store. We purchased our materials at Michaels.
How much does it cost to make a wood wedding welcome sign?
Using the materials listed above, the total cost for this project was less than $50. Similar signs on Etsy sell for around $100. There is a considerable savings in this project and the added sense of accomplishment and pride that comes with any DIY project.
For inspiration and support, be sure to join our free Facebook community: Cricut DIY Weddings.
How to Make a Welcome Wedding Sign
Step 1: Prepare the wood
After you’ve cut the wood project board down to the size you’d like your sign to be, you’ll need to spend some time sanding the board. Be sure to sand both sides of the board as well as the edges. Take a clean cloth and wipe away any dust or dirt from the board.
Step 2: Paint or stain the board
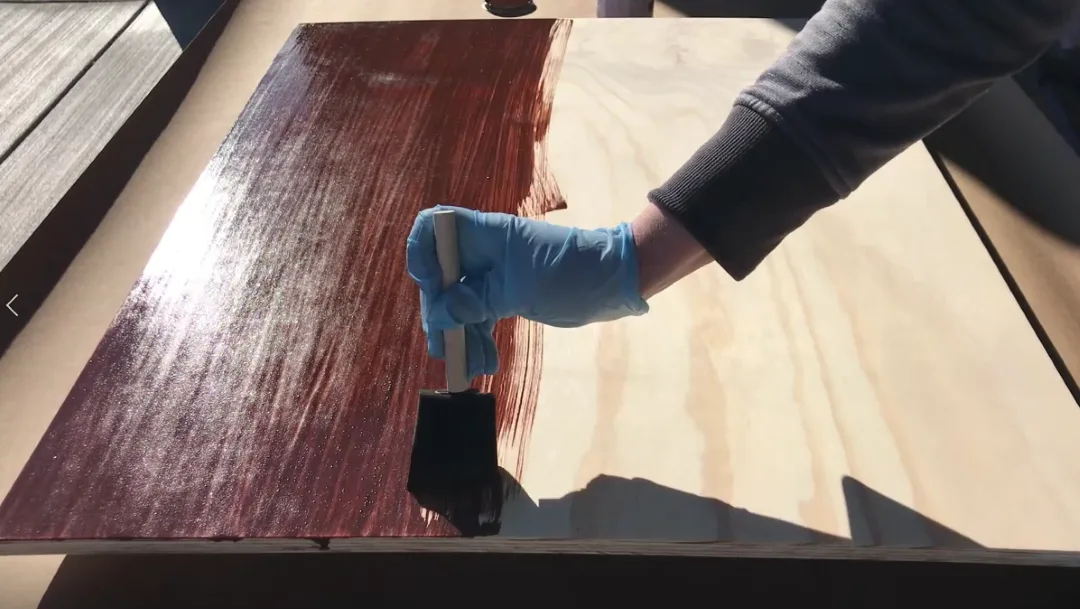
Apply a layer of paint or stain to the sanded, clean board. If you are staining the board wear gloves to protect your skin. I used some scrap wood to elevate my board while painting the front and the sides. Protect the surface of your work space with a plastic liner or butcher paper. Once the front and side of the boards are dry, flip the board over and paint the back side.
Step 3: Prepare the design file
While you are waiting for the board to dry, start designing the sign.
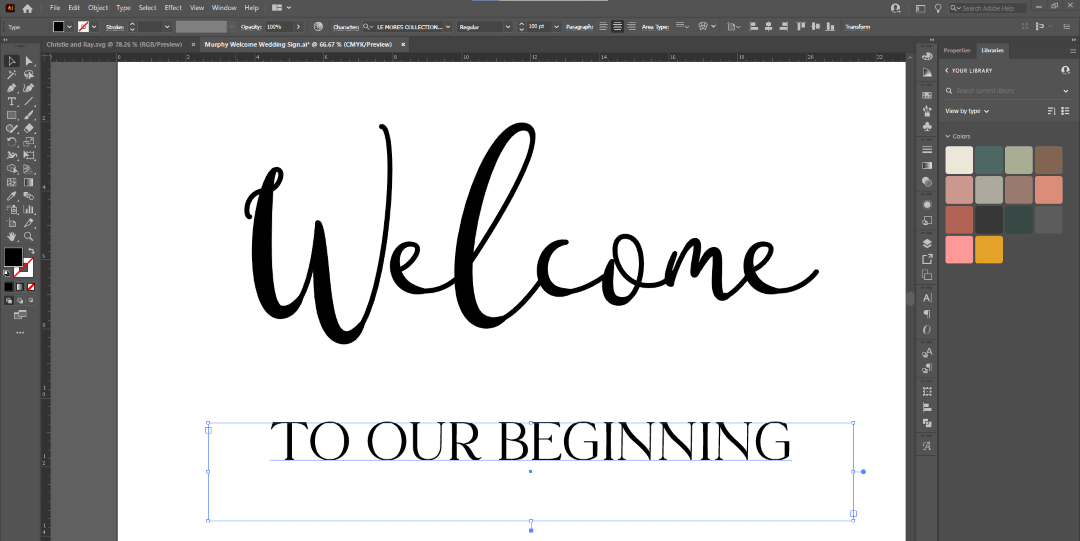
You can design the layout of your sign directly in Cricut Design Space. Typically I don’t do this because I use a lot of cursive fonts and I don’t like how you have to individually connect the letters in a word to get the cursive font to look right. You can use the free version of Canva and export your file as a jpeg or png file. With this option you’ll need to use the slice feature in Design Space so that you can cut the words out in the appropriate size.
If you’re using a Silhouette cutting machine you can use Silhouette Studio to design the layout.
For my project, I designed the layout of the sign in Adobe Illustrator and then exported the file as an svg file. After exporting the svg file I imported the file into Design Space, ungrouped the words and individually attached the words to my canvas.
Step 4: Cut the vinyl
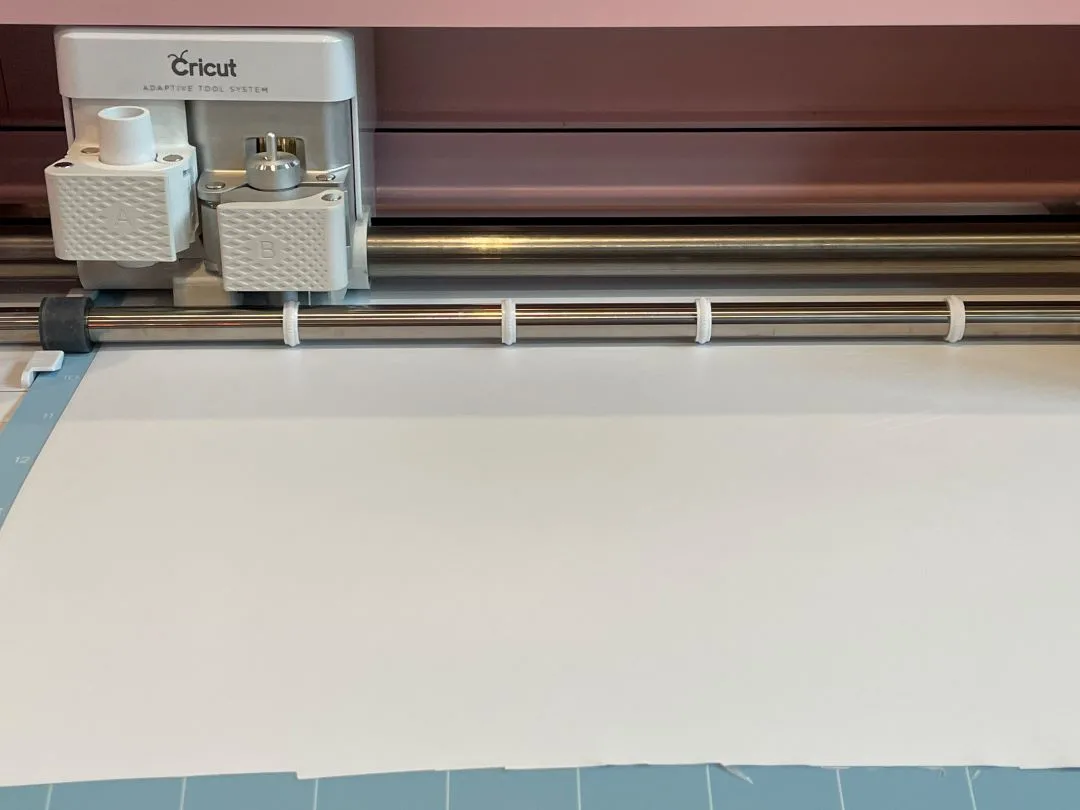
Once you’ve set up the design in either Cricut Design Space or Silhouette Studio it is time to cut the vinyl letters. Follow the instructions in the design software to send the design to your cutting machine.
Step 5: Weed the vinyl
After the vinyl letters for your sign have been cut, remove the extra vinyl and use your weeding tool to remove the vinyl from the smaller areas inside the letters.
Step 6: Attach transfer tape to the vinyl letters
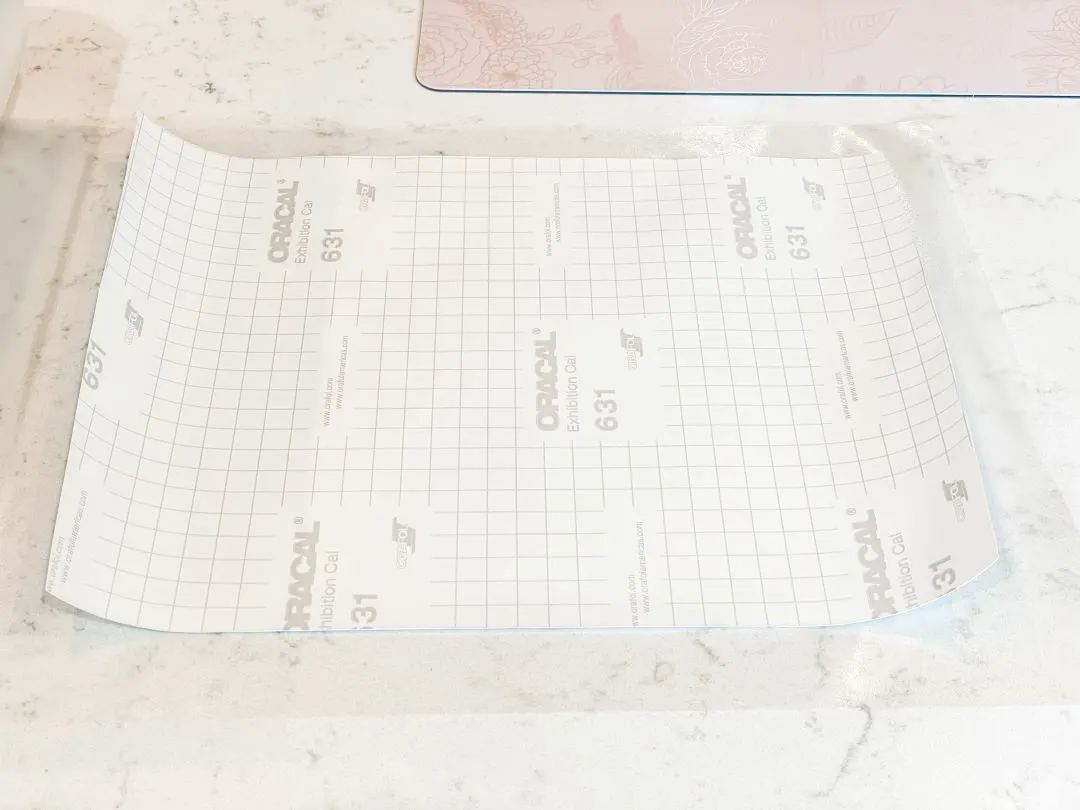
Place a layer of transfer tape on the top of the vinyl letters. Since I have a large roll of transfer tape I find it easier to apply transfer tape to larger vinyl project by unrolling the transfer tape on a flat surface, sticky side up. Then I place the vinyl on the transfer tape, like pictured above. Trim the excess transfer tape and repeat the process for each section of vinyl letters.
Step 7: Align letters on wooden board
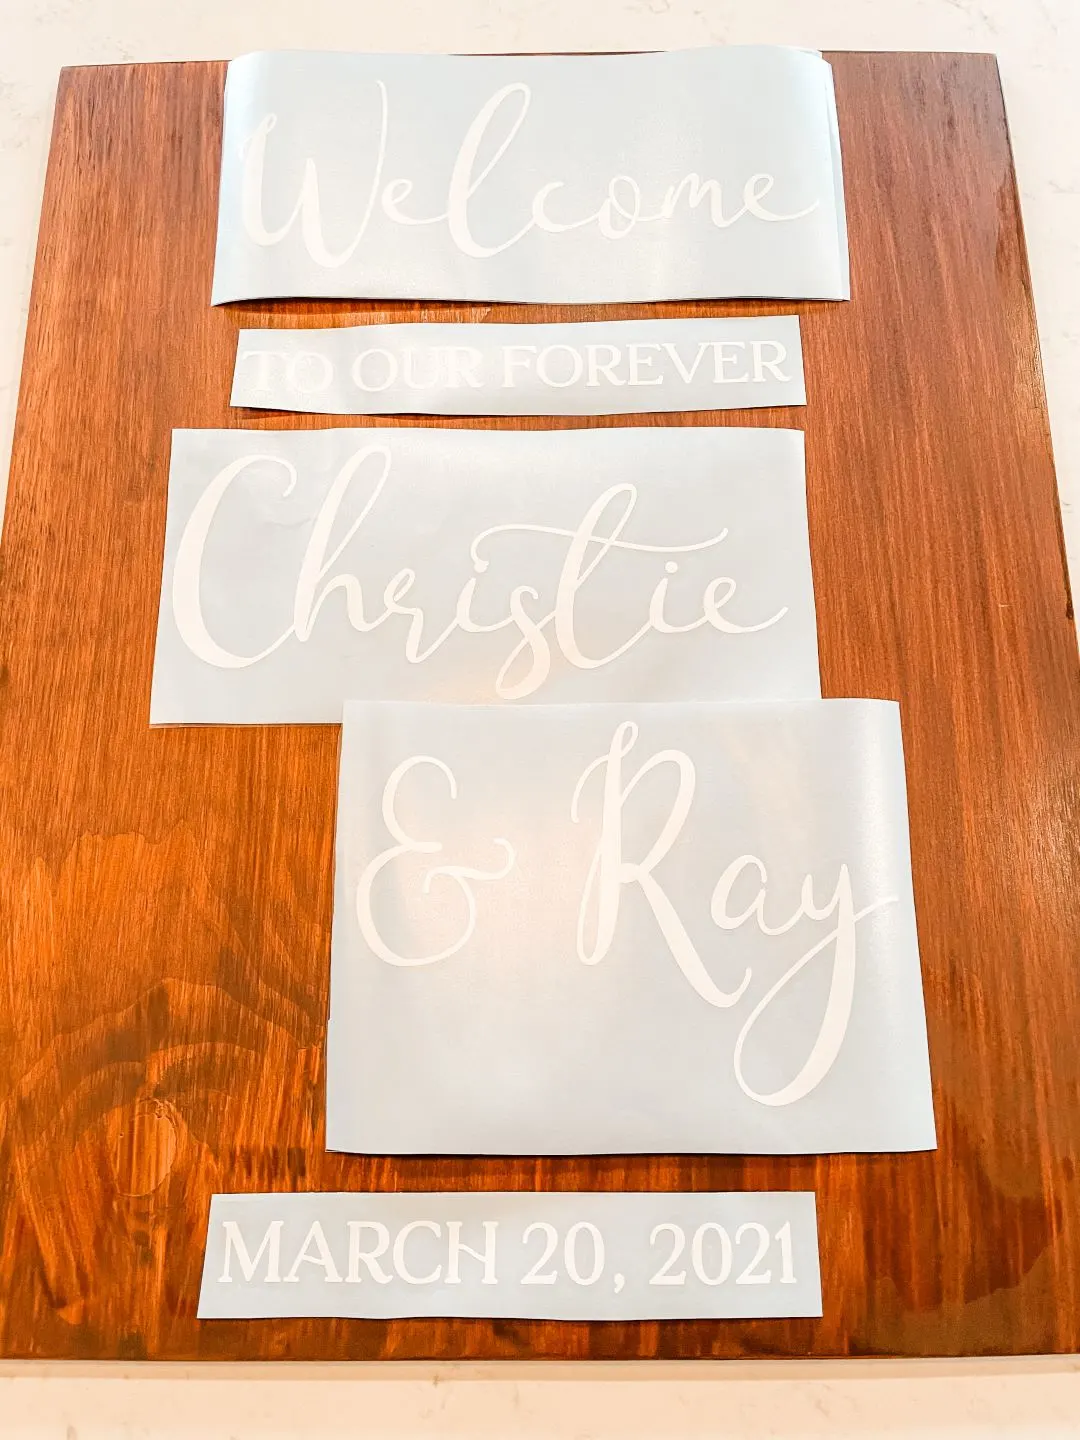
Since this is a larger project, you’ll need to align the letters on the large board. I like to use painters tape to mark the middle of my board at the top and the bottom. Then I mark the middle of each section of vinyl letters with a pen on the transfer tape. This ensures the letters are straight once applied to the sign.
Step 8: Attach letters using the hinge method
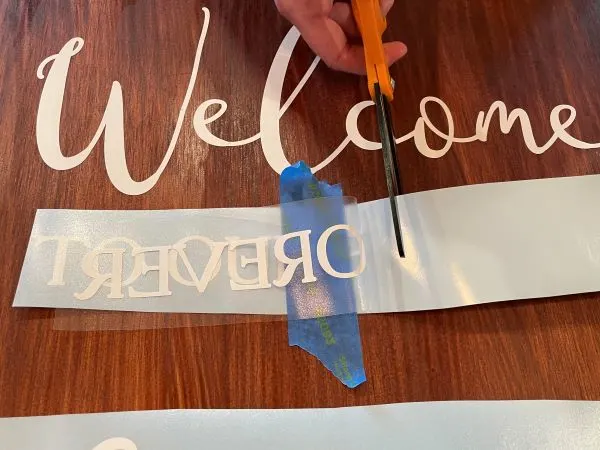
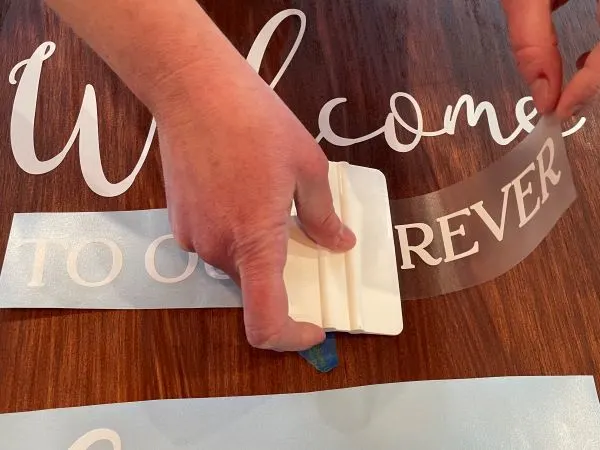
Place a piece of painter’s tape or masking tap vertically across the middle of the vinyl letter section. Gently pull up on the transfer tape to remove the vinyl letters from the backing. Carefully cut the backing and use your scraper to press the vinyl letters and transfer tape onto the wood board. Repeat this process for the other side of the vinyl letter section. This is called the hinge method and it helps you to apply the words straight on the sign.
Trust me, this method of vinyl application will save you tons of vinyl and tears!
Conclusion
This easy DIY wood wedding sign is a perfect first impression for your wedding guests. The sign will hold up against any type of weather and makes for great front porch home decor after the wedding! Best of all, it is budget friendly costing you less than $50.
Check out our list of single line fonts for Cricut – perfect for DIY wedding invitations.
