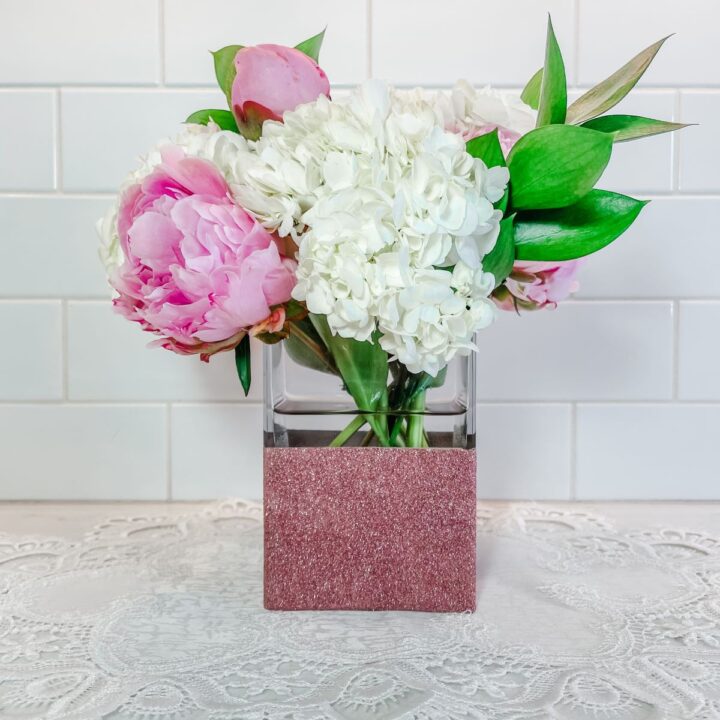
How to Make a DIY Glitter Vase for Your Wedding
Glam up your wedding reception table decor with these DIY glitter vases. A fun way to incorporate your wedding color palette into your table decor. In this tutorial, I will show you how to add glitter to a glass vase using Mod Podge and extra fine glitter. Grab your glitter, and let's get started!
This post includes some affiliate links for your convenience. This means that if you make a purchase, I earn a small commission at no added cost to you. For more information check out my privacy policy and disclosure.
Materials Used in This Project
Frequently Asked Questions
Where is the Best Place to Purchase Inexpensive Vases?
If you are looking to purchase a lot of vases for your wedding and don't care if they match, thrift stores are the way to go. However, if you want all or most of the vases to match, you'll want to check out online wedding resale groups on platforms like Facebook. Often you can snag a super good deal on wedding decor - including vases - that have been used once by another couple.
Another great place to get vases in bulk is through MichaelsPro. There you can purchase larger quantities of vases and other craft items at a discounted price. Best of all, you don't need a business account to take advantage of the bulk pricing discount.
What is the Best Glitter to Use on a DIY Glitter Vase?
There isn't a specific brand of glitter that works best for adhering to the glass. What you'll want to look for when choosing a glitter to decorate glass vases with is extra fine glitter. This type easily attaches to glass using ModPodge.
Can I Use This Method to Put Glitter on Candle Holders?
Yes! You can use the steps in this tutorial to make glitter candle holders. In fact, I used this exact process to make over 200 votive candle holders for my wedding.
What is the Best Way to Transport Glitter Vases?
Transporting glitter vases can be really tricky. You don't want the glitter to rub against other surfaces or you'll risk creating bald spots on your vases. If you purchased the larger packs of vases from MichaelsPro, save any packaging that comes with the vases. This could come in handy when repackaging the vases for transport.
Depending on how far the vases have to travel, you can use strips of cardboard to create bumpers in between each vase and place them in a milk carton or cardboard box. Or role up packing or tissue paper and place it between the vases. Either way, make sure the material is only touching the part of the vase that doesn't have glitter.
How to Make a Glitter Vase for Your Wedding
Glam up your wedding reception table decor with these DIY glitter vases. A fun way to incorporate your wedding color palette into your decor.
Materials
Tools
Instructions
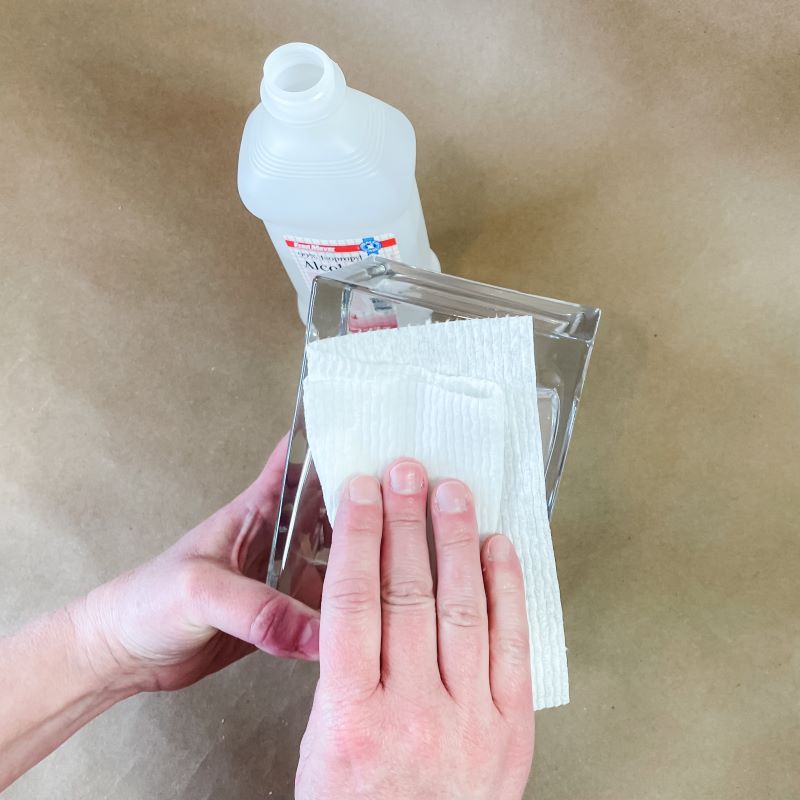
- Clean the Vases
Clean the vases using rubbing alcohol.
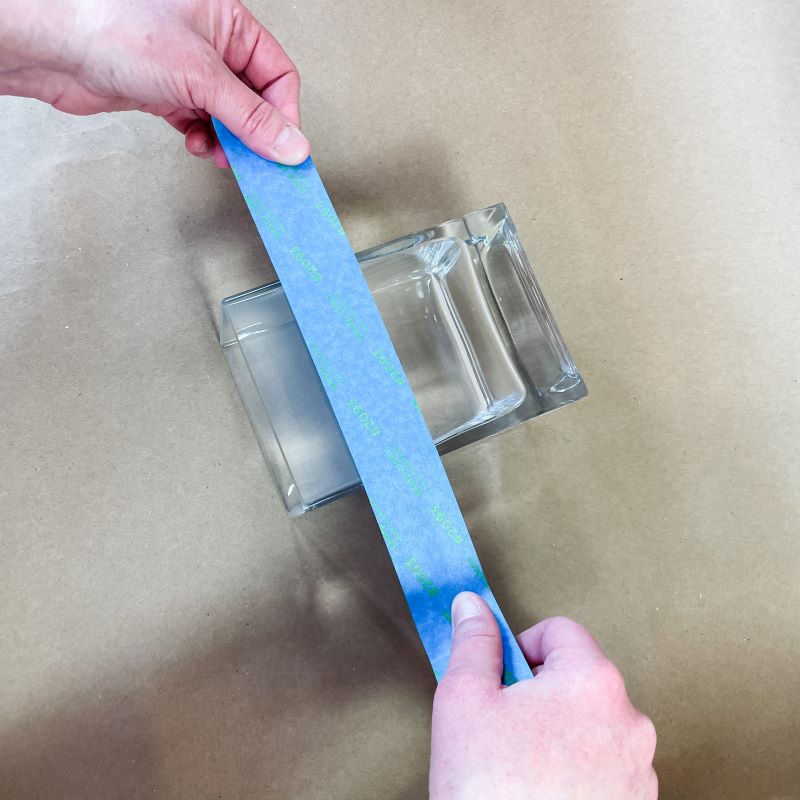
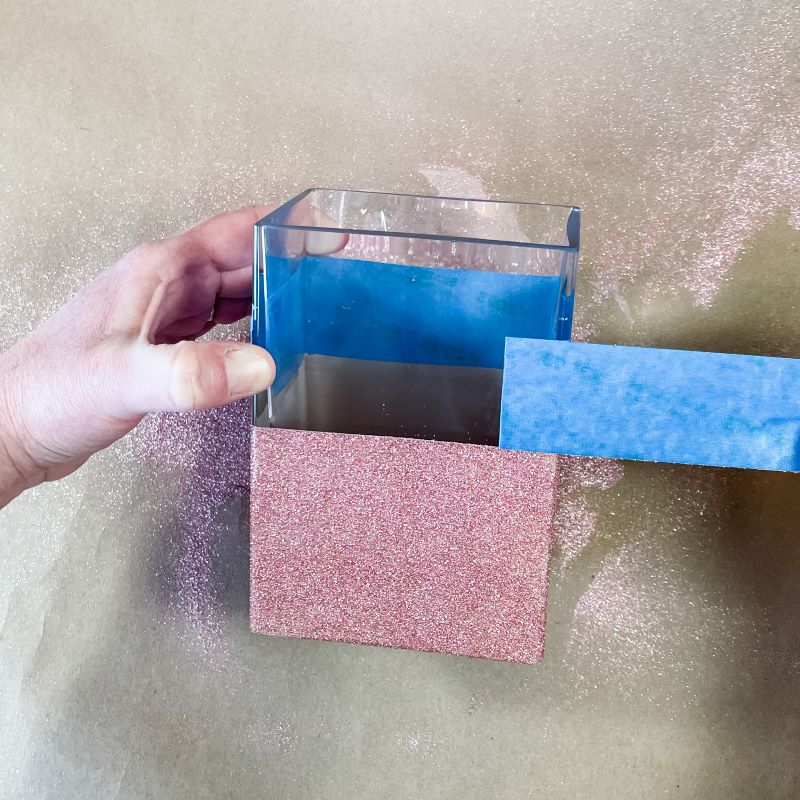
- Cover All Areas Where You Don't Want Glitter
Use masking tape to cover the area of the vase that you do not want glitter on. You can also use painters tape.
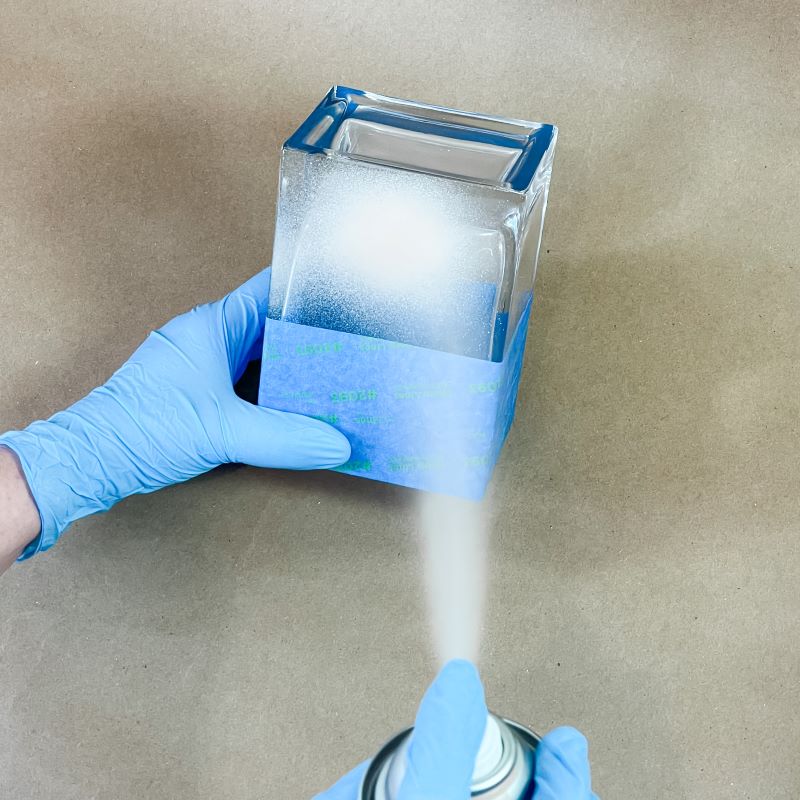
For my project, I've taped the top half of the vase and folded the tape over the edges of the vase. - Paint the Vase
In a well ventilated area, spray paint the unexposed part of your vase. Use gloves to prevent getting the paint on your hands. Be sure to choose a paint color that is similar to the color of glitter you have selected. This is an optional step, however painting the vase with a similar color as the glitter results in a more finished look.
TIP: When using spray paint, shake the can well before painting. Spray the paint in short bursts rather than one continuous spray. This will help coat the surface of the vase evenly. Once you are done painting, allow the paint to dry.
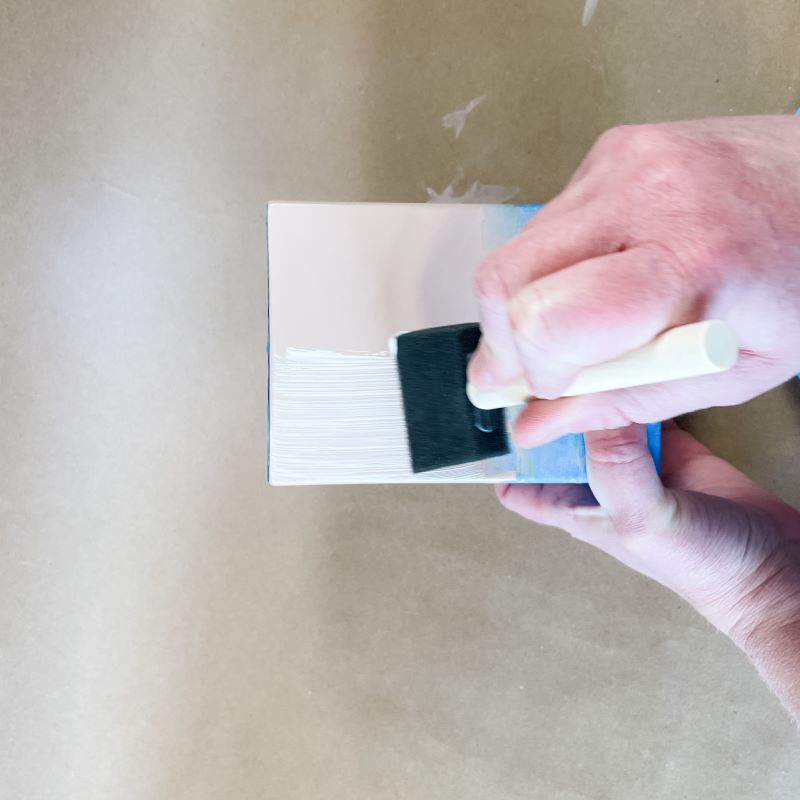
In my project, I painted the bottom of the vase but I do not want to add glitter to the bottom. Once the paint dried I added tape to the bottom of the vase. - Add Mod Podge
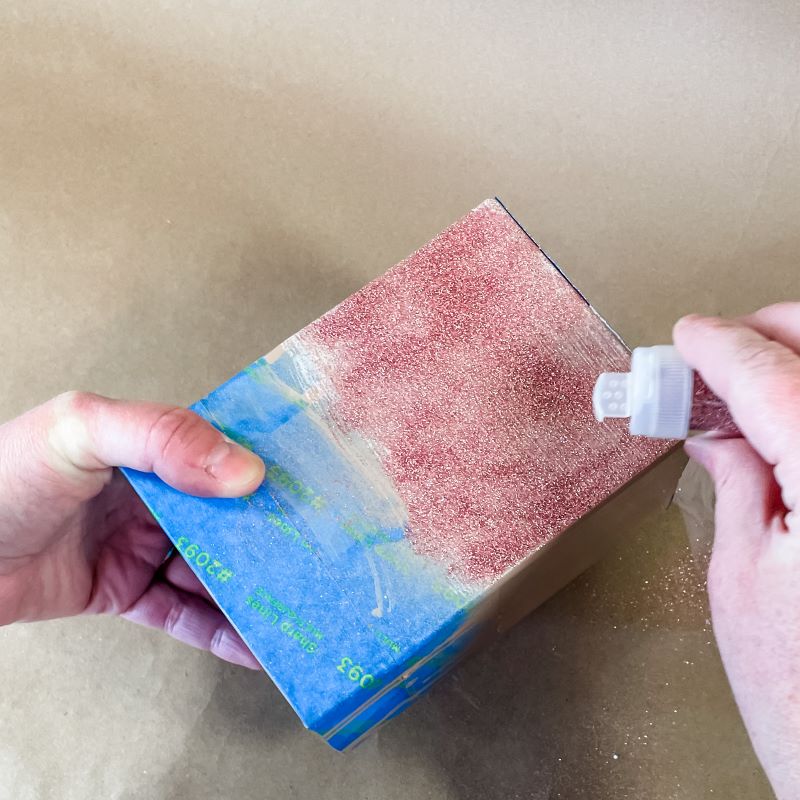
Once the paint is dry, use the sponge paint brush to apply a layer of Mod Podge. Depending on the size and shape of your vase you may need to do step four and five in sections so that the Mod Podge doesn't start to dry before adding the glitter. - Add the Glitter
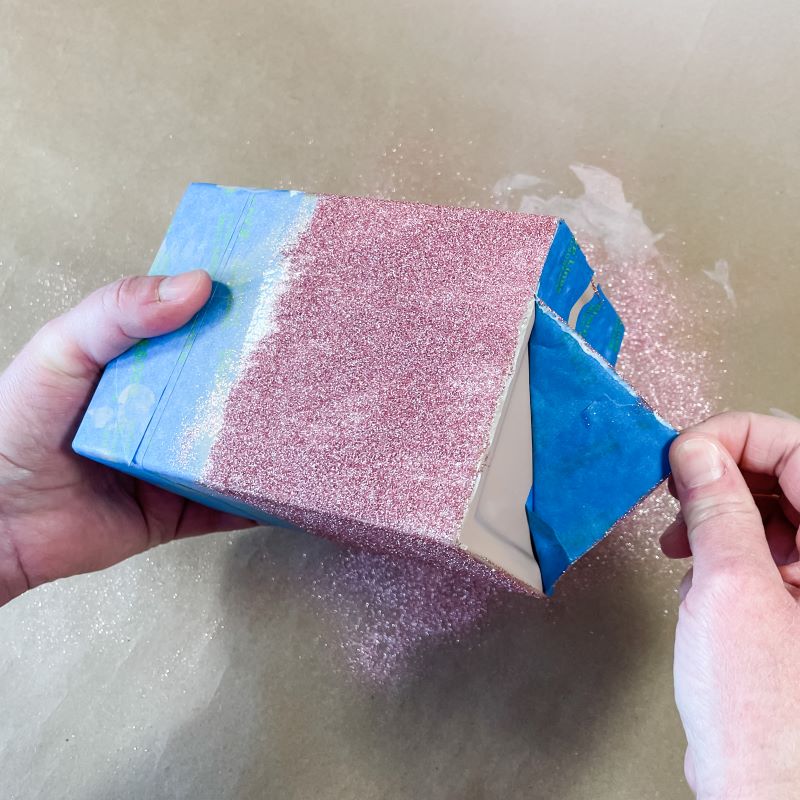
Carefully pour a generous amount of glitter over the Mod Podge and tap the vase to dislodge extra glitter. Be sure to cover the surface evenly. - Remove Masking Tape
When you are finished applying Mod Podge and glitter remove the masking tape from the vase.
You'll want to remove the tape immediately after applying the glitter, otherwise when the glue dries it will dry to the tape. This will result in chunks of glitter coming off as you remove the tape. - Repeat Steps 1 - 6 for Remaining Vases
Repeat this process for as many vases as your project calls for. Be sure to give the vases plenty of time to dry before transporting.

Notes
This project can be completed fairly quickly if you have multiple people helping and you work in an assembly line. Invite your bridal party and enjoy a champagne brunch while playing with glitter!