Cricut Maker: Everything You Need to Know
You can use a Cricut Maker to help you create stunning wedding invitations, signage, decor, and so much more. However, with the release of the Cricut Maker 3, I often hear brides question which machine they should purchase. The resources on this page will help you learn more about the first-generation Maker and the new Maker 3 so that you can make an informed buying decision.
This article includes some affiliate links for your convenience. This means that if you make a purchase, I earn a small commission at no added cost to you. For more information check out my privacy policy and disclosure.
Frequently Asked Questions
There are four main differences between the Cricut Maker and the Cricut Maker 3. First, the Cricut Maker 3 can cut Cricut brand Smart Materials without a cutting mat. The first-generation Maker can still cut Smart Materials, but you'll need a cutting mat. Second, the Cricut Maker 3 can cut up to 12 feet using Smart Materials. The first-generation Maker can cut up to 23.5 inches, just under two feet. Third, the Cricut Maker 3 can cut Smart Materials up to 2 times faster than the first generation Maker. Lastly, the new Maker 3 is much quieter than older version.
Both versions of the Cricut Maker can cut more than 300 types of materials. So, for example, you can use a Maker to create beautiful jewelry for bridesmaids using leather. Or create stunning wedding invitations using cardstock. The Maker can even cut thicker materials (up to 2.4 millimeters) like chipboard, balsa wood, and basswood using the Knife Blade. You can also create beautiful wedding signage by cutting vinyl with the Cricut Maker.
There are 13 different tools and blades compatible with the Cricut Maker. You can use the Fine-Point Blade, Deep-Point Blade, Pens & Markers, Scoring Stylus, Foil Transfer tool, and Bonded-Fabric Tool with both the Maker and Explore machines. Additionally, the Maker uses the Rotary Blade, Knife Blade, Scoring Wheels (Single & Double), Engraving Tool, Debossing Tool, Wavy Blade, and Perforation Blade.
Both machines are great companions for a DIY wedding. The Cricut Maker 3 may be a good choice if you plan to make larger wedding signs. Especially if you need the flexibility to cut a cursive word that is longer than 24 inches. The only machine that will allow that is the Cricut Maker 3. Personally, I really like how quiet the new Maker is compared to it's predecessor. If neither of those examples is important to you, the first-generation Maker will be an excellent option for your DIY wedding projects!
Wedding Project Ideas Using the Cricut Maker
Looking for inspiration? We've curated a list of our favorite wedding projects that you can make using a Cricut Maker. If you want access to our free project design files, be sure to snag a password here.
- Easy Diamond Ring Drink Tags Using Cricut Foil Transfers
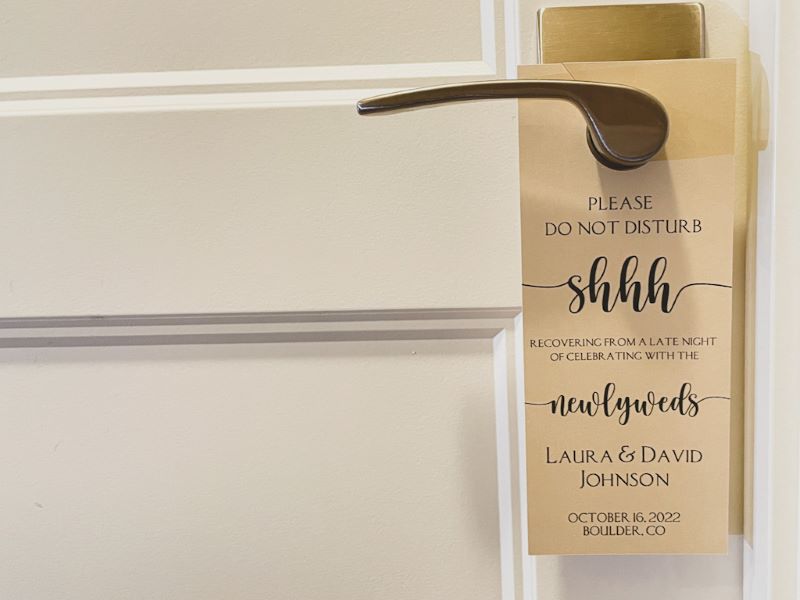
- DIY Do Not Disturb Door Hangers for Wedding Guests
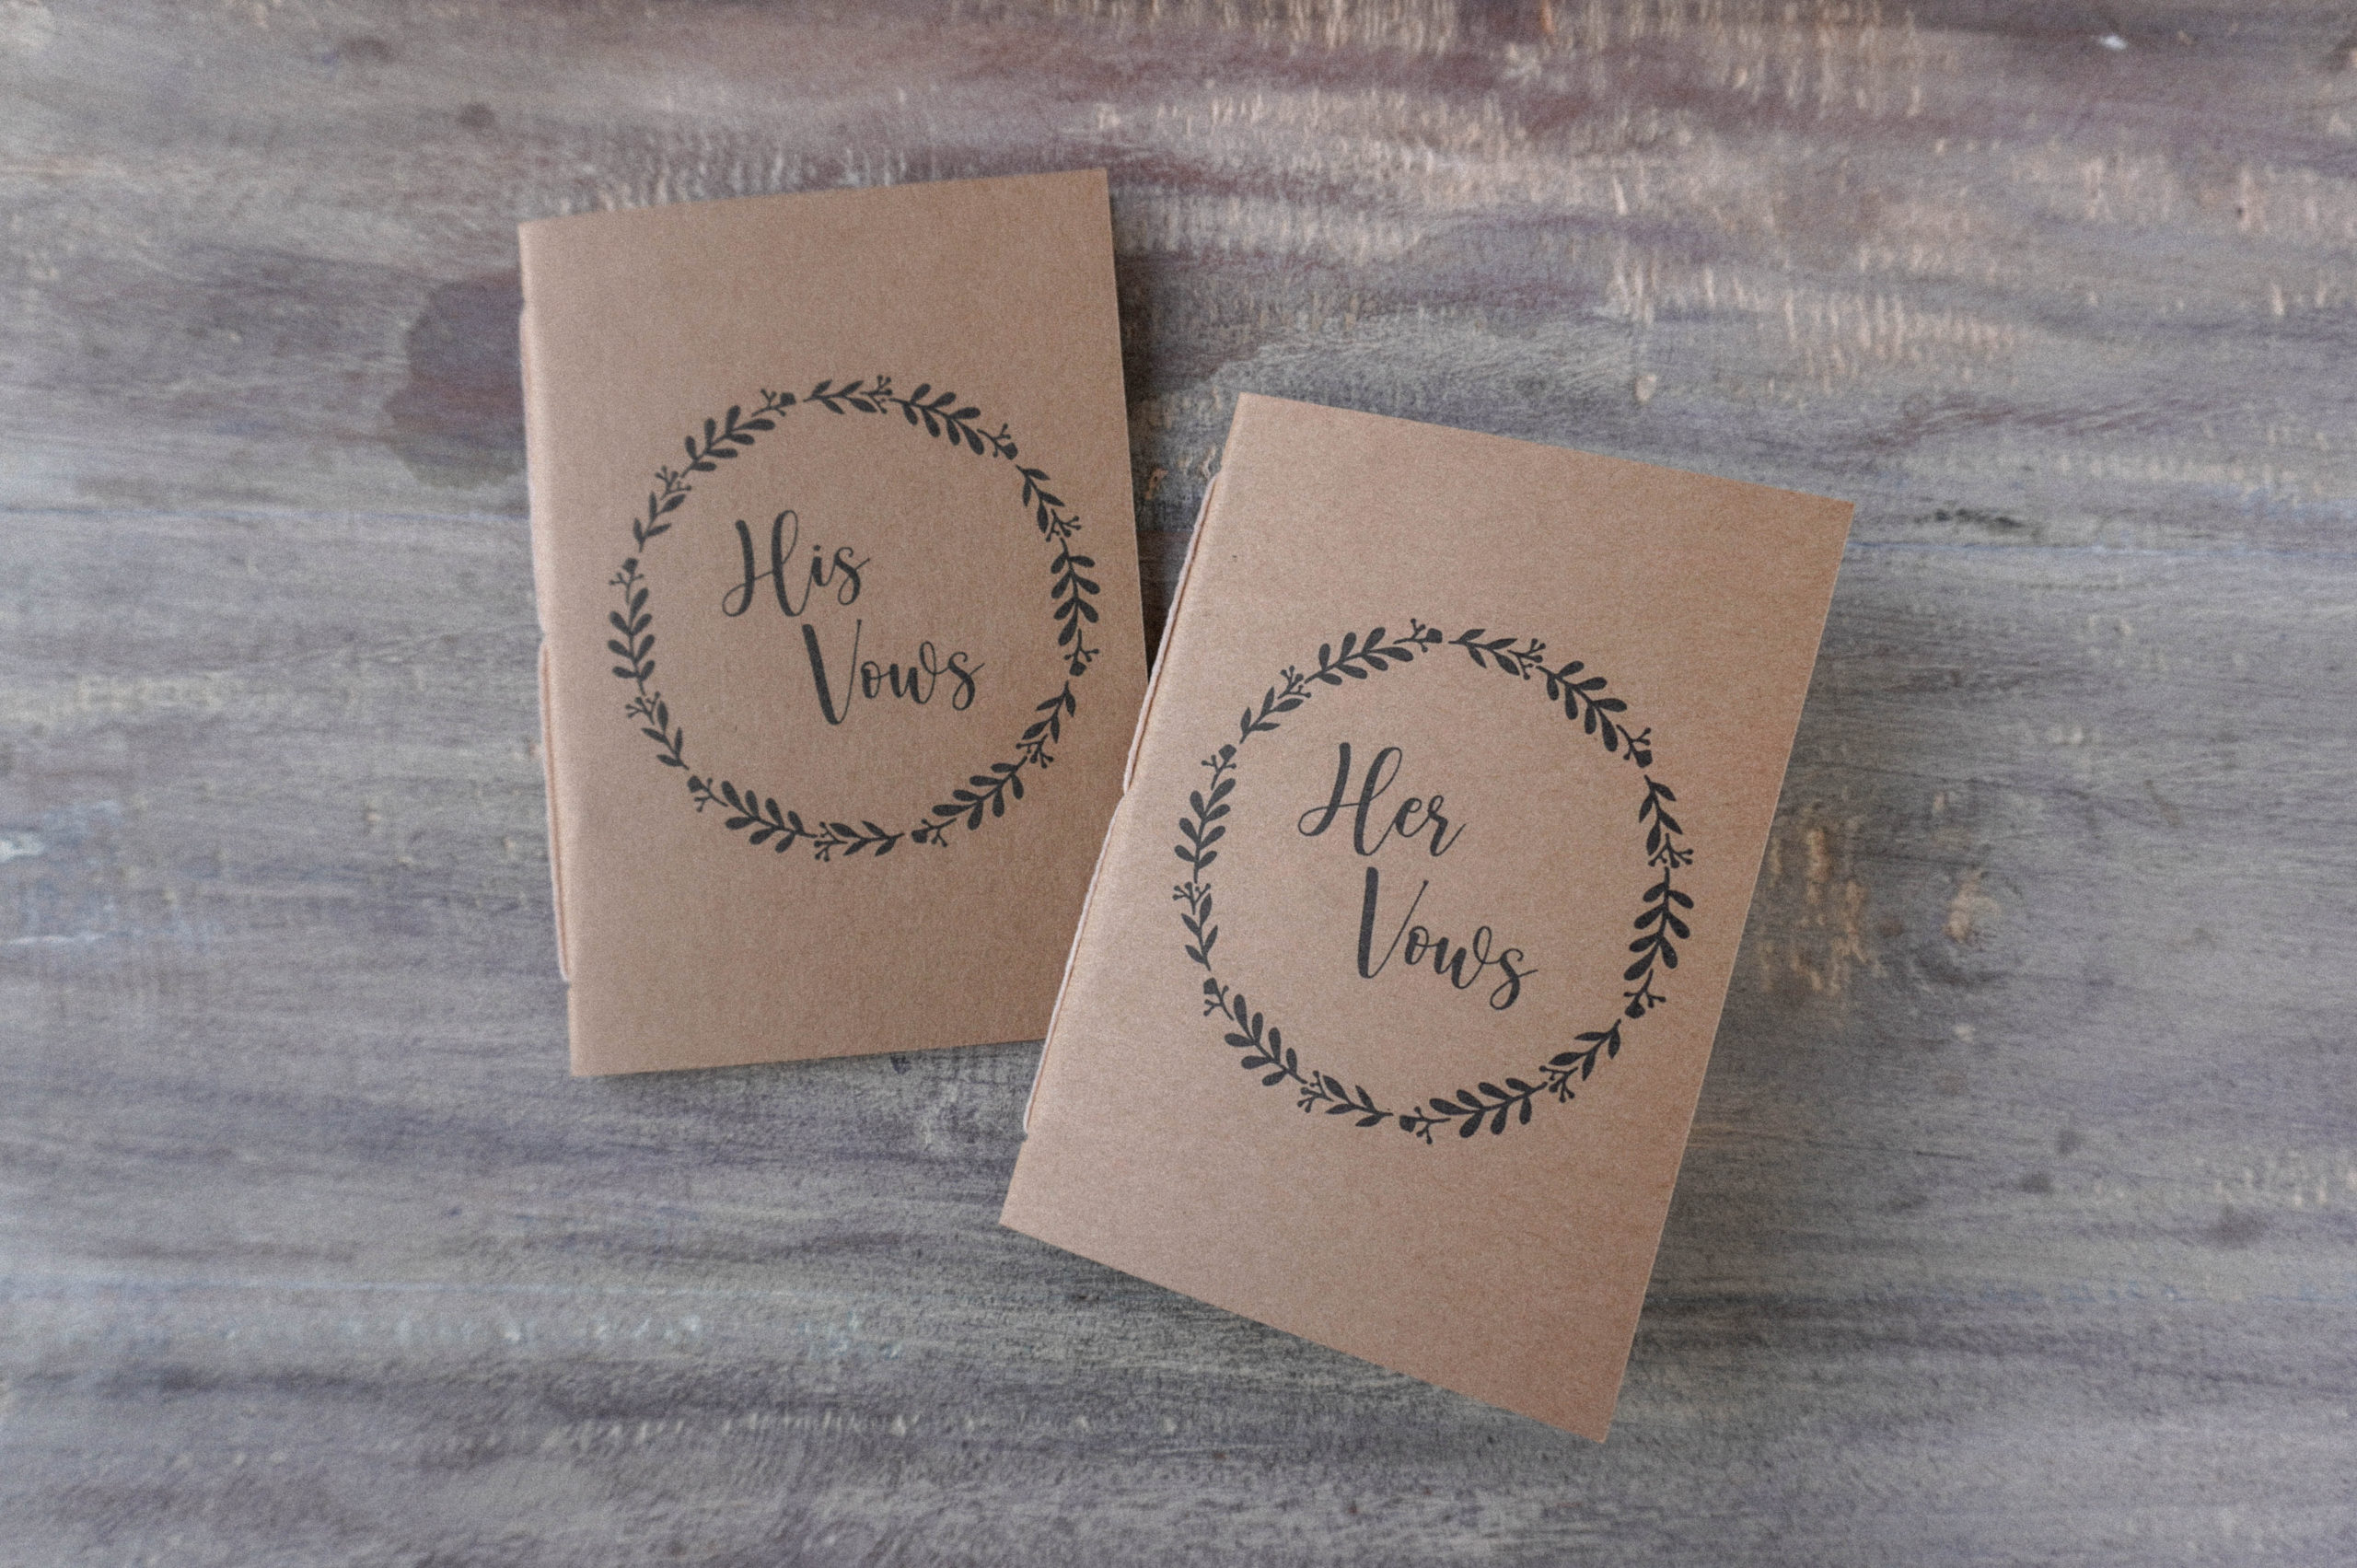
- How to Make Your Own Wedding Vow Books
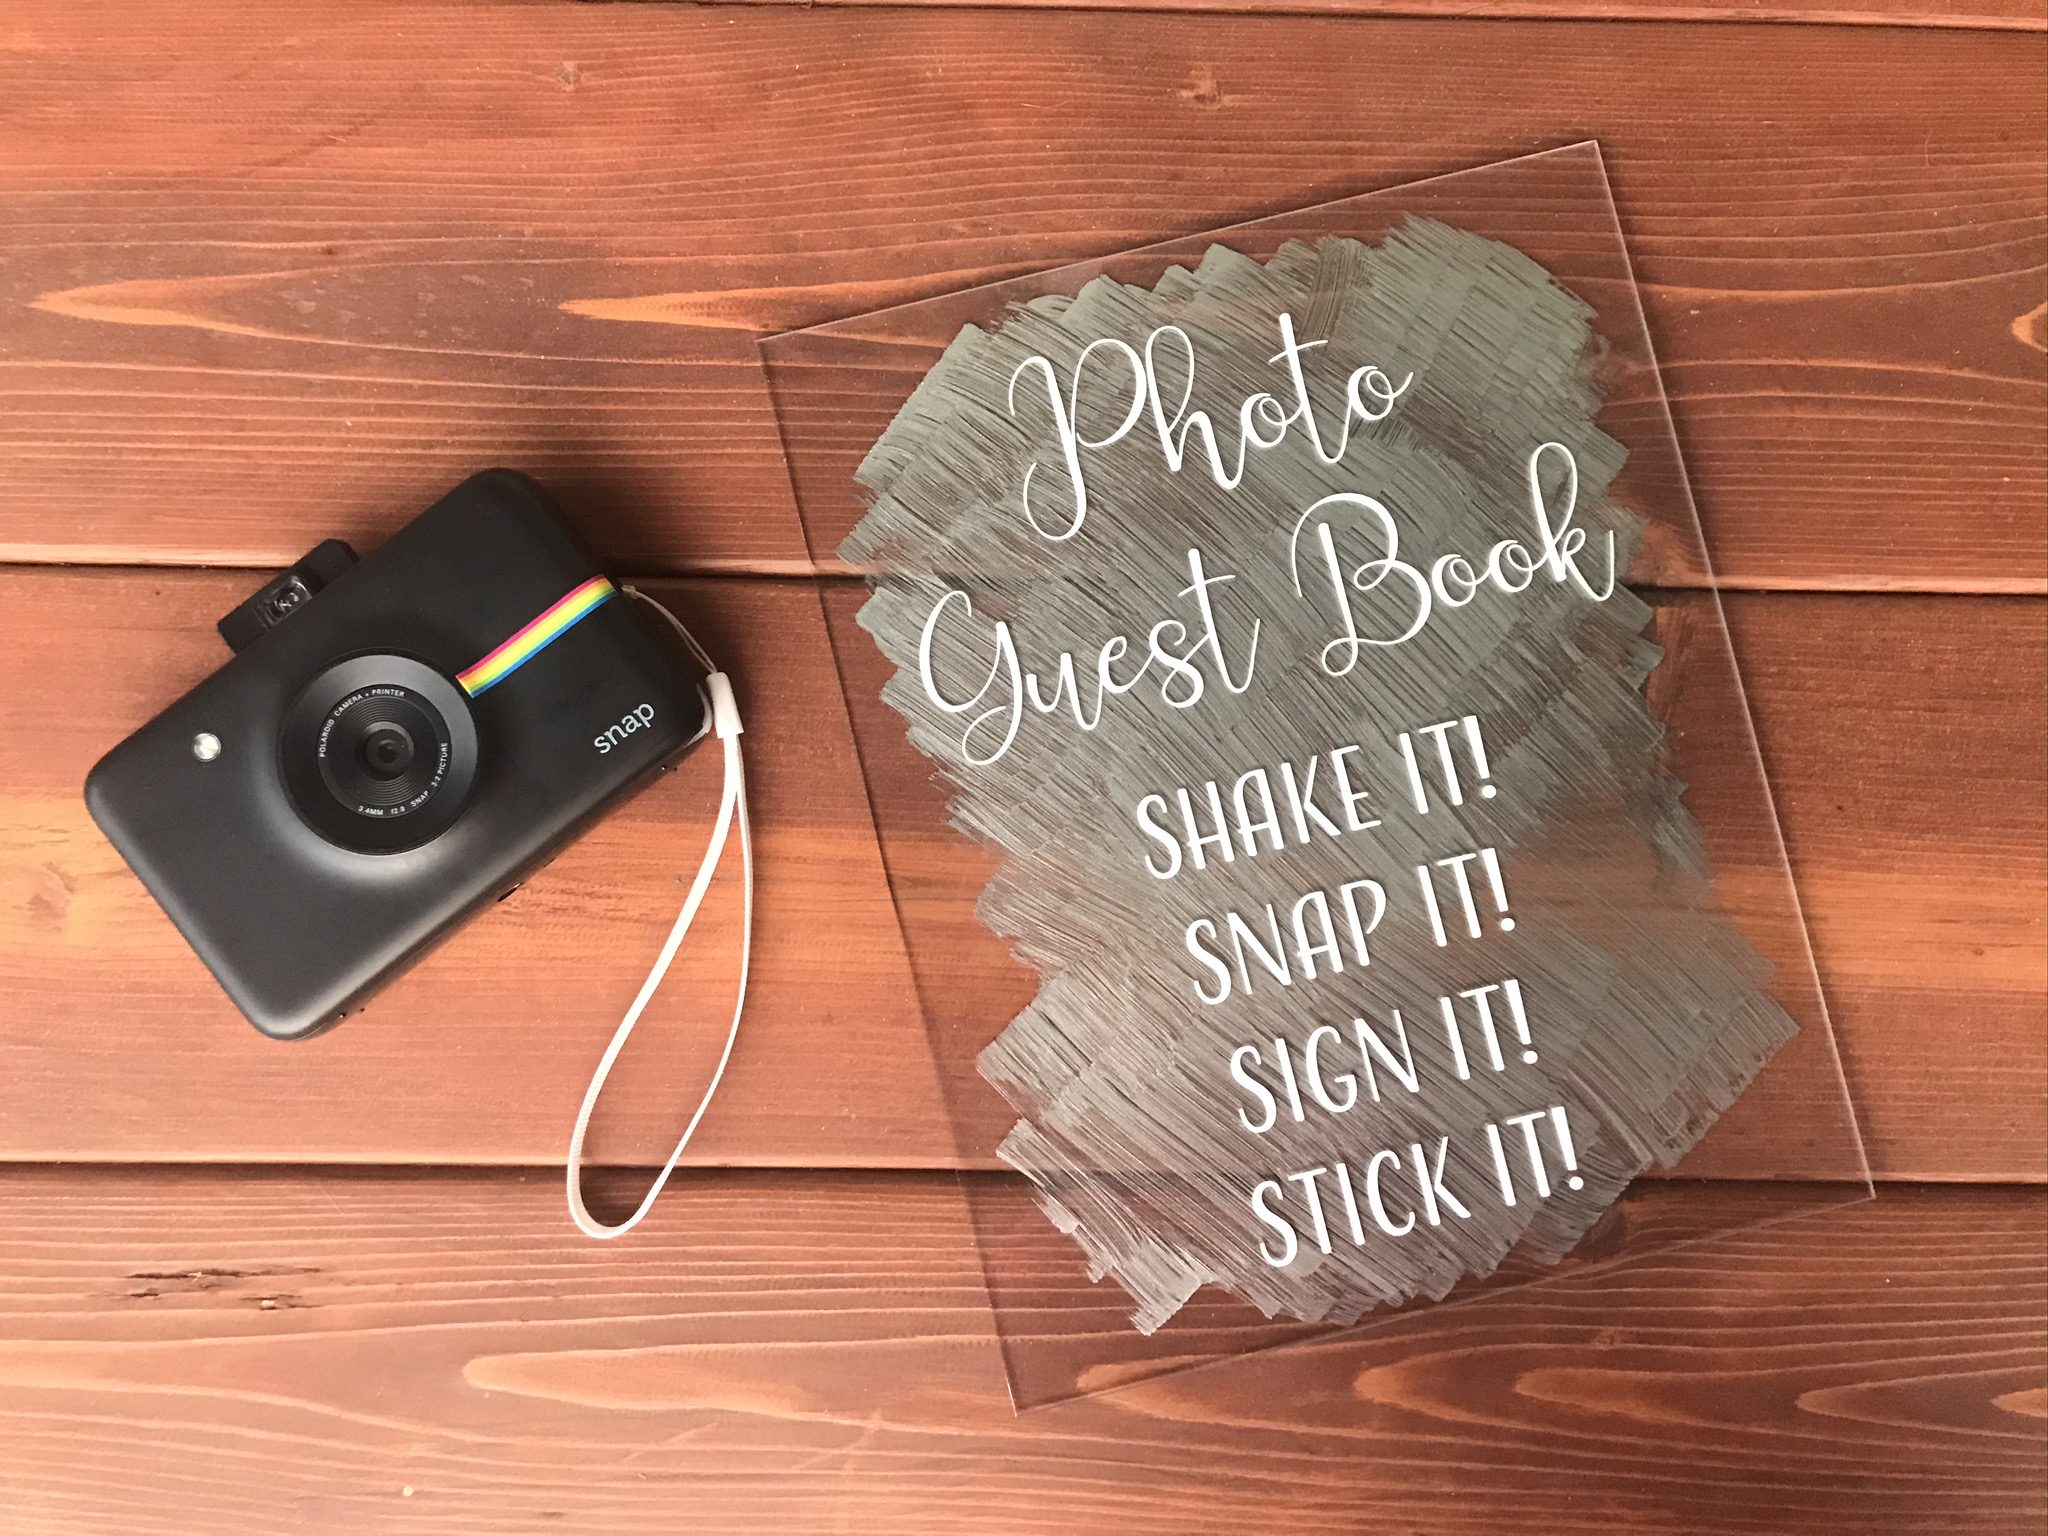
- 3 Amazing Ways to DIY Acrylic Wedding Signs
- How to Cut Chipboard with the Cricut Maker | DIY Wedding Chair Back Signs
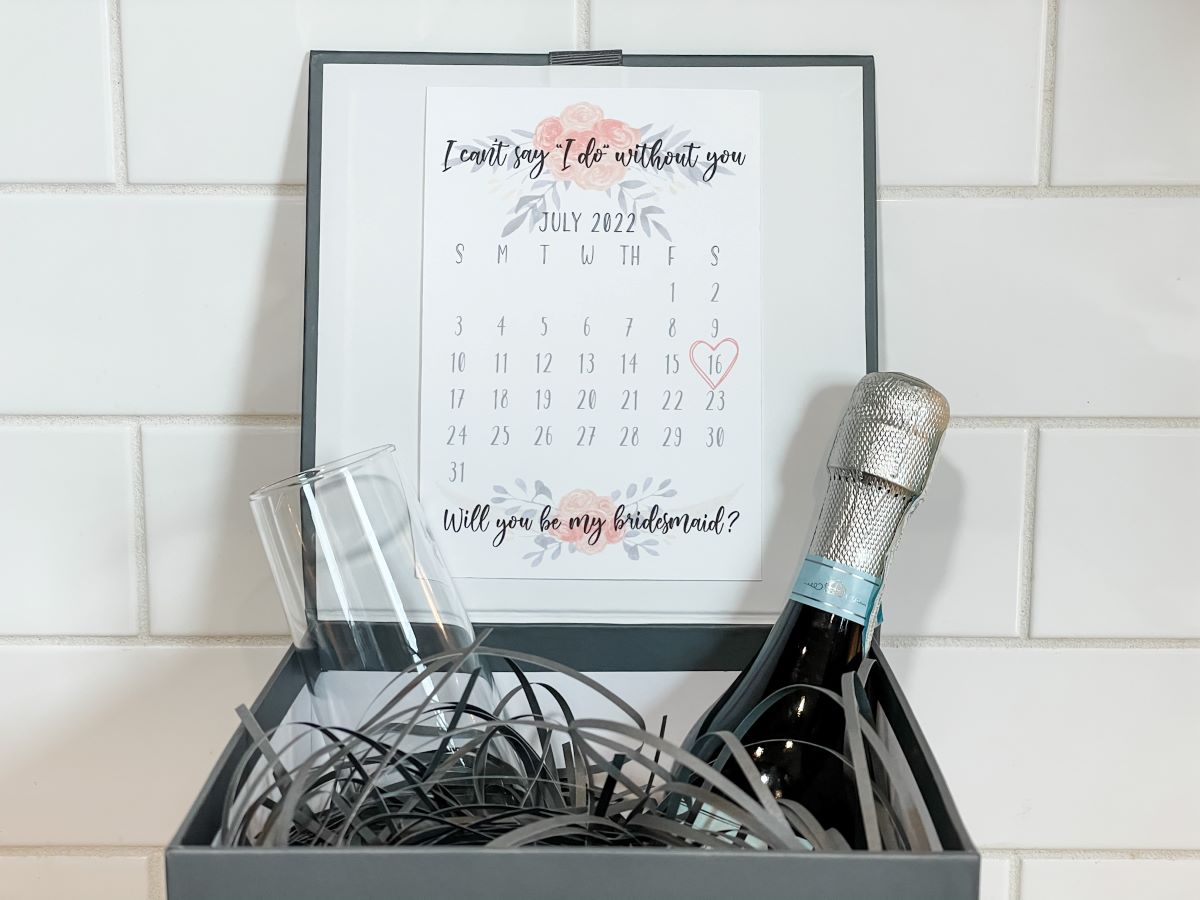
- Easy DIY Bridesmaid Proposal Calendar (Free Download)
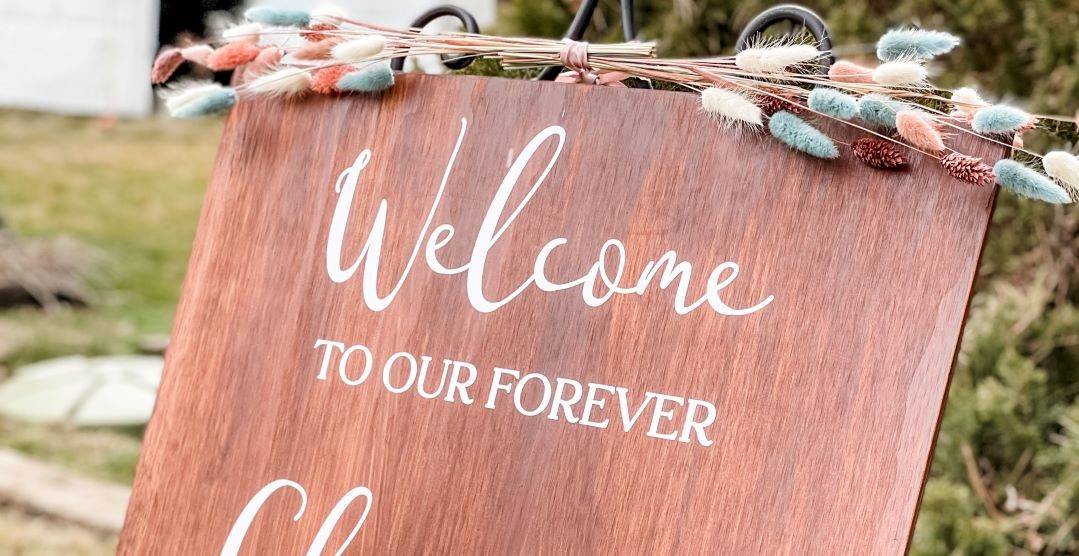
- Easy DIY Welcome Wedding Sign
- DIY Acrylic Place Cards for Weddings
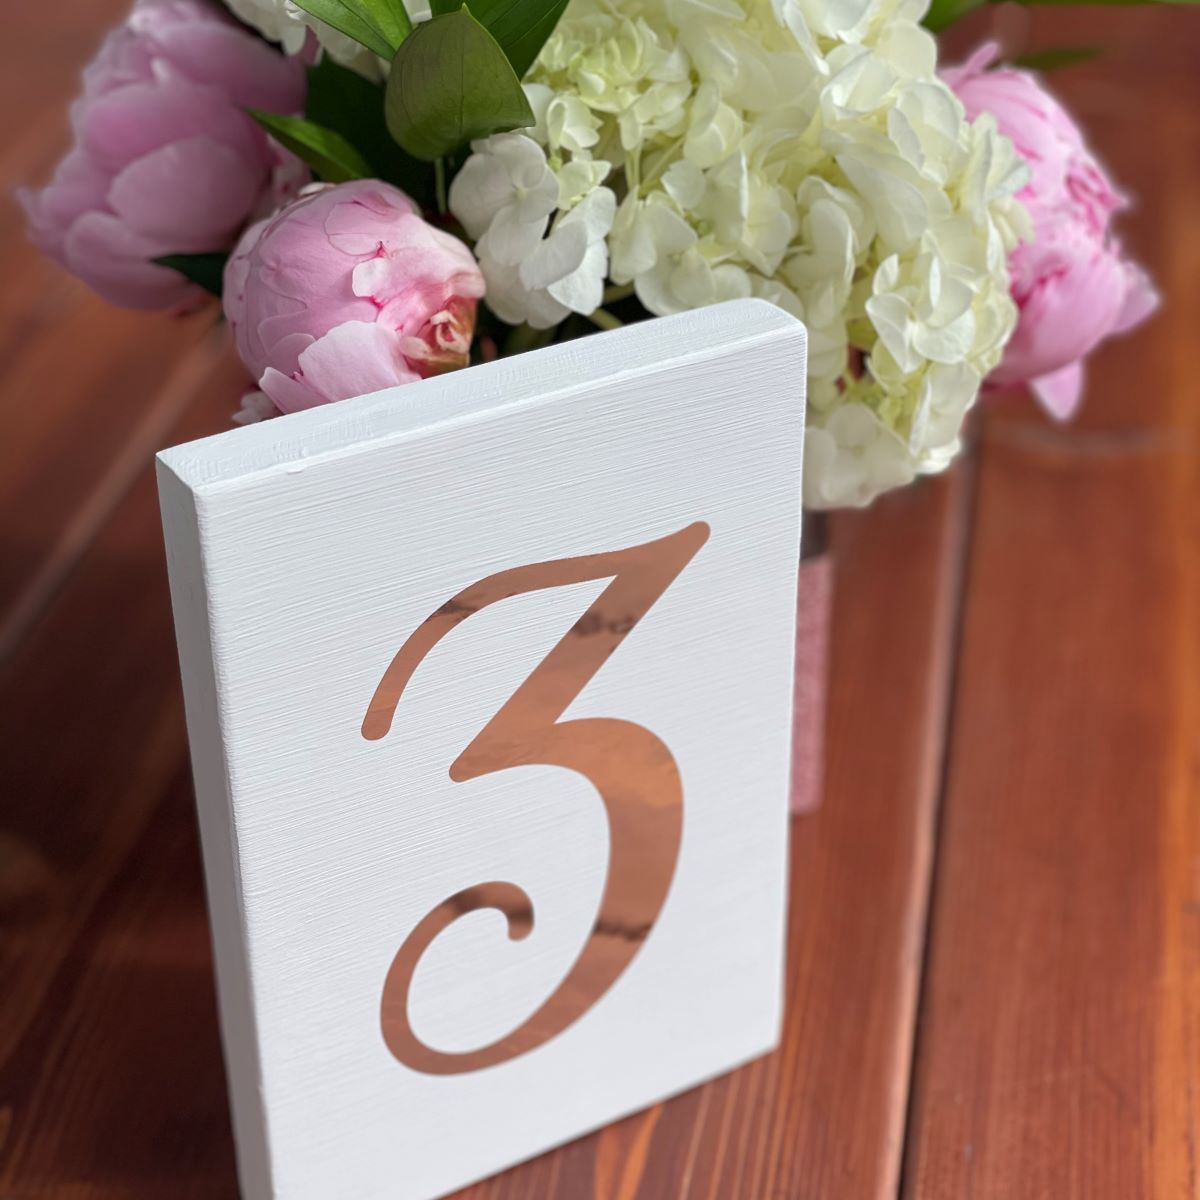
- Simple DIY Rose Gold Table Numbers
- DIY Sparkler Send Off Tags For Your Wedding Exit
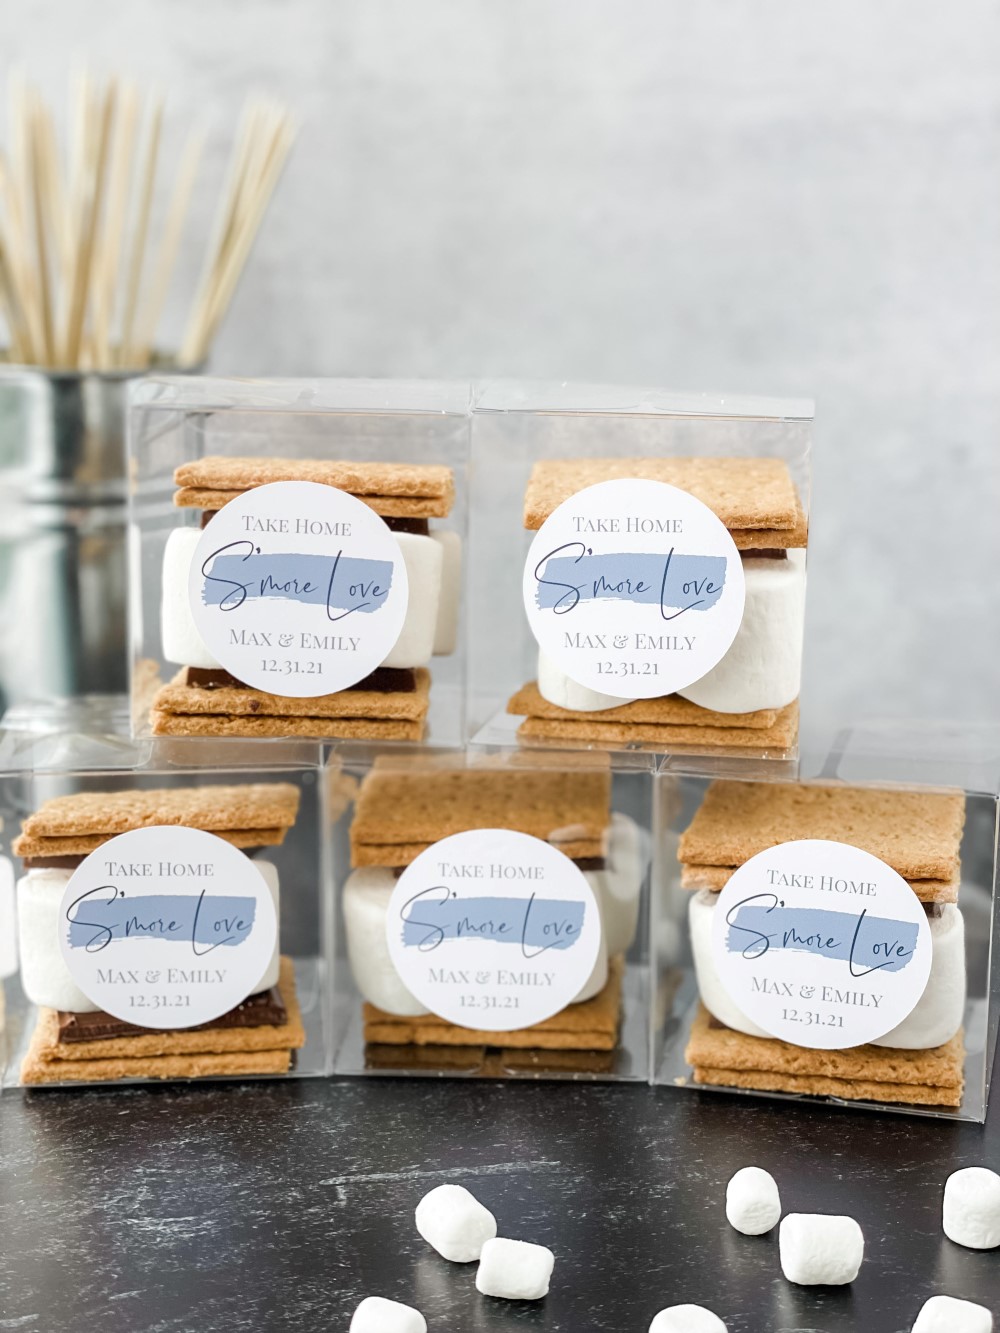
- Easy DIY S'mores Wedding Favors
- How To Make The Perfect Blend Wedding Favors
- DIY Conversation Hearts Box
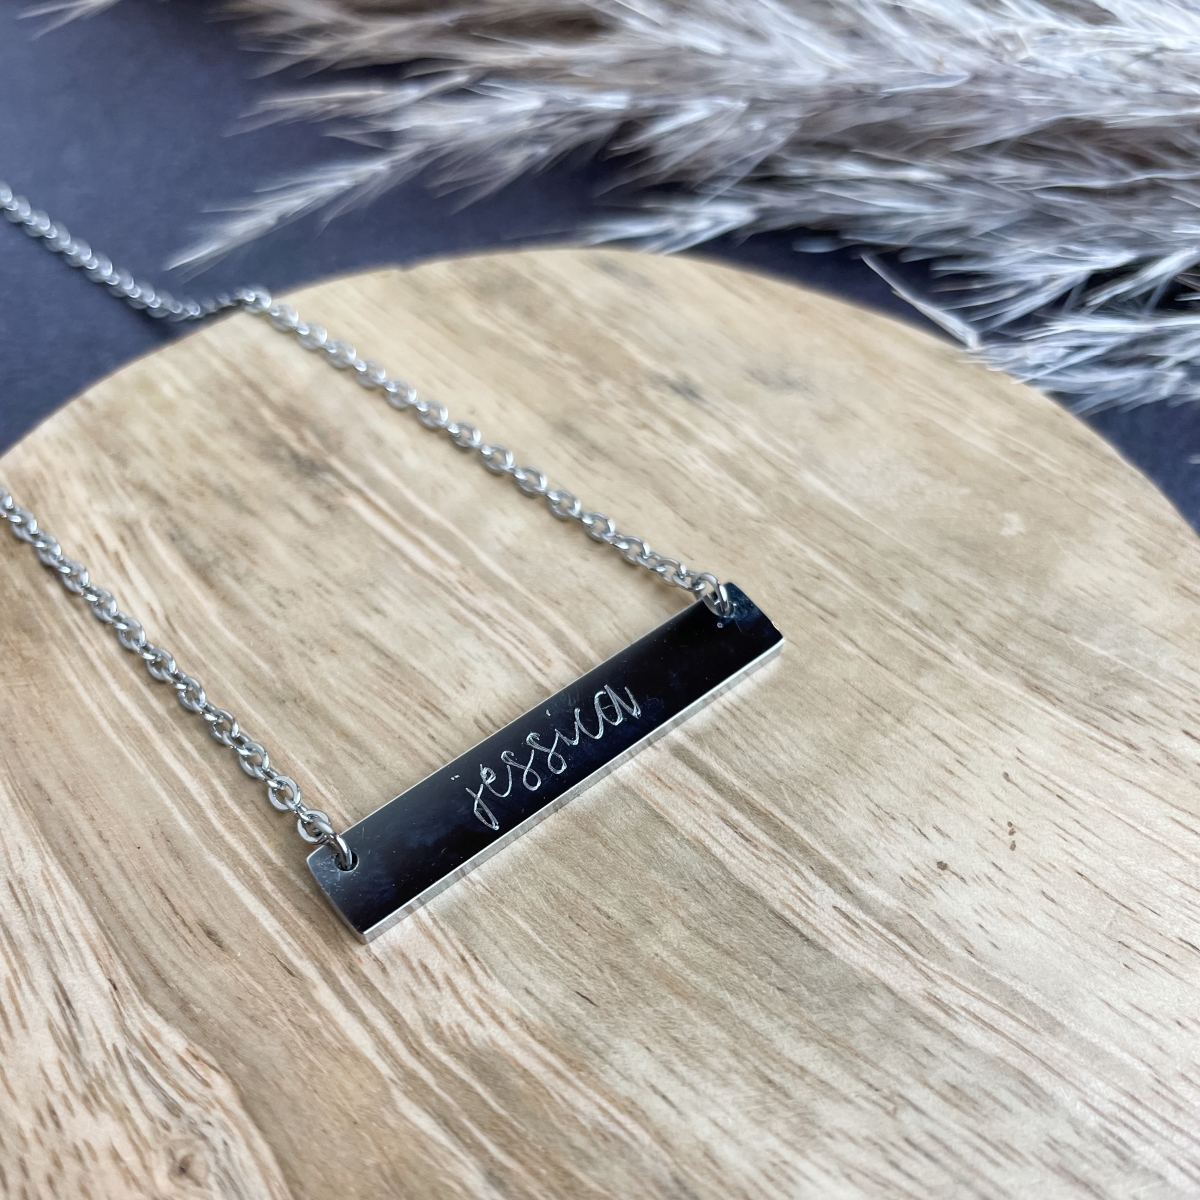
- Stunning DIY Necklace Tutorial
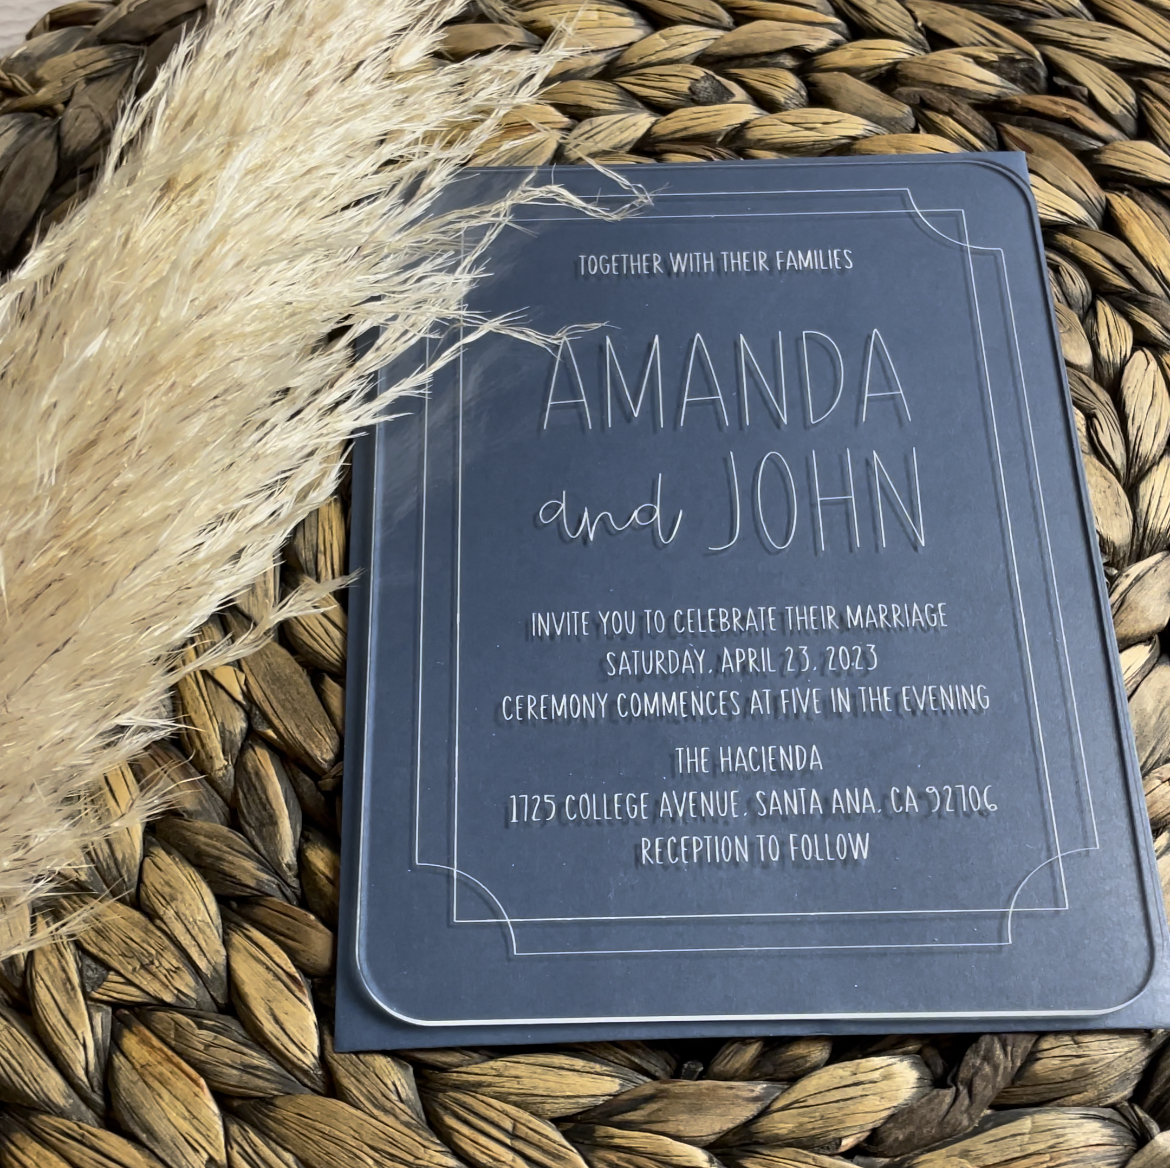
- Acrylic Wedding Invitations Using a Cricut
- Learn to Address Envelopes With a Cricut
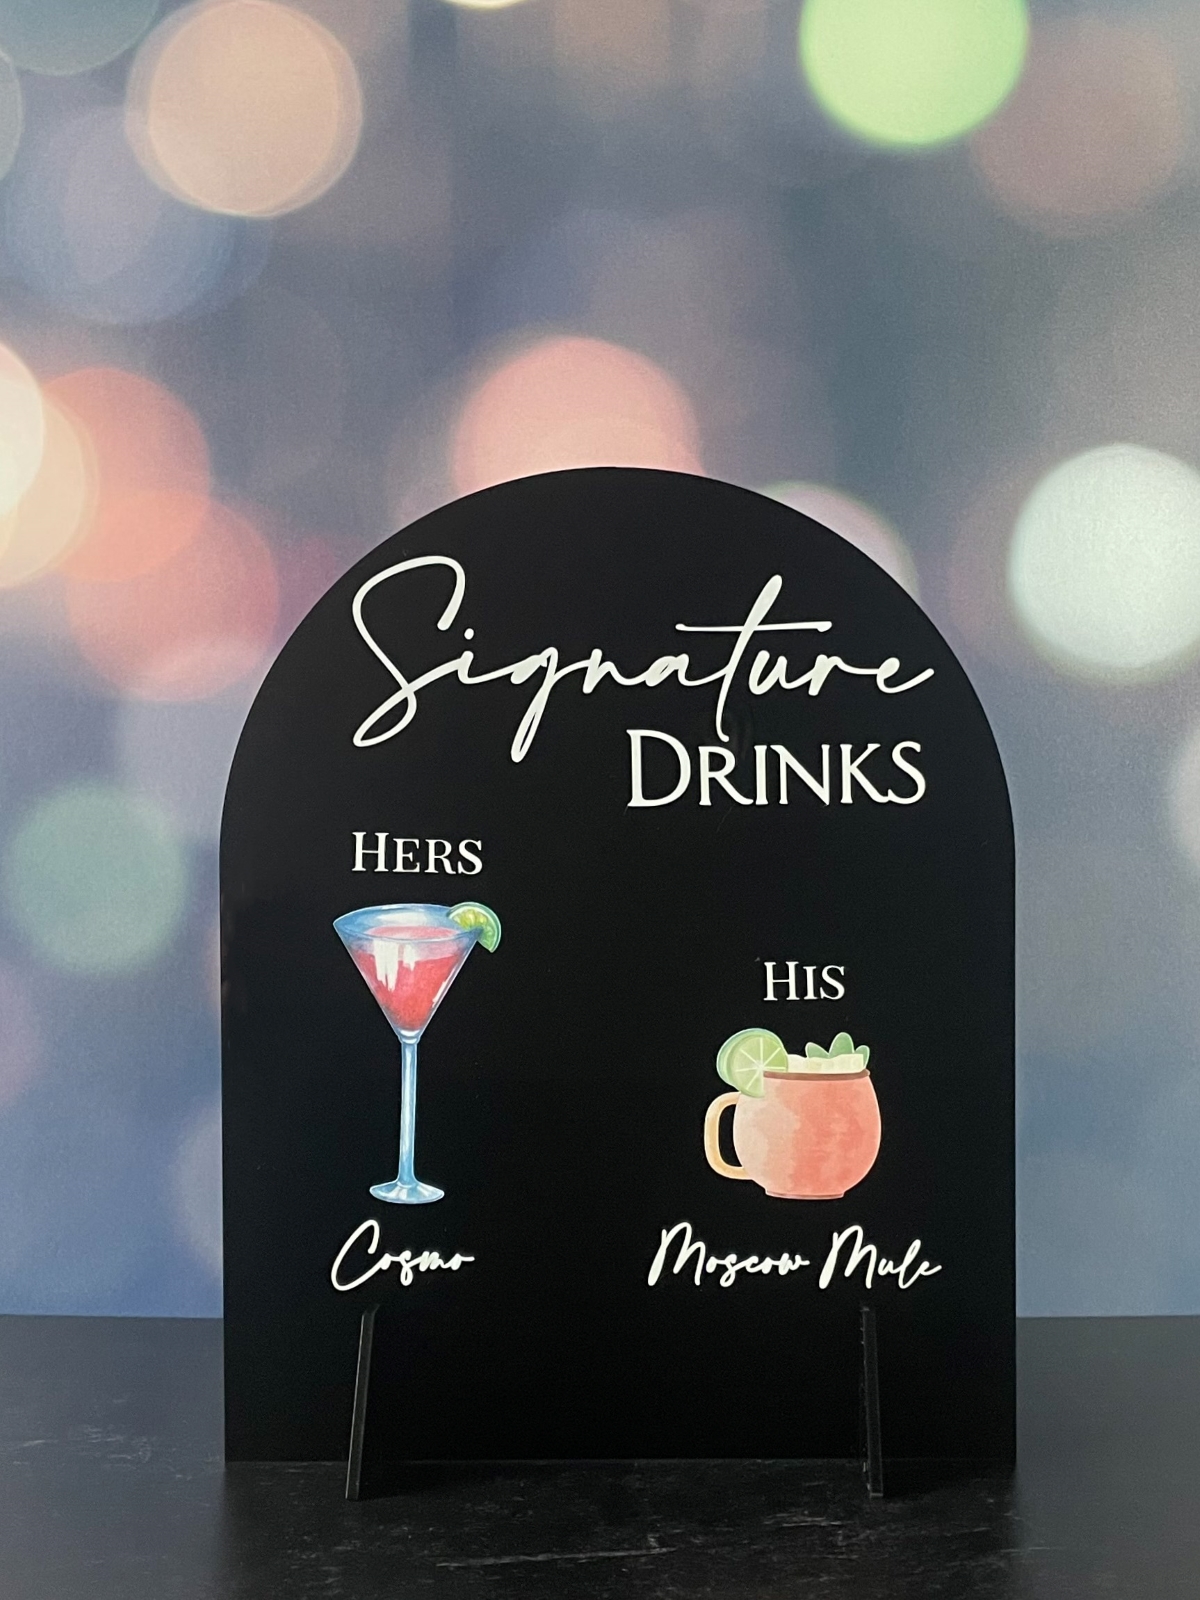
- Create the Perfect Signature Drink Sign
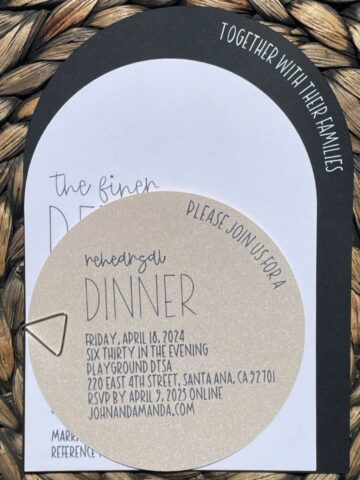
- Create Arch Wedding Invitations With a Cricut
- Couple's Favorite Candy Wedding Favors
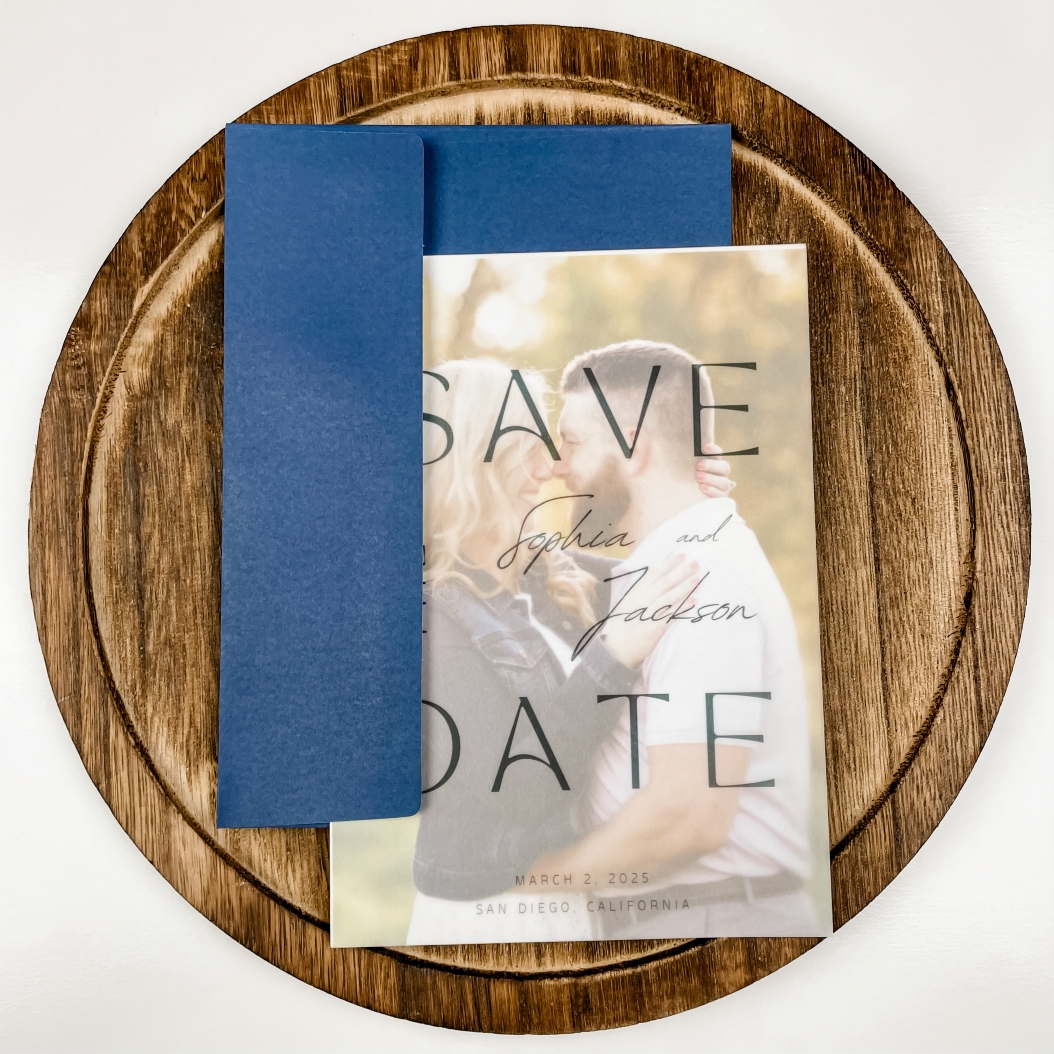
- Easy Vellum Save The Dates
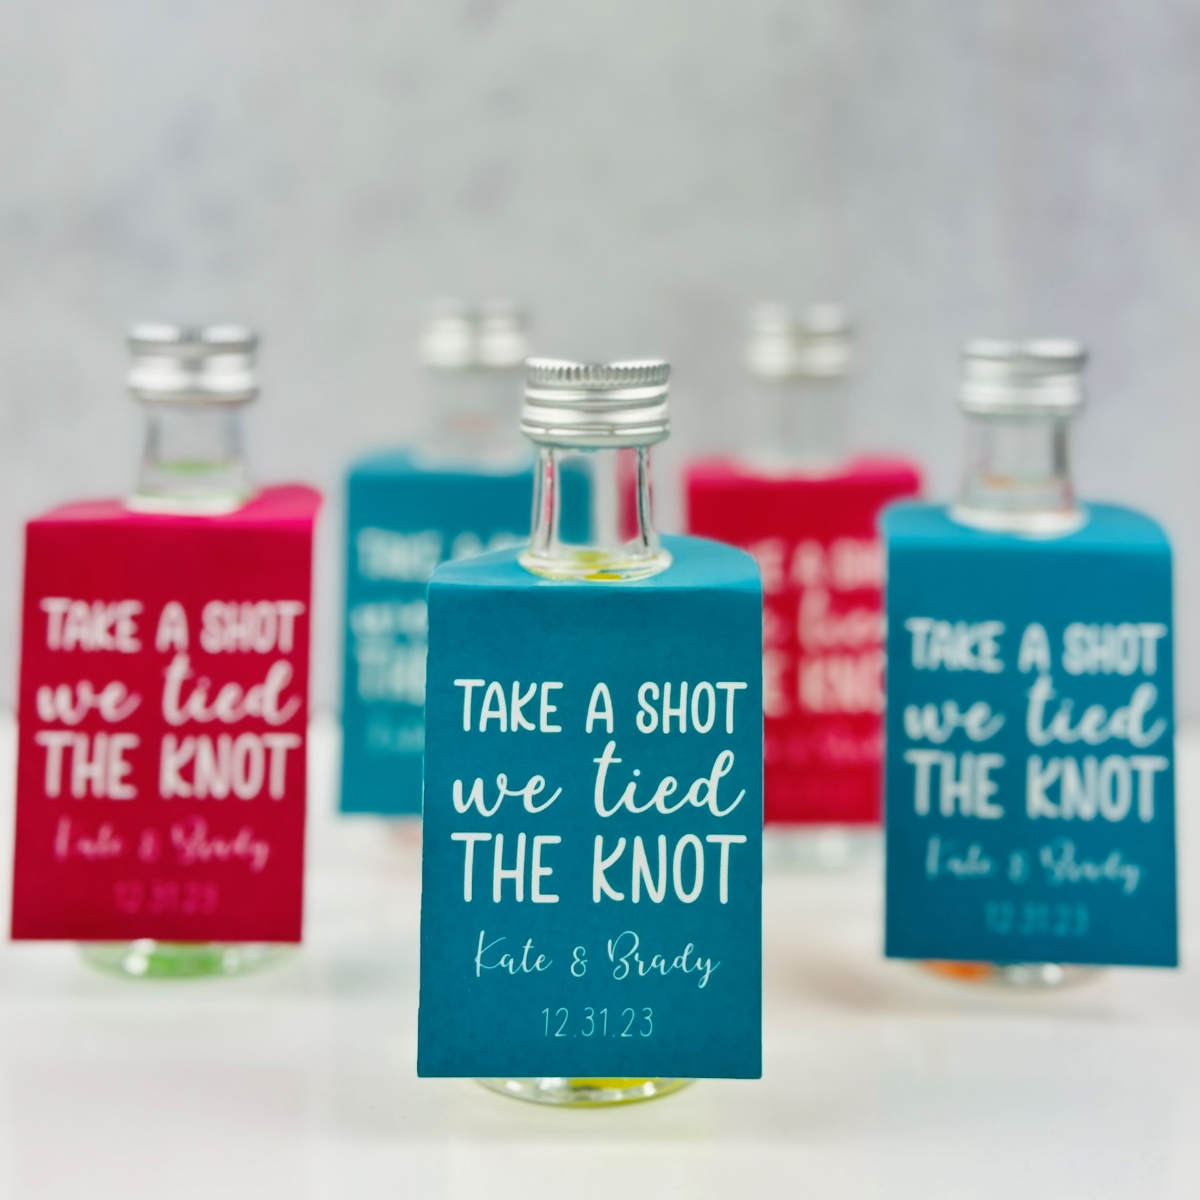
- Take A Shot We Tied The Knot - Mini Alcohol Wedding Favors